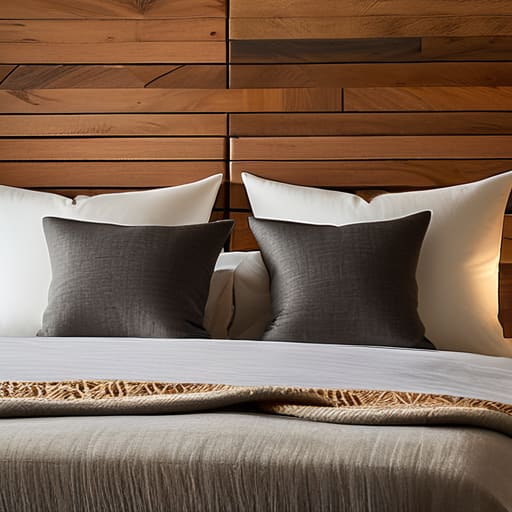
Custom Headboard Diys for Any Style or Budget
I spent most of my twenties sleeping against a cold, unforgiving drywall because I couldn’t justify the price tag of a “designer” bed frame. It’s a common trap: we think we need to drop a month’s rent on a piece of furniture just to make our bedroom feel like a sanctuary, but that’s just not how I roll. If you’re staring at your bare mattress and feeling like your space is missing that final, cozy touch, you don’t need a massive budget or a professional interior designer. You just need some diy headboard ideas that actually hold up when you’re propped up with a book or a laptop on a Sunday morning.
I’ve spent way too much time scouring thrift stores and testing out various setups, so I’ve narrowed it down to the stuff that actually works. In this post, I’m sharing seven different ways to build or craft a headboard that fits your specific style and, more importantly, your budget. We’re skipping the over-complicated, Pinterest-perfect projects that take three weeks to finish. Instead, I’m giving you simple, repeatable systems to upgrade your sleep space without the headache. Let’s get to it.
The Thrifted Wood Slat Hack
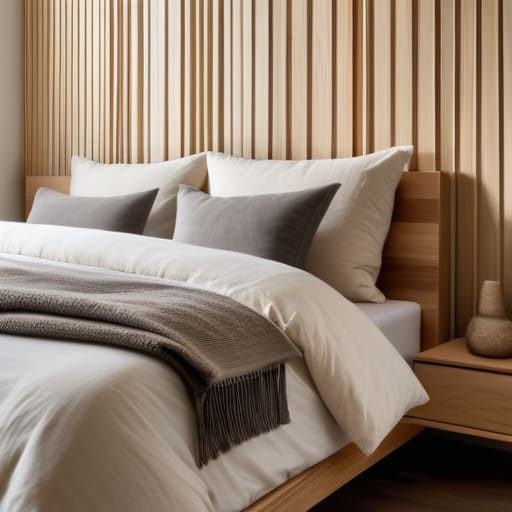
If you’ve spent any time in the thrift aisles like I have, you know that old, beat-up wooden headboards are everywhere. Instead of tossing a scratched-up piece, I love taking those slim wooden slats and mounting them directly to the wall in a vertical pattern. It creates a beautiful, architectural look that feels much more expensive than it actually is, and it’s a great way to add some texture to a plain bedroom without a massive construction project.
Padded Fabric Panels
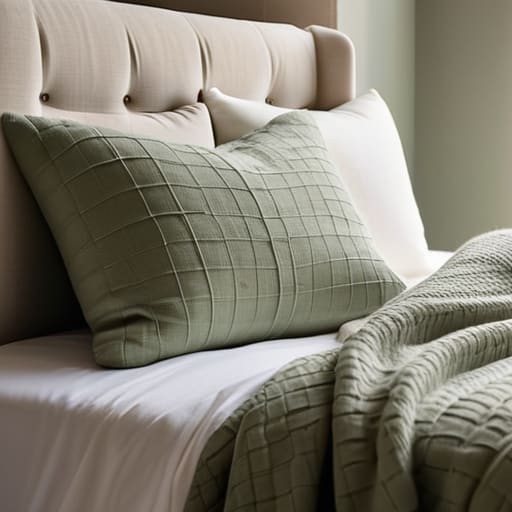
Sometimes, you just want a bed that feels like a giant hug, especially after a long day of freelance chaos. I’m a huge fan of the DIY upholstered panel approach because it’s incredibly forgiving. You can buy cheap foam padding and some fabric that actually matches your vibe—think heavy linens or even a recycled velvet—and staple them directly to a simple plywood base. It’s a low-cost way to add comfort and a sense of coziness to a room that might otherwise feel a bit cold.
The Floating Shelf Method
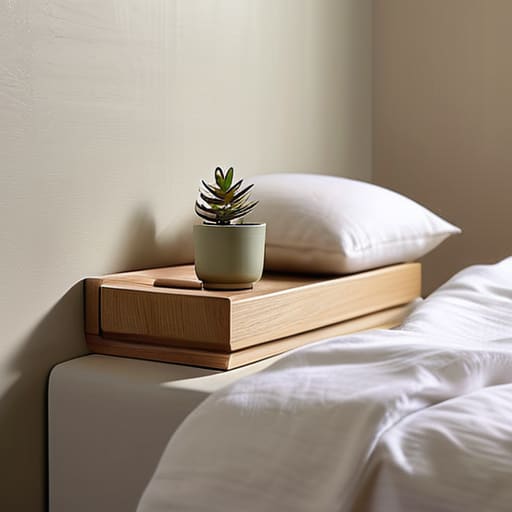
For those of us living in smaller apartments where every square inch counts, a traditional bulky headboard can feel like a total space hog. I usually suggest a slim, floating shelf instead. It serves a dual purpose: it gives your bed a visual “anchor” so it doesn’t look like it’s just drifting in the middle of the room, and it provides a handy spot for your phone, a glass of water, or that book you’ve been meaning to finish.
Macramé or Textile Hangings
If the idea of power tools makes you want to hide under your duvet, then a textile hanging is your best friend. I’ve found that a heavy woven tapestry or a piece of macramé can act as a soft, visual headboard without any of the heavy lifting. It adds warmth and a bit of a bohemian touch, which is great for breaking up the harsh lines of a standard bedroom setup.
Painted Geometric Shapes
This is my favorite “I have zero budget and even less time” hack. Sometimes, you don’t actually need a physical object at all; you just need a visual cue. By using a bit of painter’s tape and a single can of leftover paint, you can create a large geometric shape—like a soft arch or a wide stripe—directly on the wall behind your bed. It creates the illusion of a headboard without taking up a single inch of physical space.
The Upcycled Ladder Lean
I stumbled upon this one while trying to find a way to organize my extra blankets, and it has been a game changer. An old wooden ladder, cleaned up and leaned against the wall behind the bed, makes for a surprisingly cool, rustic headboard. It’s not just about the look, though; it’s about the functional storage it provides. You can drape your extra pillows, throws, or even a light cardigan over the rungs.
Cork Board Command Center
As someone who is constantly juggling projects, I have a tendency to let my “to-do” lists bleed into every corner of my life. If you’re like me, you might actually benefit from a headboard that works for your brain. Using large, framed cork tiles mounted behind your bed creates a soft-textured headboard that also doubles as a tactile mood board or a place to pin up important notes.
The Bottom Line
Don’t get caught up in the “Pinterest perfection” trap; if a headboard is sturdy and fits your space, it’s already a win.
Focus on repeatable, low-effort setups—the best DIY project is the one that doesn’t require you to spend every weekend in a hardware store.
Prioritize function over fancy; a headboard should serve your sleep and your budget, not just look good in a photo.
Real Life vs. Pinterest Perfection
“A headboard shouldn’t be another high-maintenance project that collects dust; it should be a simple, sturdy anchor for your space that survives a midnight reading session and a messy morning without falling apart.”
Nadia Halloway
Final Thoughts on Your Bedroom Project
At the end of the day, whether you decide to go with a simple wooden slat design, some clever upholstered panels, or even a repurposed vintage find, the goal is the same: creating a space that feels grounded. We’ve looked at everything from low-budget fabric hacks to more structured carpentry, and the common thread is that you don’t need a massive budget or a professional workshop to get it done. It’s about finding a solution that fits your specific space and your actual lifestyle, rather than trying to force a look that requires constant upkeep. Just pick the one that feels most doable for you right now and start where you are.
I know how easy it is to get paralyzed by the “perfect” vision you see on social media, but please remember that your bedroom is meant for living, not just for looking at. A headboard doesn’t have to be a masterpiece to be a success; it just needs to do its job and make you feel a little more at home. Don’t let the fear of a messy middle or a slightly imperfect finish stop you from making a change. Once you finish this project, you’ll realize that the most satisfying part isn’t the final result, but the fact that you built something that works for your real, imperfect life.
Frequently Asked Questions
How do I make sure my DIY headboard won't scratch my walls or leave marks?
Honestly, I’ve learned this the hard way after a few too many late-night room reconfigurations. To save your paint, don’t just lean a heavy wooden frame against the wall and hope for the best. Grab some adhesive felt pads—the kind you’d use under chair legs—and stick them to the back of the headboard where it touches the wall. If it’s a heavier DIY build, I usually opt for a slim piece of foam or even a strip of cork to act as a buffer. It’s a tiny step, but it keeps your space looking clean without the constant touch-ups.
What’s the best way to attach a heavy DIY headboard to a bed frame without it wobbling?
Honestly, the “wobble” is the fastest way to ruin a DIY project. If your headboard is heavy, skip the command strips—they won’t hold. The most reliable system is using heavy-duty metal headboard brackets; they bolt directly into the frame and the headboard. If you’re working with a wooden frame, just drill pilot holes and use long wood screws. It’s not the most “aesthetic” process, but it’s the only way to ensure it stays put when you’re actually sleeping.
Do I really need power tools for these projects, or can I get away with just a drill and some basic supplies?
Honestly? A drill is your best friend here. You don’t need a full workshop or a heavy-duty miter saw to make these work. Most of these projects are about assembly, not heavy construction. If you have a decent cordless drill, some wood screws, and a screwdriver, you’re golden. Don’t let the fear of “not being a carpenter” stop you—we’re building systems for real life, not museum exhibits. Just grab the basics and go.
How do I pick fabrics that won't look trashed after a few months of leaning against them?
Look, if you’re picking fabric for a headboard, skip the delicate linens or anything “dry clean only.” That’s just asking for a headache. I always look for high-rub counts—basically, how much friction a fabric can take before it starts pilling or thinning. Aim for performance velvets, heavy canvases, or even a sturdy faux leather. They handle the oils from your hair and the constant leaning much better without looking trashed by month three.
