Getting Started With Resin Crafts: a Simple Guide
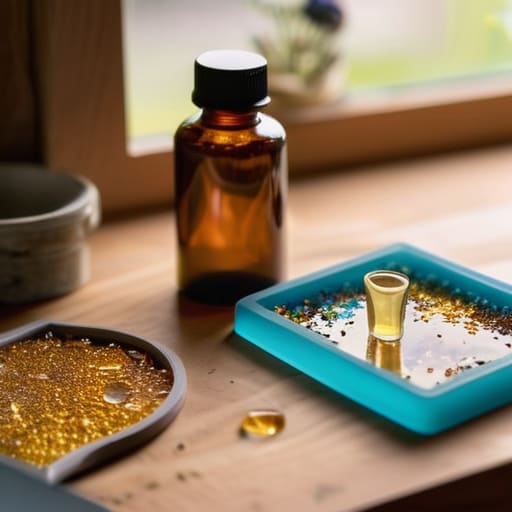
I was sitting on my kitchen floor last Tuesday, surrounded by sticky spills and a half-melted pile of glitter, wondering why I’d spent sixty dollars on a “starter kit” that felt more like a science experiment gone wrong. If you’ve scrolled through Pinterest lately, you’ve probably seen those flawless, crystal-clear trays that look like they were poured by professionals in a sterile lab. But here’s the truth: most of those tutorials are designed for aesthetic perfection, not for real people with small kitchens and limited patience. Starting resin crafts for beginners shouldn’t require a degree in chemistry or a dedicated studio space; it just requires a system that doesn’t leave your entire apartment feeling tacky.
I’m not going to tell you that you need every fancy pigment and gold leaf flake on the market to make something beautiful. Instead, I want to show you how to build a low-mess, low-cost setup that actually works when life gets messy. In this guide, we’re skipping the fluff and focusing on the essential gear, the actual ratios you need to avoid bubbles, and how to troubleshoot the inevitable mistakes. Let’s get into the practical side of resin so you can actually enjoy the process without the headache.
Guide Overview
Tools & Supplies
- Silicone molds for shaping the resin
- Mixing cups for combining resin and hardener
- Wooden sticks for stirring
- Heat gun or lighter to remove bubbles
- Nitrile gloves for hand protection
- Epoxy resin kit (Resin and Hardener)
- Silicone molds (various shapes)
- Glitter or dried flowers for decoration
- Measuring scale or graduated cups
Step-by-Step Instructions
- 1. First things first: clear a dedicated workspace and prep your area. Resin is messy, and it’s a nightmare to clean up once it starts setting. Grab a silicone mat or some cheap parchment paper to lay down so you aren’t scrubbing sticky residue off your table for three hours later. Most importantly, make sure you’re in a room with plenty of airflow—don’t try to do this in a tiny, unventilated closet unless you want a headache.
- 2. Get your safety gear on before you even touch the bottles. I know, it’s not the most “aesthetic” part of the process, but you really shouldn’t skip the nitrile gloves and a respirator mask. Resin fumes are no joke, and skin contact can lead to some pretty annoying sensitivities down the line. Think of it as the non-negotiable foundation of your setup.
- 3. Now, let’s talk about the actual mixing, which is where most people mess up. Read your specific brand’s instructions carefully because the ratio is everything. Use a small, disposable cup and stir slowly and deliberately. If you whip it like you’re making a latte, you’ll end up with a thousand tiny bubbles that make your finished piece look like it’s filled with foam. I always aim for a slow, steady swirl to keep things clear.
- 4. Once your resin is mixed, it’s time to add your “flair.” This is where you drop in your dried flowers, glitter, or gold leaf. My advice? Start small. It’s tempting to dump the whole jar of glitter in there, but it can actually weigh down the resin or make it look cluttered. I like to layer my items in thin increments to give the piece some actual depth.
- 5. Pour your mixture into your silicone molds, but don’t just dump it in from a height. Pour it in a thin, steady stream right into the center of the mold. This helps minimize the bubbles that get trapped when you pour. If you see a few stubborn bubbles on the surface, you can quickly pass a lighter or a heat gun over them to pop them instantly.
- 6. Now comes the hardest part for anyone with a busy schedule: the waiting game. You need to find a level surface and leave your molds completely alone. If your table is slightly tilted, your resin will pool to one side, and your project will be lopsided. Set a timer on your phone and resist the urge to poke at it every twenty minutes to see if it’s dry.
- 7. Once it’s fully cured (usually 24 to 48 hours depending on the brand), pop your pieces out of the molds. If the edges feel a little sharp or uneven, don’t panic. You can easily smooth them out with some fine-grit sandpaper and a bit of water. It’s a small, extra step that makes the difference between something that looks “homemade” and something that looks actually professional.
Essential Resin Art Supplies for Beginners Without the Clutter
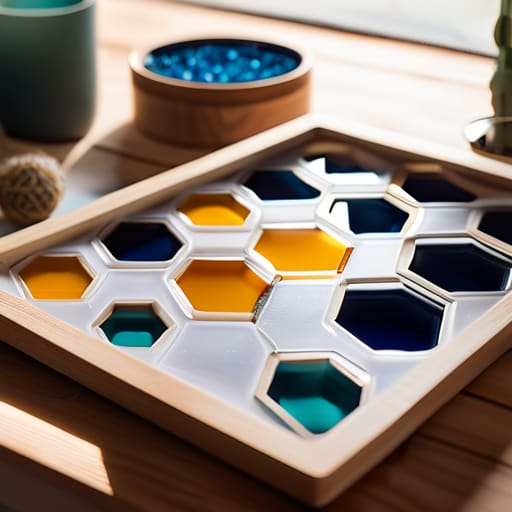
Look, I’ve seen way too many “starter kits” on social media that are basically just expensive, colorful clutter. You do not need a professional-grade vacuum chamber or twenty different types of glitter to make something cool. When you’re first starting out, focus on the basics that actually impact your results. I always tell my clients: invest in quality over quantity. Instead of buying a massive variety pack, grab a small bottle of high-quality epoxy and a few best resin molds for beginners—think simple geometric shapes or coasters. These are easy to clean, easy to store, and they won’t take up your entire dining table when you’re finished.
The real “must-haves” aren’t actually the pretty things; they’re the functional ones that keep you from making a massive mess. Please, for the love of all things organized, do not skip the safety precautions for working with epoxy. A decent respirator mask and some nitrile gloves are non-negotiable. Also, keep a dedicated tray or a silicone mat nearby. It’s much easier to wipe up a spill on a mat than it is to scrape hardened resin off your countertop. If you keep your toolkit minimal and functional, you’ll spend less time cleaning and more time actually creating.
Safety Precautions for Working With Epoxy When Life Gets Messy
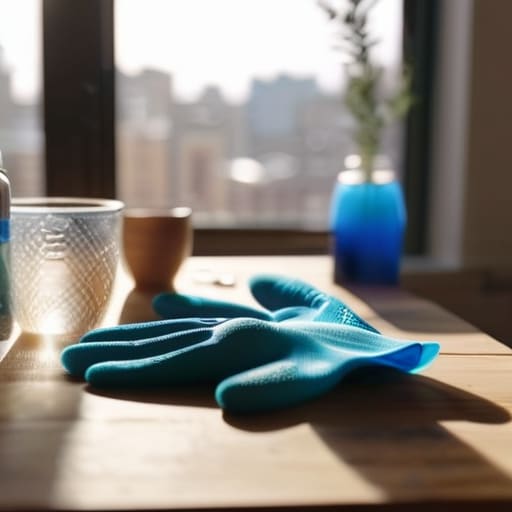
Look, I’m all for making a mess in the name of creativity, but epoxy resin isn’t like watercolor paint—it’s a chemical reaction, and it demands a little respect. Since I usually work in my tiny apartment, I can’t exactly just “vent” the room easily, so I’ve learned the hard way that proper ventilation is non-negotiable. If you don’t have a dedicated studio, please at least crack a window and keep a small fan running. Also, please don’t skip the gloves. I know, it feels like an extra step when you’re excited to dive in, but skin contact can cause irritation that’s definitely not worth the “aesthetic” of a finished piece.
Beyond the basics, I always tell my clients that the best safety gear is actually the most boring gear. Invest in a decent respirator mask rather than just a paper one; it makes a massive difference for your lungs in the long run. When you’re navigating your initial list of resin art supplies for beginners, make it a priority to grab a pair of nitrile gloves and a workspace cover you don’t mind throwing away. It’s much easier to clean up a spill on a cheap silicone mat than it is to scrub epoxy off your favorite thrifted tabletop. Stay safe, stay smart, and then get back to the fun stuff.
5 ways to stop the resin chaos before it starts
- Don’t go overboard with the glitter. I’ve seen so many people dump half a jar of shimmer into a mix only to realize it looks like a muddy mess once it cures. Start with a tiny pinch—less is almost always more.
- Master the “slow stir.” This is where most beginners fail. If you whip the resin like you’re making scrambled eggs, you’re going to end up with a thousand tiny bubbles that refuse to leave. Stir slowly, steadily, and keep it boring.
- Give yourself a “buffer zone” for mistakes. If you’re working on your kitchen table, lay down a cheap silicone mat or even just some parchment paper. Resin is sticky, and the last thing you want is to be scrubbing epoxy off your furniture for three hours.
- Stop chasing the perfect pour. Your first few pieces probably won’t look like those Pinterest-perfect trays. If a bubble pops up or a color bleeds, just let it dry. You can sand it down later or just call it “character” and move on.
- Check your environment before you start. If it’s a humid day or you’re working near an open window with a breeze, your resin is going to act weird. Try to find a stable, temperature-controlled corner of your home to keep things predictable.
The "Keep It Simple" Summary
Don’t fall into the trap of buying every glitter jar and specialized mold you see on Instagram; start with the basics to see if you actually enjoy the sticky reality of the process first.
Prioritize your workspace setup and safety gear over fancy aesthetics—if your environment isn’t controlled and ventilated, the project won’t be fun, no matter how pretty the result is.
Focus on small, repeatable wins by mastering one simple technique at a time rather than trying to tackle a massive, complex piece that’ll just end up as expensive clutter.
## The reality of the resin learning curve
Don’t let those perfectly curated, bubble-free Pinterest boards intimidate you; resin is messy, unpredictable, and sometimes a total disaster, but that’s okay—just focus on mastering one small pour at a time rather than trying to build a masterpiece on day one.
Nadia Halloway
Let’s get messy (the right way)
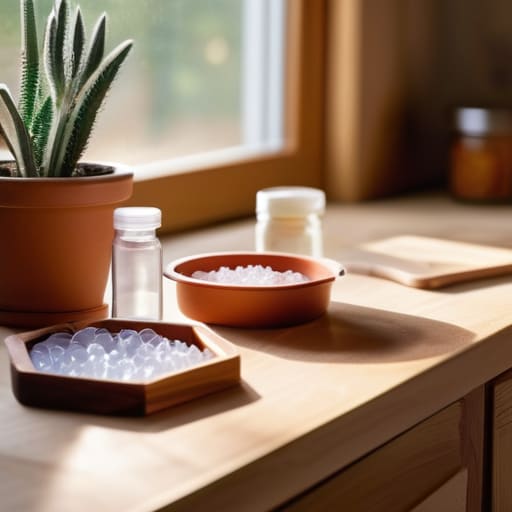
At the end of the day, resin art doesn’t need to be this intimidating or expensive. We’ve covered the essentials: grab a basic kit that won’t clutter your workspace, prioritize your safety with proper ventilation, and focus on a repeatable process rather than chasing a perfect, Instagram-ready result on your first try. You don’t need a dedicated studio or a mountain of specialized molds to get started. Just a small, organized corner of your kitchen table, the right ratio of resin to hardener, and a willingness to occasionally deal with a sticky situation. If you stick to these simple, functional systems, you’ll spend less time stressing over the mess and more time actually enjoying the creative flow.
My biggest piece of advice? Don’t let the fear of a “failed” pour stop you from even trying. In my experience, the most interesting textures and colors often come from those little mistakes we didn’t plan for. Resin is unpredictable, and that’s part of the charm. Forget about the pressure to create a masterpiece every single time; just focus on the joy of making something with your own two hands. Once you get past the initial learning curve, you’ll realize that the real magic isn’t in the expensive tools, but in the small, quiet moments of creation that happen when life finally slows down just enough.
Frequently Asked Questions
How do I stop those annoying tiny bubbles from ruining my piece without buying an expensive vacuum chamber?
Look, I get it. You spend hours on a pour only to find a cloud of tiny bubbles staring back at you. You don’t need a vacuum chamber to fix this. First, stir your resin slowly—like you’re mixing a delicate cocktail, not a protein shake. If you’re still seeing bubbles, grab a cheap butane torch or even a heat gun to lightly pass over the surface. The heat pops them instantly without breaking the bank.
Is it actually worth buying the expensive brand-name resin, or can I get away with the cheaper stuff from a big-box store?
Look, I get the temptation to grab the cheapest bottle on the shelf, but here’s the reality: cheap resin is often a headache in disguise. It can stay tacky for days or yellow almost immediately, which is just wasted time and money. If you’re just playing around, budget options are fine, but if you want a finished piece that doesn’t look like a science experiment gone wrong, invest in a decent mid-range brand.
What do I do if I mess up a pour and the resin starts getting sticky or won't harden properly?
First, take a breath. We’ve all been there, staring at a tacky, half-set mess. If it’s still sticky after 24 hours, you likely messed up the mixing ratio or didn’t stir enough. Honestly? Don’t try to “fix” it by adding more resin on top; that usually just creates a permanent layer of goo. Your best bet is to scrape it off once it’s firm enough, clean the surface with isopropyl alcohol, and start fresh.
How do I clean up a resin spill on my workspace without making a massive, toxic mess?
First, don’t panic and definitely don’t reach for the water—that just makes it a sticky, unmanageable disaster. If it’s still wet, grab some paper towels and blot it up immediately (don’t wipe, or you’ll just spread the mess). Once you’ve lifted the bulk of it, use isopropyl alcohol on a rag to clean the residue. If it’s already hardened, leave it. Trying to scrape it off usually just creates more chaos; just wait for it to cure and pop it off later.
