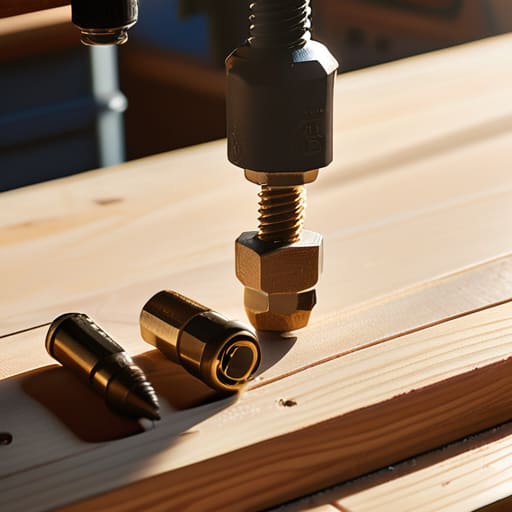
Building a Solid Desk on a Tight Budget Under $100
I was halfway through a frantic Tuesday afternoon, staring at a pile of overpriced, particle-board flat-pack furniture that was currently wobbling like it was in a mild earthquake, when I realized something: we’ve been lied to about DIY. Most online tutorials make it seem like you need a professional workshop and a thousand-dollar budget to create a workspace that actually functions. But honestly? Learning how to build a desk isn’t about achieving that hyper-curated, minimalist aesthetic you see on Instagram; it’s about creating a solid, reliable surface that doesn’t collapse the moment you lean on it to reach for your coffee.
I’m not going to walk you through a project that requires a degree in carpentry or a specialized tool for every single screw. Instead, I’m sharing a realistic, repeatable system for constructing a sturdy desk using basic materials and simple techniques that won’t break your bank. We’re going to focus on structural integrity and smart, functional design rather than unnecessary fluff. By the time we’re done, you’ll have a workspace that is built to last, even if your life (and your budget) gets a little messy.
Guide Overview
Tools & Supplies
- Power Drill for driving screws and pre-drilling holes
- Measuring Tape for accurate cutting and placement
- Sandpaper for smoothing wood surfaces
- Level to ensure the desk is flat
- Wood Desktop (1 piece)
- Wooden Legs or Table Bases (4 pieces)
- Wood Screws (1 box)
- Wood Glue (1 bottle)
Step-by-Step Instructions
- 1. First, let’s talk about the foundation: the tabletop. Don’t go out and buy a massive, expensive slab of solid oak unless you’ve got a huge budget and a way to transport it. My go-to is a thick, sturdy butcher block from a hardware store or even a solid piece of plywood that you can sand down. The key is to make sure it’s actually flat and thick enough that it won’t bow once you start leaning on it during long work sessions.
- 2. Next, you need to pick your legs, and this is where you can save a ton of time and sanity. If you aren’t looking to spend your weekend mastering complex joinery, just buy some heavy-duty metal hairpin legs or even pre-made trestle legs online. It’s a total game-changer for keeping things simple, and it means you won’t end up with a wobbly mess that makes your coffee spill every time you type.
- 3. Before you even think about assembly, grab some sandpaper—start with a medium grit and work your way up to a fine one. You want to spend a little extra time here because a smooth surface is the difference between a desk that feels premium and one that gives you constant splinters. It’s a tedious step, I know, but it’s one of those small, repeatable actions that makes the final result actually usable.
- 4. Now, it’s time to prep the surface with a finish. I’m a big fan of a simple matte polyurethane or a natural oil finish; it protects the wood from coffee rings without making it look like a shiny, plastic nightmare. Apply it in thin, even layers using a lint-free rag, and don’t be afraid to do a quick light sanding between coats to keep everything feeling silky smooth.
- 5. Once everything is bone-dry, flip your tabletop over (get a friend to help so you don’t scratch it!) and mark where your legs will go. Use a ruler to ensure they are perfectly centered and even, otherwise, your desk is going to have a permanent tilt. I usually mark the spots with a simple pencil, making sure I leave enough room from the edge so the screws don’t pop through the top.
- 6. Now, grab your drill and get to work. Pilot holes are not optional—if you try to drive a screw directly into the wood without drilling a small hole first, you are almost guaranteed to crack your beautiful new tabletop. Drill your holes, align the legs, and drive the screws in firmly but carefully. You want it tight, but don’t go overboard and strip the wood.
- 7. Finally, give the whole thing a quick “wiggle test” on its final home. If it feels a little shaky, most metal legs have small adjustable feet on the bottom that you can twist to level it out. Once it’s steady, clear off the sawdust, set up your monitor, and get to work. You didn’t build this just to look at it; you built it to be the most functional part of your day.
Choosing the Best Wood for Office Desks Without Breaking the Bank
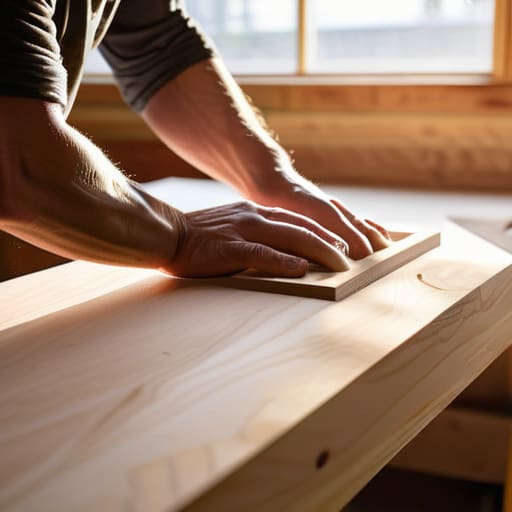
Look, I know the Pinterest boards make it seem like every DIY desk needs to be a massive slab of live-edge walnut, but let’s be real: your bank account probably doesn’t care about that. If you’re trying to stay within a budget, you don’t need to hunt down rare hardwoods. For most of us, pine or even high-quality birch plywood are the unsung heroes here. They are incredibly forgiving, easy to sand, and they take stain beautifully if you want that high-end look without the high-end price tag.
If you’re leaning toward minimalist desk design ideas, I actually recommend looking at plywood sheets. If you get a nice birch ply and sand the edges well, it looks intentional and modern rather than “cheap.” Just make sure you have a decent sander on hand; since we aren’t using professional-grade lumber, the finish is what makes or breaks the vibe.
One thing to keep in mind: don’t get caught up in the “perfect” wood hunt and forget about stability. If you’re building a desk with trestle legs, you can actually get away with a slightly lighter wood because the leg structure does most of the heavy lifting. Just pick something sturdy, keep it simple, and focus on a surface that won’t make you regret your life choices during a late-night deadline.
Minimalist Desk Design Ideas That Work When Life Gets Messy
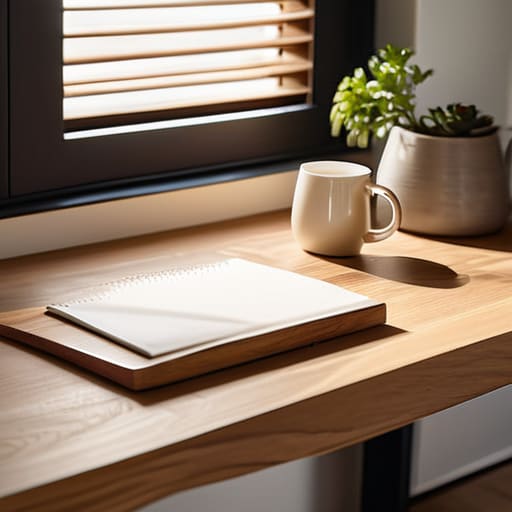
When you’re looking at all those high-end, polished setups on Instagram, it’s easy to feel like your project needs to be a masterpiece. But let’s be real: life happens. You’re going to spill coffee, you’re going to have stacks of mail, and you’re going to move this thing at least once. My favorite minimalist desk design ideas aren’t about having a perfectly clear surface at all times; they’re about choosing a layout that doesn’t fall apart when things get chaotic. I always suggest sticking to clean lines and avoiding unnecessary nooks or crannies where dust and old receipts go to die.
If you want something that feels intentional but remains incredibly forgiving, I highly recommend building a desk with trestle legs. It’s a total lifesaver for beginners because it’s much more forgiving than trying to build a complex, integrated frame. Trestle legs give you that classic, airy look, but more importantly, they make the desk easy to adjust or move if you realize your workspace setup isn’t working. It’s a low-stress way to get a high-impact result without needing a workshop full of professional-grade gear. Focus on a sturdy top and a simple base, and I promise you’ll have a workspace that actually serves you.
5 Real-World Tips for a Desk That Won't Fall Apart (or Break Your Spirit)
- Measure your space twice, but measure your reach once. I’ve seen so many people build these gorgeous, massive desks only to realize they can’t actually reach their coffee or their notebook without sliding out of their chair. Make sure the depth is actually functional for your body, not just your floor plan.
- Don’t skip the reinforcement. If you’re using a single slab of wood, it might look sleek, but it’s prone to bowing over time. Add some simple steel angle brackets or a sturdy apron underneath. It’s not about being “extra”; it’s about making sure your desk is still level six months from now.
- Plan for the cord chaos early. There is nothing that kills my productivity faster than a “minimalist” desk that looks like a spaghetti factory of tangled black wires. Drill a couple of holes for cable management or attach a cheap tray underneath while you’re still in the build phase. Future you will thank you.
- Sanding is non-negotiable. You can buy the most expensive reclaimed wood in the world, but if you don’t sand it down until it’s smooth, you’re going to end up with splinters in your forearms every time you reach for a pen. Take the extra hour to get that finish right; it’s worth the effort.
- Keep the finish practical, not just pretty. If you’re someone who spills tea or works with messy notebooks, skip the high-maintenance wax and go for a durable matte polyurethane. You want something that handles a messy life without needing a professional restoration every time you set down a mug.
The Bottom Line: Keep It Simple and Functional
Don’t get paralyzed by the “perfect” design; pick a sturdy wood that fits your budget and focus on building something that actually supports your work habits.
Prioritize a system over aesthetics—build in ways that allow for cable management and easy cleaning so your desk doesn’t become a cluttered mess in two weeks.
Remember that a desk is a tool, not a trophy; it doesn’t need to look like a showroom piece to be effective, it just needs to be reliable when you’re in the middle of a busy workday.
## Real Productivity Over Pinterest Perfection
“Stop trying to build a showroom piece that looks good in a staged photo; build a surface that can actually handle your coffee spills, your messy notebooks, and the reality of a Tuesday afternoon when everything feels a little chaotic.”
Nadia Halloway
Getting It Over the Finish Line
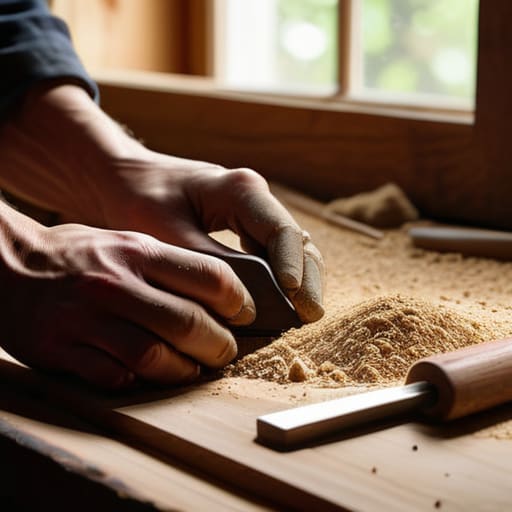
At the end of the day, building your own desk isn’t about achieving some flawless, magazine-ready masterpiece. It’s about the fact that you picked a wood that won’t drain your savings, designed a layout that won’t fall apart when you actually start working, and followed a process that actually fits into your real, messy life. You’ve moved past the stage of scrolling through endless Pinterest boards and actually put tools in your hands. Whether you ended up with a perfectly sanded surface or a few slightly uneven edges, you now have a workspace that was built with intentionality and purpose rather than just being something you grabbed off a big-box store shelf.
My biggest piece of advice as you wrap this up is to resist the urge to keep tweaking it until it’s “perfect.” Perfection is the enemy of actually getting things done, and it’s a quick way to burn out before you even sit down to work. Instead, celebrate the fact that you created a functional system from scratch. This desk is a foundation—a solid, reliable spot where you can focus on the work that matters. Now, grab a coffee, clear off the sawdust, and start making things happen in the space you built for yourself.
Frequently Asked Questions
I don't have a garage or a workshop, so can I actually pull this off with just a few basic tools in my apartment?
Honestly? Yes. I’ve spent half my life restoring furniture in tiny apartments, so I get the panic. You don’t need a garage or a full workshop to make this happen. If you have a screwdriver, a drill, and maybe a sander, you’re golden. Just grab a heavy-duty drop cloth to catch the sawdust—trust me, your rug will thank you—and keep your workspace organized. It’s about the system, not the square footage.
How do I make sure the desktop doesn't warp or sag over time if I'm planning on putting heavy equipment on it?
Look, I’ve seen too many beautiful DIY desks turn into sad, bowed crescents because someone underestimated their monitor setup. If you’re loading this thing with heavy gear, don’t skip the structural stuff. First, use a thicker slab—aim for at least 1.5 inches. Second, add an apron (that’s just a sturdy wooden frame running underneath the top) or a steel stiffener. It’s not the most “aesthetic” look, but it’s the only way to keep things level when life gets heavy.
Is there a way to finish the wood that won't leave a weird chemical smell in my living space for weeks?
I totally get it. There is nothing worse than finishing a project only to have your entire apartment smell like a hardware store for a month. If you want to avoid that chemical funk, skip the heavy polyurethanes and go with a food-safe hardwax oil or a simple beeswax finish. They’re much easier to apply, they smell like actual nature instead of a lab, and they’re way more forgiving when you’re working in a small space.
What’s the best way to hide all my messy cords without spending a fortune on expensive cable management trays?
Honestly, don’t fall for those $50 designer cable boxes. I’ve spent way too much time on DIY fixes that actually work. Grab a pack of heavy-duty Velcro ties—not the plastic zip ties, because you will want to change your setup later—and some adhesive cable clips. If you have a desk with a back rail, use a simple mesh net or even a cheap command hook system to tuck everything out of sight. It’s not pretty, but it’s functional.
