How to Install Shelving That Is Actually Secure
I was standing in my tiny studio apartment three years ago, staring at a pile of expensive oak planks and a level that seemed to be lying to me, feeling like a total failure. I had watched a dozen “aesthetic” home decor videos that made it look like you just tap a bracket into the wall and suddenly your life is organized and serene. But let’s be real: the truth about how to install a shelf is a lot messier, involving drywall dust, a frantic search for a stud finder, and the very real possibility of a crooked bracket. You don’t need a professional contractor or a massive budget; you just need to stop trying to make it look like a showroom and start focusing on structural integrity.
In this guide, I’m stripping away the Pinterest perfection and giving you the actual, grit-under-your-fingernails process for getting things on your walls. I’ll show you how to find those elusive studs, which anchors won’t crumble under pressure, and how to handle the inevitable “oops” moments without losing your mind. We aren’t aiming for a magazine spread here; we are building small, repeatable systems that actually hold your books and plants without collapsing. Let’s get to work.
Guide Overview
Tools & Supplies
- Drill/Driver for making pilot holes and driving screws
- Level to ensure the shelf is straight
- Stud finder to locate wall supports
- Pencil for marking installation points
- Measuring tape for precise spacing
- Shelf unit 1 unit
- Wall anchors 4-6 pieces
- Screws 4-6 pieces
- Wall mounting brackets 2-4 pieces
Step-by-Step Instructions
- 1. First things first, grab your gear. You don’t need a professional contractor’s toolkit, but you do need a drill, a level, a pencil, a stud finder, and a screwdriver. If you’re working with drywall, make sure you have the right anchors—don’t just wing it with random screws you found in a junk drawer, or that shelf is going to end up in pieces on the floor.
- 2. Use your stud finder to scan the wall where you want the shelf to live. I know, it’s tempting to just eye it up, but finding a solid stud is the difference between a shelf that holds your heavy ceramic mugs and one that rips a hole in your wall. Mark the spots where the stud is located with your pencil.
- 3. If you can’t find a stud exactly where you want the shelf (which happens more often than you’d think), this is where your anchors come in. Mark your holes clearly. Take your level and hold it against the wall at your desired height to make sure your marks are actually straight. There is nothing more soul-crushing than finishing a project only to realize it’s leaning five degrees to the left.
- 4. Now, time for the heavy lifting. Drill your pilot holes into the marks you made. If you’re using anchors, tap them into the holes with a hammer until they are flush against the wall. If they’re wobbly, give them another tap; you want them to feel like they’re actually part of the house now.
- 5. Line up your brackets or shelf supports over the holes. Double-check with your level one last time—I’m serious, check it twice. Once you’re confident, drive your screws through the brackets and into the anchors or studs. Don’t over-tighten to the point where you strip the screw, but make sure they’re snug enough that the bracket doesn’t budge when you poke it.
- 6. Lay your shelf board on top of the brackets. Depending on your setup, you might need to screw the shelf into the brackets from underneath to keep it from sliding. This is a small, repeatable step that prevents the “sliding shelf” disaster later when you’re trying to grab a book.
- 7. Finally, clear the workspace and actually use it. Don’t wait until the shelf looks “perfectly styled” to put things on it. Load it up with your essentials, check that it’s still holding steady, and call it a win. It doesn’t have to be a showroom display; it just needs to work.
The Essential Tools for Shelving When Life Gets Messy
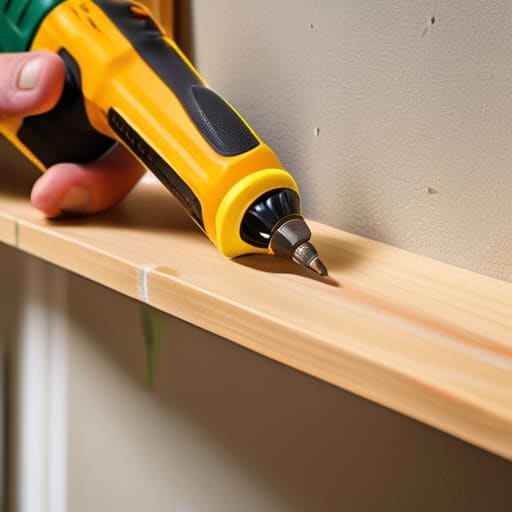
Look, you don’t need a professional contractor’s toolkit to get this done, but you also shouldn’t be winging it with a butter knife and a prayer. If you’re anything like me, your “tool kit” is probably a random junk drawer in the kitchen. To keep this from becoming a disaster, grab a decent drill, a manual screwdriver, and a pencil. The most important thing I can tell you? Don’t skip the level. I’ve spent way too many Saturday mornings staring at a crooked shelf because I thought I could “eye it.” Even a slight tilt makes your carefully curated books look like they’re sliding into a canyon.
When it comes to the actual hardware, this is where people usually trip up. If you’re planning on storing heavy ceramic mugs or thick cookbooks, you can’t just rely on basic plastic plugs. You need to prioritize finding wall studs first. If you can hit that solid wood, you’re golden. If your layout doesn’t line up with the studs, please, for the love of your security deposit, invest in some heavy-duty drywall anchors for heavy loads. It’s a five-dollar fix that prevents a fifty-dollar heartbreak when your shelf inevitably decides to take a dive.
Finding Wall Studs and Choosing Drywall Anchors for Heavy Loads
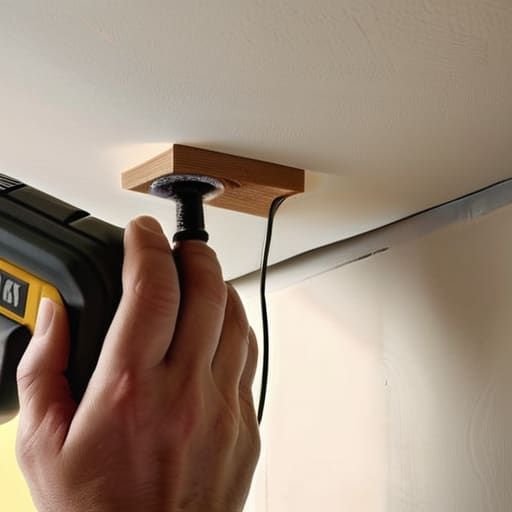
Here’s the thing about walls: they aren’t always as solid as they look. If you’re planning on more than just a single, lightweight succulent, you really need to prioritize finding wall studs. I’ve learned the hard way that relying on nothing but hollow drywall is a recipe for a midnight disaster involving shattered ceramic and a very messy floor. Grab a stud finder—even a cheap one works—and mark those spots clearly. If your shelf layout doesn’t line up perfectly with the studs, don’t panic or start tearing out drywall; that’s where your hardware choice becomes everything.
When you’re stuck in that awkward gap between studs, you need to be smart about drywall anchors for heavy loads. Please, for the love of your sanity, skip the flimsy plastic sleeves that come in those cheap little kits. They’re basically designed to fail. Instead, look for heavy-duty toggle bolts or zinc self-drilling anchors. They might feel a bit more intimidating to install, but they provide the actual grip you need to keep your stuff from becoming floor decor. It’s all about choosing the right wall mounting hardware types for the specific job at hand. It takes an extra five minutes of planning, but it beats the heartbreak of a collapsed shelf.
Five Ways to Avoid a "Shelf Disaster" (Because We’ve All Been There)
- Measure twice, but check your level three times. There is nothing more soul-crushing than finishing a project only to realize your beautiful new shelf is leaning slightly to the left like it’s had one too many espressos.
- Don’t go overboard with the decor right away. I know, the Pinterest aesthetic is tempting, but put your actual stuff on it first to see if the anchors are actually holding up. If you see the drywall bowing, take the books off immediately.
- Keep your workspace contained. If you’re drilling into a wall, grab a cheap piece of cardboard or a small hand-vac to catch the dust. I’ve spent way too many Saturday mornings cleaning drywall grit out of my rug.
- Respect the weight limits. Just because a shelf looks sturdy doesn’t mean it’s meant to hold your entire collection of heavy art books. Match the shelf’s capacity to what you actually plan to put on it.
- Leave a little breathing room. If you’re installing multiple shelves, don’t cram them too close together. Give yourself enough space to actually reach in and grab what you need without knocking everything else over.
The Bottom Line: Keep It Functional, Not Perfect
Don’t sweat the aesthetic; prioritize a solid anchor in a stud or a heavy-duty drywall anchor so your stuff actually stays where you put it.
Invest in a decent level and a drill—skimping on the basic tools is the fastest way to turn a quick project into a frustrating, crooked mess.
Aim for systems, not perfection; if the shelf is straight and holds your books, you’ve won, even if it doesn’t look like a staged photo from a magazine.
## The Perfectionist's Trap
“Stop worrying about whether your shelf is perfectly level to the millimeter or if the hardware looks like it belongs in a design magazine; if it’s sturdy, holds your books, and doesn’t crash down when you walk away, you’ve already won.”
Nadia Halloway
Done is Better Than Perfect
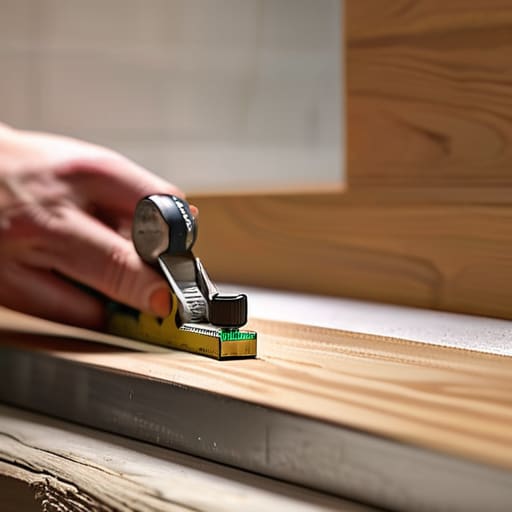
Look, we’ve covered a lot of ground, from hunting down those elusive studs to picking the right anchors so your collection of heavy cookbooks doesn’t end up in a pile on the floor. At the end of the day, installing a shelf isn’t about achieving some flawless, magazine-ready look; it’s about the logistics. If you’ve got your level handy, your measurements double-checked, and you’ve secured those brackets into something actually solid, you’ve already won the battle. Don’t get paralyzed by the fear of a slightly crooked screw or a tiny hole in the drywall. Just focus on the functional basics and get that hardware into the wall so you can finally clear some clutter off your surfaces.
Once that last screw is tightened and you’ve wiped the sawdust off your hands, take a second to appreciate what you just did. We spend so much time scrolling through curated spaces that make us feel like our homes are never “finished,” but real life happens in the spaces we build for ourselves. This shelf isn’t just extra storage; it’s a small, repeatable win in your personal environment. Stop waiting for the perfect moment or the perfect toolkit to start organizing your life. Grab your drill, embrace the mess, and just start building. You’ve got this.
Frequently Asked Questions
What do I do if I can't find a stud exactly where I want the shelf to go?
Look, I’ve been there. You have the perfect spot for that thrifted teak shelf, but the studs are being stubborn and nowhere near your mark. Don’t force it or you’ll end up with a hole in your wall and a shelf on the floor. If you can’t hit a stud, stop trying to use basic plastic plugs. Invest in some heavy-duty toggle bolts. They’re a lifesaver when you need to prioritize function over perfection.
How much weight can I actually put on these plastic anchors before they rip out of the wall?
Look, I get it—you want to know if that stack of heavy cookbooks is going to end up on the floor. Honestly? Most plastic anchors are rated for maybe 10 to 20 pounds, but that’s “perfect conditions” math. In a real house, if you’re pushing those limits, they’re going to wiggle loose. If you’re hanging anything heavier than a small succulent, skip the plastic and find a stud. It’s not worth the cleanup.
Is there a way to fix it if I accidentally drill a hole in the wrong spot?
Deep breaths—we’ve all been there. I once drilled a hole right in the middle of a perfectly good piece of mid-century teak. If it’s just a small hole in drywall, don’t panic. Grab some lightweight spackle, smear it in with your finger, wipe it flush, and let it dry. If it’s a larger hole or you hit a stud, you might need a patch kit or to shift your entire layout slightly. Just keep it simple.
How do I make sure the shelf is actually level without spending a fortune on fancy tools?
Look, you don’t need a professional laser level to get this right. If you’re like me and hate cluttering up the junk drawer with expensive gadgets, just grab a standard bubble level from a hardware store—it’s like five bucks. If you’re truly stuck, download a leveling app on your phone. It’s not perfect, but for a single shelf, it’ll get you close enough to avoid the “crooked leaning tower” look.
