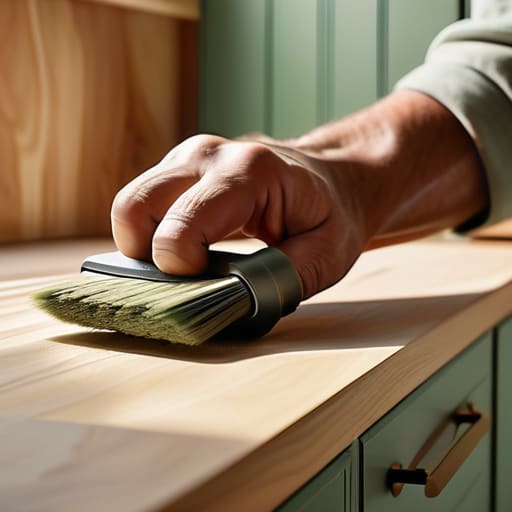
Transform Your Kitchen With a Fresh Coat of Cabinet Paint
I was sitting on my kitchen floor three years ago, surrounded by half-empty cans of primer and a mounting sense of regret, staring at a cabinet door that looked more like a textured sponge than a finished surface. Everyone on social media makes it look like a breezy weekend project, but the truth is, most advice on how to paint kitchen cabinets ignores the actual chaos of a real home. You don’t need a professional spray booth or a pristine, empty house to get decent results; you just need to stop chasing that unreachable Pinterest perfection and start focusing on a process that actually survives a Tuesday morning.
I’m not going to give you a list of expensive, boutique tools that will just sit in your junk drawer later. Instead, I want to walk you through a realistic, repeatable system that prioritizes durability over aesthetics. We’re going to cover the essential prep work that prevents peeling, the specific types of paint that won’t turn tacky in a month, and how to manage the mess without losing your sanity. Let’s get into the actual mechanics of how to paint kitchen cabinets so you can finally enjoy your space without breaking the bank.
Guide Overview
Tools & Supplies
- Screwdriver or drill for removing hardware
- Sandpaper (120-220 grit) for smoothing surfaces
- High-quality synthetic brush for edges
- Small foam roller for smooth finishes
- Degreaser or TSP for cleaning cabinets
- Primer (bonding type) 1-2 gallons
- Cabinet-grade paint 1-2 gallons
- Painter's tape for masking edges
Step-by-Step Instructions
- 1. First, we need to deal with the hardware. I know, it sounds tedious, but you really can’t do this right if you’re trying to paint around knobs and hinges. Grab a screwdriver and take everything off. Put all the screws, hinges, and handles into labeled sandwich bags or small containers. If you just toss them in a junk drawer, you will lose them, and then you’ll be stuck at the hardware store halfway through the project.
- 2. Now comes the part everyone hates: the cleaning. Your cabinets are covered in years of cooking grease and fingerprints that a quick wipe won’t touch. Use a heavy-duty degreaser—something like TSP (trisodium phosphate) if you can find it—to scrub every inch. If you skip this, your expensive new paint will basically just sit on top of the grease and start peeling off in six months.
- 3. Once they are bone-dry, it’s time to sand. You don’t need to sand them down to the bare wood like you’re stripping a deck; you just need to “scuff” the surface. The goal is to take the shine off so the primer has something to actually grab onto. A medium-grit sandpaper works best here. Just keep it even and don’t stress if it looks a little messy; we’re just prepping the canvas.
- 4. This is where most people try to cut corners, but please, don’t skip the primer. Use a high-quality, stain-blocking primer. If you go straight in with your pretty color, the wood tannins or old stains might bleed through, leaving you with weird yellowish spots. I usually prefer a spray primer for the hard-to-reach corners, but a good old-fashioned brush works fine too as long as you aren’t being too heavy-handed.
- 5. Now for the fun part: the actual paint. I’m a huge fan of using a high-quality cabinet enamel rather than standard wall paint. Wall paint is too soft and will end up feeling sticky to the touch when you open and close the doors. Apply your first coat in thin, even layers. It’s much better to do three thin coats than one thick, gloopy one that drips everywhere.
- 6. Let the paint cure. This is the hardest part of the whole system because you’ll want to put your dishes back immediately, but patience is your best tool here. Even if it feels dry to the touch after an hour, the paint is still “soft” for a few days. If you rush it, you’ll end up with permanent dents or scratches from your plates. Give it at least 24 to 48 hours before you even think about reattaching the hardware.
- 7. Finally, put it all back together. Line up your labeled bags, screw the hinges back in, and celebrate the fact that your kitchen looks completely different without you having to spend five figures on a full renovation.
The No Nonsense Cabinet Painting Supplies List You Actually Need
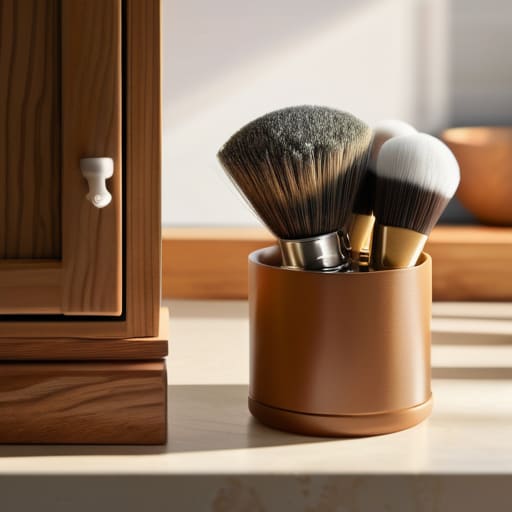
Look, I’ve seen enough “aesthetic” DIY videos to know that they make this look way easier than it actually is. You don’t need a professional studio or a $500 toolkit to get this done, but you do need to stop skipping the boring stuff. When I’m putting together a cabinet painting supplies list, I prioritize utility over everything else. Don’t go out and buy every fancy gadget on the shelf; just get a high-quality microfiber cloth, a decent set of angled brushes, and a small foam roller. If you try to skimp on the tools, you’ll end up spending more time fixing mistakes than actually painting.
The biggest mistake I see people make is getting caught up in the debate of cabinet primer vs paint without realizing that the primer is actually the heavy lifter here. If you don’t use a dedicated primer, your finish is going to look uneven, and you’ll be cursing your life choices by week three. Also, please, for the love of all things functional, don’t skip the sanding. Even if you think your cabinets are clean, a quick scuff is essential for how to prep cabinets for painting properly. It’s the difference between a finish that lasts ten years and one that starts peeling the moment you bump a pot against it.
Mastering How to Prep Cabinets for Painting Without the Chaos
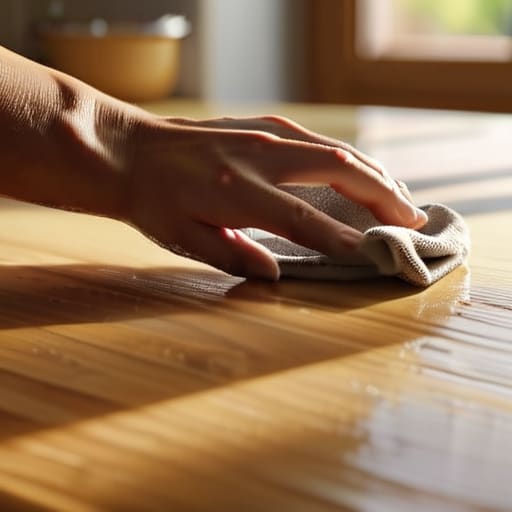
Look, I’m going to be real with you: the prep work is where most people lose their momentum. It’s tedious, it’s dusty, and it’s tempting to skip ahead to the fun part. But if you want to avoid a disaster where your new finish starts peeling off in six months, you can’t cut corners here. When learning how to prep cabinets for painting, the goal isn’t to make them look brand new immediately; it’s about creating a surface that actually wants to hold onto the pigment. Start by deep cleaning. I’m talking about getting every trace of grease and old cooking oils off the wood, because even the best paint for kitchen cabinets won’t stick to a layer of bacon grease.
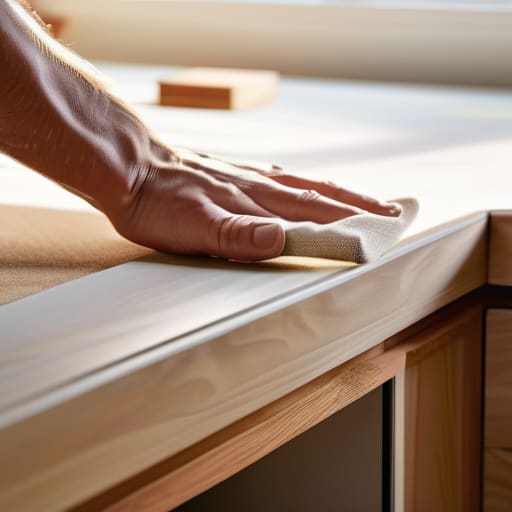
Once they’re clean, you’ll need to tackle the sanding. Don’t feel like you need to sand them down to raw wood unless they’re heavily stained, but you absolutely need to scuff the surface so the primer has something to grab onto. I usually swear by a few specific cabinet sanding techniques, like using a medium grit to knock down the shine and then finishing with a fine grit to smooth things out. Don’t obsess over perfection—you’re looking for a uniform, matte texture, not a polished marble finish. If you get the grit right and keep the dust wiped away, the actual painting part will be a breeze.
5 Ways to Keep This Project from Becoming a Total Disaster
- Don’t try to do the whole kitchen in one weekend. If you attempt to strip, sand, and paint every single door in forty-eight hours, you’re going to burn out by Saturday afternoon. Do it in stages so you still have a functional kitchen to cook in.
- Accept that “perfect” is the enemy of “done.” You might find a tiny speck of dust trapped in the drying paint, and honestly? Just leave it. If you obsess over every microscopic flaw, you’ll never actually finish the project.
- Test your color on a scrap piece of wood first, not just a swatch from the store. Lighting in a kitchen is weird—what looks like a soft greige in the store might look like a cold, depressing hospital hallway under your LED under-cabinet lights.
- Invest in a decent brush, but don’t go overboard on fancy gadgets. A high-quality angled brush is your best friend for those tricky corners; a cheap, scratchy one will just leave streaks that make you want to cry.
- Protect your sanity by cleaning up as you go. There is nothing worse than finishing a long day of sanding only to realize you’ve left a layer of fine dust over every single appliance and countertop in the house.
The Real-World Cheat Sheet
Don’t obsess over perfection; focus on the prep work, because a decent cleaning and sanding routine is what actually keeps the paint from peeling when you inevitably bump a cabinet door a month from now.
Skip the expensive, specialized gadgetry and just invest in a few high-quality basics—if your tools are junk, the system breaks, and you’ll end up spending more time fixing mistakes than actually painting.
Aim for progress, not a Pinterest showroom; it’s better to have a functional, clean-looking kitchen that you actually finished than a half-painted disaster that stays stuck in “project mode” for three months.
The Real Secret to a Good Finish
“Forget the idea that you need a professional studio setup to get a decent result. A smooth finish isn’t about having the most expensive sprayer on the market; it’s about the boring, repetitive work you do with a sponge and some sandpaper before the first drop of paint even touches the wood.”
Nadia Halloway
The Finish Line (And What Comes After)
Look, I know how exhausting this process is. Between the endless scrubbing, the tedious sanding, and the constant fear of a drip ruining your hard work, it’s easy to feel like you’ve bitten off more than you can chew. But remember: the magic isn’t in the perfect brushstroke; it’s in the systematic approach you took to get here. You didn’t just slap some paint on old wood; you prepped, you primed, and you applied thin, manageable layers. By focusing on that solid foundation rather than trying to achieve instant perfection, you’ve ensured that your hard work won’t peel off the moment life gets messy again.
At the end of the day, your kitchen doesn’t need to look like a staged set from a luxury home magazine to be beautiful. It just needs to be a space that works for you and feels like home. Don’t let the pursuit of an “aesthetic” life stop you from actually living in it. You’ve done the heavy lifting, and even if there’s a tiny imperfection you notice six months from now, it doesn’t change the fact that you took a massive, proactive step toward improving your environment. Take a breath, grab a coffee, and enjoy your new space—you’ve more than earned it.
Frequently Asked Questions
How long do I actually have to wait before I can start using my kitchen again without ruining the finish?
Here’s the truth: your cabinets might feel dry to the touch in a few hours, but they aren’t actually cured. If you start slamming them shut or scrubbing them too soon, you’ll ruin the finish. Give them at least 48 hours before light use, but ideally, wait a full week before heavy-duty cleaning. It’s frustrating, I know, but letting the paint actually harden is the only way to avoid a sticky, ruined mess.
Is it worth it to sand everything down, or can I get away with just a good cleaning and a primer?
Look, I get the temptation to skip the sanding. It’s loud, dusty, and feels like a massive waste of time. If your cabinets are in decent shape and just look a little dull, a deep clean followed by a high-quality, aggressive bonding primer can work. But if you’ve got heavy grease or a high-gloss finish, skipping the sand is asking for peeling paint in six months. Sand a little—just enough to scuff the surface—and you’ll save yourself a massive headache later.
What should I do if I notice brush marks or drips halfway through the process?
Take a breath. You haven’t ruined everything. If you catch drips while the paint is still wet, grab a clean brush and lightly skim over them to level things out. If the paint has already dried, don’t try to sand it down blindly—you’ll just create a crater. Wait for it to cure completely, sand that specific spot smooth, wipe away the dust, and apply a thin, even layer to bridge the gap.
How do I choose a paint color that won't make my small kitchen feel like a dark cave?
Look, I get it. You want a change, but you don’t want to feel like you’re cooking inside a literal cave. My rule of thumb? Avoid anything with heavy, muddy undertones. Instead, lean into “warm neutrals”—think soft creams or light greys with a hint of warmth. They bounce light around without feeling clinical. If you’re feeling brave, a pale sage can also add depth without swallowing the room. Just test a swatch first; lighting is everything.
