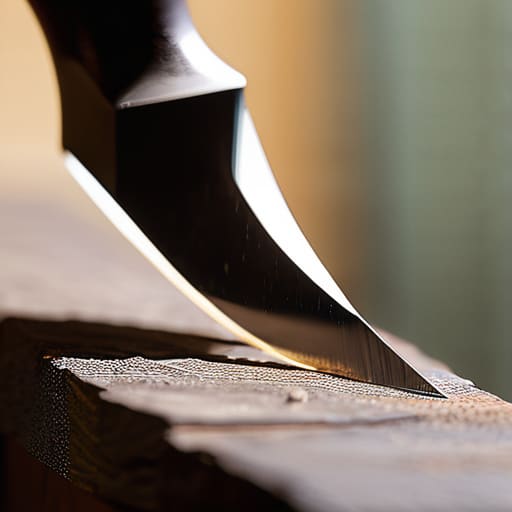
Tips for Sharpening Your Tools and Maintaining Them
I was halfway through sanding down a beat-up mid-century credenza I’d rescued from a curb last weekend when my chisel finally gave up the ghost. Instead of a clean slice, it just tore through the wood like a dull spoon, leaving me staring at a ruined grain and a massive pile of frustration. Most people think you need a $200 electric sharpening station or a specialized workshop to fix a blunt edge, but that’s just more expensive clutter we don’t need. Honestly, learning how to sharpen tools doesn’t require a degree in metallurgy or a garage full of gadgets; it just requires a little bit of patience and the right manual approach.
I’m not going to bore you with complex technical jargon or suggest you buy a professional-grade kit that you’ll use exactly once. Instead, I want to show you how to build a small, repeatable system using basic items like a whetstone or even a simple file. We’re going to focus on the actual mechanics that work when you’re in the middle of a project and just need things to function properly. By the end of this, you’ll have a straightforward method to keep your kit ready for whatever mess life throws your way.
Guide Overview
Tools & Supplies
- Garden shears (for pruning)
- Kitchen knife (for slicing)
- Sharpening stone/whetstone (1 set)
- Honing rod (1 piece)
- Lubricant/Water (as needed)
- Microfiber cloth (1 piece)
Step-by-Step Instructions
- 1. First things first, grab a decent whetstone. You don’t need some expensive, professional-grade setup that takes up half your workbench; a simple dual-grit whetstone (one coarse side, one fine side) is all you really need to get the job done. Just make sure you soak it in water for about ten minutes before you start, unless it’s an oil stone, because trying to sharpen a bone-dry stone is a recipe for a ruined edge.
- 2. Find a stable surface to work on. If you’re working on a small kitchen table or a cluttered desk, prop your stone up on a damp paper towel or a piece of non-slip shelf liner so it doesn’t slide around while you’re applying pressure. There is nothing more frustrating than a slipping stone when you’re trying to find that perfect angle.
- 3. Now, let’s talk about the angle. This is where most people overcomplicate things and end up frustrated. For most basic tools, you want to hold the blade at about a 20-degree angle. If you aren’t sure what that looks like, think of it as the space between your thumb and index finger when you make an “L” shape. Consistency is way more important than being mathematically perfect.
- 4. Start with the coarse side of the stone. Hold the tool firmly and move it across the stone in long, sweeping strokes, ensuring the entire edge makes contact. You’re looking to see a tiny bit of “burr”—that’s a microscopic curl of metal forming on the opposite side of the edge. Once you feel that slight rough texture, you know you’re actually doing work and not just polishing the surface.
- 5. Switch over to the fine-grit side to smooth everything out. This is the part where you refine the edge you just created. Use lighter pressure here and focus on those short, controlled strokes. This step is what turns a jagged, functional edge into something that actually feels clean when it cuts through material.
- 6. Test your progress, but please, for the love of everything, don’t test it on your thumb. I’ve seen enough DIY disasters to know better. Instead, try a quick slice through a piece of scrap paper or a piece of cardboard. If it glides through without snagging, you’ve nailed it.
- 7. Finally, wipe everything down and dry it immediately. If you’re working with steel, leaving it damp is just asking for rust to move in overnight. Store your tools in a dry spot, and you’ll find that a little bit of maintenance every few months saves you from having to buy replacements constantly.
Whetstone Sharpening Techniques That Actually Work in a Messy Kitchen
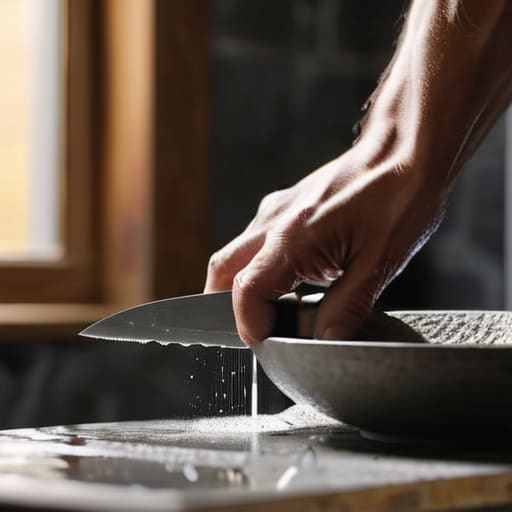
Look, I get it. Most of these tutorials assume you have a pristine, marble-countertop studio and all the time in the world. In a real, busy kitchen—especially if you’re working in a small space where everything feels a bit chaotic—you don’t need a masterclass; you just need to know what works. When it comes to whetstone sharpening techniques, the biggest mistake I see is people overcomplicating the setup. You don’t need a fancy workstation. Just grab a damp kitchen towel to put under your stone so it doesn’t slide around while you’re mid-slice, and keep a small bowl of water nearby.
One thing that trips people up is the confusion between honing steel vs sharpening stone. Think of the honing steel as your “daily maintenance” tool to realign the edge, while the stone is for when things actually get dull. If you want to focus on maintaining blade edge longevity without spending an hour on it every weekend, try to catch the dullness early. Also, don’t stress about finding the “perfect” angle right away. For most of my kitchen knives, I aim for about 15 to 20 degrees. It’s not about being a surgeon; it’s about finding a consistent rhythm that feels natural to your hand.
Mastering the Sharpening Angle for Different Tools Without the Fuss
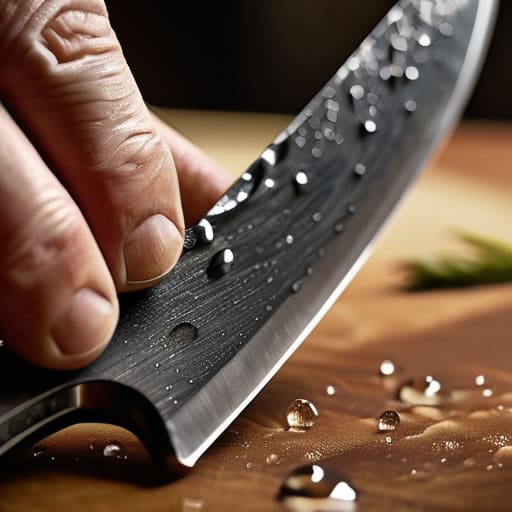
Look, I get it. The idea of finding a precise, mathematical angle feels like something out of a textbook, and frankly, it’s intimidating when you just want to slice an onion. But here’s the thing: you don’t need a protractor. For your standard kitchen knives, aim for about 15 to 20 degrees. A good trick I learned when I was first starting out is to use the space between your thumb and index finger as a physical guide to hold that angle steady against the stone.
The real secret to maintaining blade edge longevity isn’t just about the angle; it’s about consistency. If you’re working with something more specialized, like a heavy-duty chisel or a paring knife, you might need to adjust. A thicker blade usually needs a slightly wider, more obtuse angle to handle the impact without chipping.
Also, don’t get caught up in the “honing steel vs sharpening stone” debate every time you’re mid-task. A honing steel is great for a quick realignment when you’re in a rush, but if the edge is actually dull, you need to get back to the stone. Just pick a steady angle, keep your pressure light, and don’t overthink the perfection—it’s about getting it sharp enough to work, not museum-quality.
5 ways to keep things sharp without losing your mind
- Stop overthinking the “perfect” angle. If you’re working on a kitchen knife, just aim for about 20 degrees and keep your hand steady. It doesn’t need to be a geometry lesson; it just needs to be consistent.
- Don’t go out and buy a $200 professional sharpening kit. A simple dual-grit whetstone is more than enough to get the job done, and it won’t take up half your counter space when you’re finished.
- Clean your tools before you start. I know, it’s tempting to just dive in, but trying to sharpen a blade covered in dried food or grease is a recipe for a dull stone and a frustrated afternoon.
- Listen to the sound, not just your eyes. When you’re working the stone, you’ll eventually hear a change in the “shing” sound as the edge gets finer. Trust that feedback more than you trust a timer.
- Make it a habit, not a project. Don’t wait until your knife is so dull it’s basically a butter spreader. Spend five minutes once a month doing a quick touch-up so you aren’t scrambling when you actually need to prep dinner.
The "No-Fluff" Summary
Stop waiting for a professional setup; a single, decent whetstone and a bit of patience will do more for your kitchen than a bunch of expensive, specialized gadgets you’ll never use.
Consistency beats intensity every single time—don’t try to sharpen everything at once, just make it a habit to touch up your most-used tools for five minutes once a week.
Focus on the feel, not just the theory; once you find that comfortable angle that doesn’t strain your wrist, stick to it and stop overthinking the “perfect” technical specs.
The reality of tool maintenance
“Stop waiting for the perfect, high-end setup to get started. A dull knife is just a safety hazard in disguise, and you don’t need a professional workshop to fix it—you just need five minutes and a repeatable habit that works even when your kitchen is a disaster.”
Nadia Halloway
Keeping It Sharp (Without the Stress)
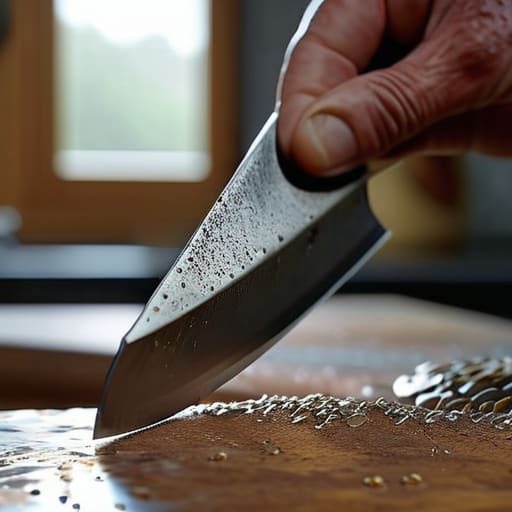
Look, I know that setting aside time to mess around with a whetstone feels like just another chore on an already overflowing to-do list. But once you’ve mastered that basic angle and found a rhythm that works for your specific tools, you’ll realize it’s not about achieving some professional chef-level perfection. It’s about the fact that a sharp knife makes every meal prep faster and significantly safer. You don’t need a massive workshop or a suite of expensive gadgets to get this right; you just need a consistent, low-effort routine that fits into the gaps of your actual, messy life.
At the end of the day, my goal isn’t to turn you into a master bladesmith, but to help you stop fighting against dull equipment that makes your daily tasks feel twice as hard. Don’t let the fear of doing it “wrong” stop you from even trying. Start small, grab your stone, and just see how it feels. When you stop chasing the aesthetic of a perfect kitchen and start focusing on the utility of well-maintained tools, everything just runs a little bit smoother. You’ve got this.
Frequently Asked Questions
How often do I actually need to do this without making it a whole "thing"?
Look, I’m not going to tell you to schedule a monthly “sharpening ritual.” That’s how systems die—they become chores. Instead, just make it a habit to check your blades right before you start cooking. If a tomato skin resists or a knife feels sluggish, spend three minutes on the stone then. Don’t make it a whole “thing”; just treat it like checking your coffee levels. If it feels dull, fix it. Done.
Is it worth spending money on a professional sharpener, or is a basic whetstone really enough?
Honestly? Unless you’re running a professional kitchen or restoring high-end heirloom knives every single day, skip the expensive professional sharpening machines. They’re often overkill and take up precious counter space. A basic whetstone is more than enough if you build a tiny, five-minute habit around it. It’s cheaper, more versatile, and much more satisfying once you get the hang of it. Save that money for a decent set of mid-century thrift finds instead.
What happens if I mess up the angle and accidentally ruin the blade?
Look, I’ve been there. I once completely botched a vintage paring knife and felt like a total failure. If you go too deep and nick the edge, don’t panic. You haven’t ruined it; you’ve just created a “reprofiling” project. You’ll need to use your coarsest grit stone to grind down the metal until the nick is gone. It takes a bit more elbow grease, but it’s much better than tossing a good tool.
How do I know when a tool is actually sharp versus just feeling smooth?
Honestly, I used to think “smooth” meant sharp, too, until I ruined a perfectly good piece of wood. Here’s the real test: don’t just feel it with your thumb (please, be careful). Instead, grab a piece of scrap paper or a tomato. If the blade glides through a sheet of paper without snagging or tearing, you’re golden. If it feels like it’s “sliding” but not actually cutting, it’s just polished—not sharp.
