Tame the Cord Chaos With These Diy Cable Management Hacks
I was sitting on my floor last Tuesday, surrounded by a literal nest of black wires, trying to reach a charger that had migrated behind my desk, when I realized I’d hit a breaking point. It wasn’t just the mess; it was the sheer mental drain of looking at that tangled chaos every time I sat down to work. We’ve all seen those hyper-curated desk setups on Instagram that look like something out of a sci-fi movie, but let’s be real: those setups are impossible to maintain when you actually have a life. Most people think cable management diy requires a massive budget or a degree in engineering, but the truth is that if a system is too complicated, you’re just going to stop using it the moment you need to plug in a new lamp.
I’m not going to suggest you spend eighty dollars on specialized plastic trays that just collect dust. Instead, I want to show you how to build a system that actually works with your chaos rather than against it. We’re going to focus on cheap, repeatable hacks—think velcro ties, repurposed clips, and clever positioning—that keep your tech running smoothly without the headache. This guide is all about low-maintenance solutions that stay put, even when life gets messy.
Guide Overview
Tools & Supplies
- Scissors or wire cutters for trimming ties
- Label maker or masking tape for identification
- Velcro cable ties (1 pack)
- Cable management sleeves or raceways (1-2 units)
- Adhesive cable clips (1 pack)
- Power strip/Surge protector (1 unit)
Step-by-Step Instructions
- 1. First, you need to do a quick “chaos audit.” Pull everything out from behind your desk or wherever the mess is hiding. I know, it’s tempting to just shove it all back in once you’ve untangled it, but you can’t build a functional system if you don’t actually see what you’re working with. Group your cables by what they do—power strips, computer peripherals, and chargers—so you aren’t guessing later.
- 2. Grab some velcro ties. Please, for the love of all things sane, skip the plastic zip ties. Zip ties are the enemy of the freelance life because once you buy a new piece of gear, you have to cut the old ones off and start from scratch. Velcro is reusable, forgiving, and won’t damage your cords when you inevitably move your desk to a different corner of the room.
- 3. Use a label maker (or just a roll of masking tape and a Sharpie if you’re on a budget) to mark both ends of every cable. There is nothing more frustrating than being mid-project and having to crawl under your desk just to figure out which black cord belongs to your monitor and which one is for your lamp. Labeling them now saves you a massive headache in three months.
- 4. If you have a power strip sitting on the floor like a tangled nest of snakes, get it off the ground. You can use heavy-duty mounting tape to stick it to the underside of your desk, or even better, screw a cheap wire basket to the bottom of your desk to act as a “cable tray.” This keeps the heavy bricks and messy plugs completely out of sight and away from your feet.
- 5. Route your cables along the legs of your furniture. Instead of letting them hang in mid-air, use those adhesive cable clips I mentioned earlier to guide the wires down the desk leg. It makes the whole setup look intentional and clean, but more importantly, it prevents you from tripping over a cord and sending your laptop flying mid-email.
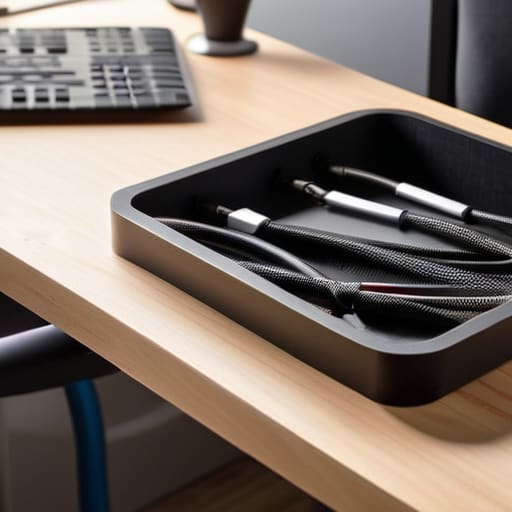
- 6. Create a “charging station” zone for your mobile tech. Don’t let your phone, tablet, and headphones clutter your actual workspace. Find a small tray or even a repurposed wooden box from a thrift store and keep all your daily chargers in that one spot. It keeps your primary workspace clear for actual work, rather than just being a landing pad for electronics.
Under Desk Cable Tray Installation Small Wins for Big Sanity
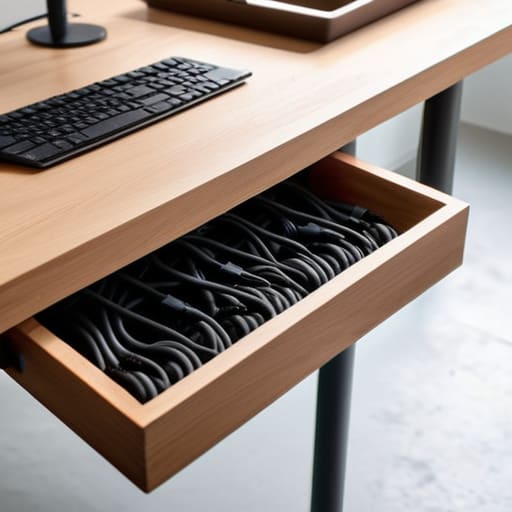
If you’re like me and your workspace feels like a graveyard of tangled black cords, an under desk cable tray installation is probably the single best investment you can make. I used to think I needed to hide everything inside the desk, but that’s just a recipe for frustration when you actually need to plug something in. Instead, mounting a simple metal or mesh tray underneath the desktop keeps the mess off the floor and out of your peripheral vision. It’s one of those small, repeatable systems that makes cleaning the floor actually possible instead of a nightmare of fishing wires out from under your chair.
While you’re setting up that tray, don’t just toss everything in there like a junk drawer. This is where hiding power strips becomes a game changer. Mount the strip directly to the underside of the tray or the desk itself so you aren’t tripping over a heavy plastic brick on the floor. Once the heavy lifting is done, grab some velcro ties—please, for the love of sanity, skip the plastic zip ties—to bundle the excess length. Using velcro straps for wires means you can actually adjust things later without having to cut through anything or start from scratch. It’s about building a setup that survives the mess of real life.
Using Velcro Straps for Wires Instead of Permanent Fixes

Look, I know the temptation to go out and buy those heavy-duty plastic conduits or permanent clips, but please hear me: don’t do it. One of the biggest mistakes I see when people start organizing computer wires is treating their setup like a museum installation. The second you glue or screw something permanent into place, you’ve lost your flexibility. If you decide to swap out your monitor or move your desk six inches to the left, you’re going to regret that “permanent” fix.
Instead, I’m a huge advocate for using velcro straps for wires because they actually play nice with the reality of a changing workspace. Unlike those annoying plastic zip ties that require scissors and a prayer to remove, velcro is reusable and infinitely adjustable. I keep a giant roll of it in my junk drawer for a reason. It’s the ultimate low-stakes tool for bundling cords together without the stress.
If you’re also working on hiding power strips or managing a cluster of chargers, just loop the velcro around the main cord bundle to create a single, manageable “trunk.” It’s a tiny bit of effort that makes a massive difference in how much visual clutter hits your brain every morning. It’s not about making it look like a Pinterest photo; it’s about making it functional enough that you don’t trip over a cord when you’re rushing for coffee.
Five Low-Stakes Hacks for Keeping the Chaos at Bay
- Label both ends of your power cords with a piece of masking tape. Seriously, when you’re crawling under your desk trying to unplug one specific lamp and end up killing your Wi-Fi instead, you’ll thank me.
- Use binder clips to anchor your charging cables. Just clip them to the edge of your desk to stop your phone charger from sliding behind the furniture every single time you unplug.
- Group your cables by function before you start organizing. It’s way easier to manage things when you separate the “computer stuff” from the “lamp and charger stuff” rather than dealing with one giant, tangled knot.
- Don’t over-invest in fancy cord sleeves right away. A simple pack of zip ties or even some leftover twine from a craft project works just as well for bundling wires together without breaking the bank.
- Leave a little bit of slack in your connections. I’ve learned the hard way that if you pull everything tight for the sake of “looking clean,” you’ll eventually snap a port or strain a cord when you move your desk an inch.
The Bottom Line: Keeping the Chaos at Bay
Forget the “perfect” Pinterest setup; focus on systems that are easy to change when you inevitably move your desk or add a new gadget.
Prioritize flexibility by using velcro and trays over permanent fixes like zip ties or heavy-duty adhesives that make future updates a nightmare.
Small, low-cost wins—like a few clips or a basic tray—are better for your sanity and your wallet than investing in expensive, specialized organizers.
## The Reality of a Clean Desk
“Stop chasing that Pinterest-perfect, invisible-wire look if it requires a degree in engineering to maintain. A functional workspace isn’t about hiding every single cord; it’s about making sure they aren’t tangling around your ankles or making you want to scream when you need to move your laptop.”
Nadia Halloway
The Bottom Line
At the end of the day, cable management isn’t about achieving some Pinterest-perfect desk setup that looks like a museum exhibit. It’s about the small, practical wins—like installing that under-desk tray so your feet don’t get tangled, or swapping out those annoying plastic zip ties for flexible velcro straps that actually let you move things around. We’ve covered how to stop the chaos without breaking the bank or spending your entire weekend on a project that won’t last. The goal is to build a system that is functional enough to survive a busy Monday morning when you’re rushing out the door with a lukewarm coffee in hand.
Please, don’t let the pressure of “aesthetic productivity” stop you from just getting started. You don’t need a high-end tech budget or a dedicated renovation team to reclaim your workspace from the cord jungle. Just pick one small corner, grab some cheap clips or ties, and create a tiny bit of order. These small, repeatable systems are what actually keep us sane when life gets messy and overwhelming. You’ve got this, and honestly, your future, less-stressed self is going to thank you for it.
Frequently Asked Questions
Is it worth spending money on those heavy-duty metal trays, or can I just DIY something with a wire basket?
Honestly? Save your money. Unless you’re managing a massive server rack, those heavy-duty metal trays are usually overkill. I’ve found that a simple wire mesh basket from a craft store or even a cheap kitchen organizer works just as well. Just screw it to the underside of your desk, and you’ve got instant airflow and plenty of room for your power strips. It’s a tiny, cheap win that gets the job done without the “aesthetic” price tag.
How do I keep my cables organized without making it impossible to swap out a device when I need to?
The biggest mistake people make is over-committing to permanent fixes. If you zip-tie everything, you’re basically building a cage for your tech. Instead, stick to Velcro wraps and cable sleeves. They’re modular and forgiving. I also swear by using a power strip mounted to a tray under my desk; that way, when I need to swap a laptop or a monitor, I’m just unplugging one cord rather than performing surgery on a tangled bird’s nest.
What’s the best way to hide the "cable nest" that always forms right behind my power strip?
Honestly, the “cable nest” behind the power strip is where most people give up, but that’s actually the most important spot to tackle. Skip the expensive cable boxes; they just become dust magnets. Instead, grab a cheap mesh cable sleeve or even just some heavy-duty command hooks to mount the power strip directly to the underside of your desk or the back of a leg. Getting that strip off the floor is half the battle.
Are there any cheap ways to label my cords so I don't end up unplugging my router when I'm just trying to turn off a lamp?
Trust me, I’ve been there. There is nothing quite like the panic of accidentally killing your Wi-Fi because you just wanted some reading light. Skip the fancy, expensive label makers. Honestly? Just grab some masking tape and a Sharpie. It’s ugly, sure, but it works. If you want something a bit more “permanent,” use those little colored bread clips or even just wrap a piece of colored electrical tape around the cord. It’s quick, cheap, and actually effective.
