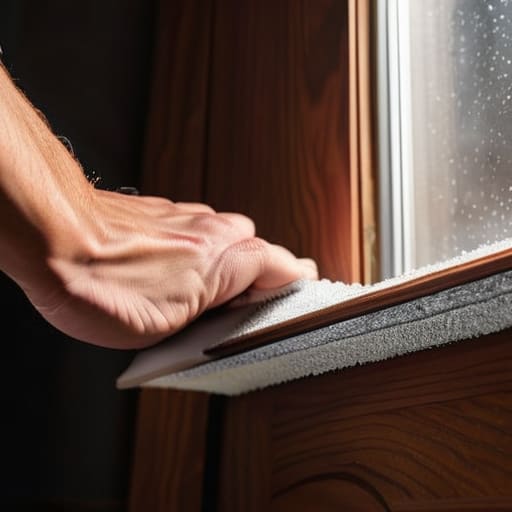
Save Money on Energy Bills by Weatherstripping Your Doors
I was sitting on my floor last Tuesday, wrapped in three different blankets and clutching a lukewarm mug of coffee, wondering why my heating bill looked like a phone number. It wasn’t a broken furnace; it was the literal wind whistling through the cracks in my front entrance. We often think that fixing a drafty house requires a massive renovation or a mountain of expensive smart-home tech, but the truth is much simpler. Most of the time, you don’t need a contractor; you just need to get serious about weatherstripping a door. It’s one of those small, annoying gaps that drains your bank account and your comfort, and honestly, it’s way easier to fix than most people realize.
I’m not going to give you a lecture on professional-grade insulation or suggest you buy a specialized toolkit you’ll never use again. Instead, I’m going to show you how to tackle this task with a few cheap materials and a bit of common sense. We’ll walk through identifying exactly where the air is leaking, choosing the right materials for your specific door type, and actually getting it done without making a massive mess of your entryway. Let’s stop letting your hard-earned money leak out through the cracks and finally make your space feel cozy.
Guide Overview
Tools & Supplies
- Measuring tape for determining door and gap dimensions
- Scissors or utility knife for cutting material to size
- Screwdriver if using screw-on compression seals
- Cleaning cloth and mild detergent to prep the surface
- Weatherstripping roll or strips (adhesive or screw-on)
- Door sweep for the bottom of the door
- Alcohol wipes to clean the surface for adhesive adhesion
Step-by-Step Instructions
- 1. First things first, grab a flashlight and do the “candle test.” On a windy day, hold a lit candle (or even a lighter if you’re feeling brave) near the edges of your door. Wherever the flame flickers or dances, that’s exactly where your money is leaking out of the house. It’s a bit dramatic, but it’s the only way to know exactly where you need to focus your energy so you aren’t just guessing.
- 2. Once you’ve identified the culprits, you need to clean the door frame. I know, I know—it sounds tedious—but if you try to stick anything to a layer of dust and old grime, it’s going to peel off in a week. Grab some warm water and a bit of dish soap, or a quick wipe with rubbing alcohol, and clear off the entire perimeter where the seal will sit. Let it dry completely before moving on.
- 3. Head to the hardware store and pick your weapon. You’ll likely see a million options, but for most of us, I recommend adhesive-backed foam or rubber strips. They’re cheap, they’re easy to work with, and they don’t require a professional contractor to install. Just make sure you measure the width of your door frame first so you don’t end up with a bunch of useless scraps.
- 4. Now, start applying. If you’re doing the foam strips, peel the backing off slowly and press it firmly into the door stop (that’s the part of the frame the door hits when it closes). I usually start at the top corner and work my way down. It’s a lot easier to manage the tension if you go from the top down rather than trying to bridge the gap from the bottom up.
- 5. Don’t forget the bottom of the door—the “threshold” area. This is usually where the biggest drafts live. If your door has a massive gap at the base, a simple strip might not cut it, and you might want to look into a door sweep. It’s a longer piece that attaches to the bottom of the door itself, and it’s a total game-changer for keeping the heat where it belongs.
- 6. Once everything is stuck down, do a final test. Close the door and feel for any resistance. You want the door to feel snug, not like you’re trying to shove it through a brick wall. If you have to slam the door to get it to latch, you’ve gone a little too heavy on the thickness, and you might need to trim a bit of the material away.
- 7. Finally, give it a once-over to make sure no edges are curling. If they are, just press them down hard with your thumb for a few seconds. This is one of those small, repeatable wins—it takes maybe twenty minutes of your life, but it’s going to save you a ridiculous amount on your heating bill all winter.
The Realists Guide to Preventing Air Leaks Around Doors
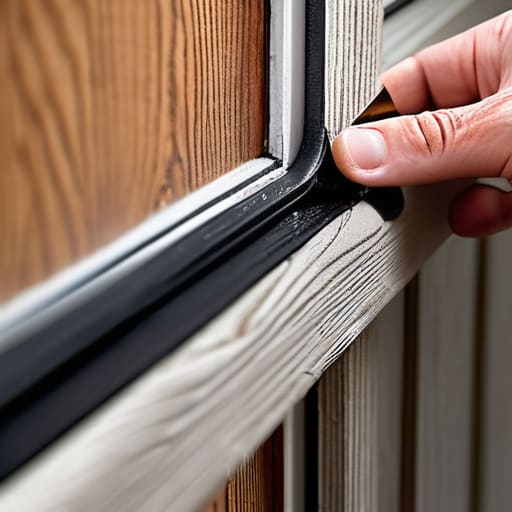
Look, I know the goal is usually to make everything look Pinterest-perfect, but when it comes to preventing air leaks around doors, I care way more about the results than the aesthetics. If you’re standing in the hardware aisle staring at a wall of options, don’t panic. You’ll likely face the classic debate of foam vs rubber weatherstripping. If you want something that lasts more than one season without crumbling, go with the rubber. It’s a little more expensive, but it actually holds its shape when the temperature swings wildly, whereas cheap foam tends to flatten out and become useless pretty quickly.
Another thing people always miss is the gap at the very bottom of the door. You can do all the work in the world on the sides, but if you have a massive draft coming from underneath, you’re just wasting your time. A solid door bottom seal installation is non-negotiable if you want to actually see a dent in your heating bill. Don’t overthink the fancy kits; just find a sturdy sweep that matches your door’s profile. It’s not about having a showroom-ready entrance; it’s about creating a system that keeps your living room from feeling like a walk-in freezer.
Choosing Your Defense Foam vs Rubber Weatherstripping
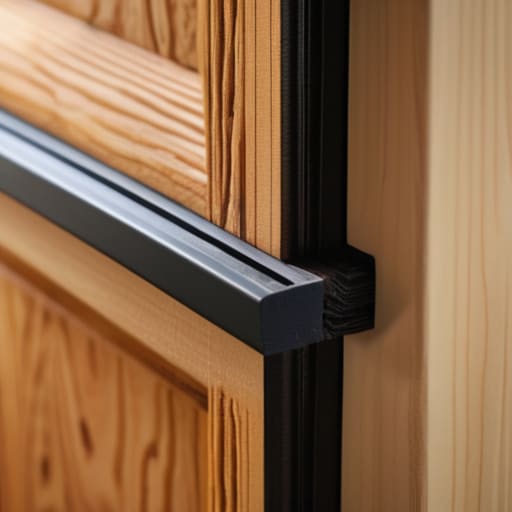
Look, when you walk into the hardware store, you’re going to be hit with a wall of sticky-backed options that all look more or less the same. It’s overwhelming, but here’s the deal: you don’t need the most expensive stuff, you just need the right stuff for the job. If you’re dealing with a door that doesn’t quite sit flush or has some minor gaps, foam vs rubber weatherstripping is the classic debate. Foam is cheap and incredibly easy to slap on, making it a great “quick fix” for small gaps. However, it tends to compress and degrade faster, especially if you’re constantly slamming the door.
If you want something that actually lasts through a few seasons, go with rubber. It’s a bit more resilient and handles the constant compression much better, which is vital for long-term energy efficient door sealing. It might cost a few extra bucks upfront, but it’s a small price to pay to avoid redoing this whole project in six months. If the gap is at the very bottom of the door, skip the adhesive strips and look into a door bottom seal installation instead. It’s a more robust way to block those sneaky drafts that crawl in under the threshold.
5 Ways to Make Sure Your Hard Work Actually Lasts
- Don’t skip the cleaning part. If you slap new weatherstripping onto a layer of old dust and grime, it’s going to peel off in a week. Grab some rubbing alcohol and wipe the surface down first so the adhesive actually has something to grab onto.
- Test the seal with a flashlight. Once you’re done, have someone stand outside at night with a bright flashlight while you stay inside. If you see light peeking through the cracks, you missed a spot. It’s a quick, low-tech way to find the gaps you can’t feel yet.
- Check your door sweep too. You can have the best side-seal in the world, but if there’s a massive gap at the bottom of the door, you’re just moving the cold air around. Make sure your door sweep is tight against the threshold.
- Don’t overstuff the gaps. It’s tempting to jam in extra thick foam if you see a gap, but if the door is too hard to close, you’re going to end up damaging the frame or the latch. It should be a snug fit, not a wrestling match every time you walk into a room.
- Keep an eye on the seasons. Weatherstripping isn’t a “set it and forget it” thing forever. Check it every autumn to make sure the material hasn’t become brittle or compressed from the summer heat, otherwise, you’ll be paying for it in heating bills come January.
The Bottom Line: Keep it Simple and Stay Warm
Don’t overthink the material; if you’re on a tight budget, a basic foam strip works fine, but if you want something that actually lasts more than one season, spring for the rubber.
You don’t need a professional contractor or a massive toolkit to do this—just a pair of scissors, some cleaning spray, and twenty minutes of your time.
Focus on the gaps that actually matter; sealing the main door is a much better use of your energy than obsessing over every tiny crack in the window frames.
## The Real Cost of a Tiny Gap
“Don’t get caught up in trying to make your home look like a Pinterest-perfect showroom; just seal those gaps around your door so you aren’t literally throwing money out the window every time the wind picks up.”
Nadia Halloway
The Bottom Line
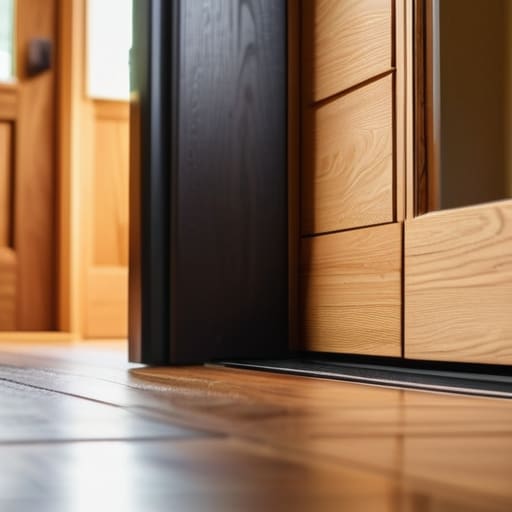
Look, at the end of the day, weatherstripping isn’t some high-concept home renovation project. It’s just a quick, practical fix to stop your money from literally blowing out the door frame. Whether you decided to go with the cheap foam tape or invested a little more in the heavy-duty rubber, the goal remains the same: closing the gaps. You’ve cleaned the surface, you’ve measured twice, and you’ve stuck the material down. Now, instead of constantly adjusting the thermostat and watching your utility bill climb, you can actually sit in your living room without feeling a random draft hit your ankles. It’s about small, repeatable wins that make your space feel more like a sanctuary and less like a wind tunnel.
I know it’s easy to feel overwhelmed by all the DIY projects that seem to demand a massive budget or a weekend of intense labor. But this is exactly what I mean when I talk about systems over aesthetics. You don’t need a perfectly manicured house to have a comfortable one; you just need a few smart, low-maintenance tweaks that actually work when life gets messy. Take the win, enjoy the warmth, and move on to the next thing on your list. You’ve got this, and honestly, your bank account will thank you by next month.
Frequently Asked Questions
Do I really need to clean the door frame first, or can I just stick the tape on and call it a day?
Look, I get it. You’re busy, and the last thing you want to do is play janitor with a door frame. But if you just slap that tape on over the dust and grime, it’s going to peel off in a week. Trust me, I’ve been there. Take five minutes to wipe it down with some rubbing alcohol first. It’s a small, annoying step, but it’s the difference between a system that works and a total waste of money.
How do I know if I actually have a draft or if it's just my imagination?
Honestly, I’ve been there—standing in a room wondering if I’m actually cold or just being dramatic. Here’s the quick test: grab a stick of incense or even a single ply of toilet paper. Hold it near the door edges on a breezy day. If the smoke dances or the paper flutters, you’ve got a real leak. If it stays still, it’s probably just you. No guesswork required.
Is there a way to fix this without having to buy a whole bunch of new tools?
Honestly, please don’t go out and buy a whole workshop for this. If you’ve already got a pair of scissors and some basic tape, you’re halfway there. You really just need a utility knife or even a sharp kitchen knife to trim the strips to size. If you’re feeling extra crafty, a damp rag to clean the door frame is plenty. Let’s keep this low-maintenance and high-impact. No extra clutter required.
Will this stuff actually stay stuck if my door is pretty old and beat up?
Look, I get it. I spent three months trying to fix a door in my first studio apartment that felt more like a sieve than a barrier. If your door is beat up, standard adhesive might struggle. My advice? Clean the surface like your life depends on it first. Use rubbing alcohol to strip away years of dust and grime. If it’s really rough, skip the cheap foam and go for a high-quality rubber strip—it handles uneven surfaces way better.
