High-end Furniture Upcycling Ideas That Don’t Cost a Fortune
I used to think that if I couldn’t turn a thrifted dresser into a museum-quality masterpiece, it wasn’t even worth the effort. I spent way too many weekends staring at a wobbly nightstand, feeling paralyzed by the pressure to make it look “Pinterest-perfect.” But honestly? That kind of perfectionism is exactly what kills our creativity and drains our bank accounts. We don’t need expensive tools or a professional workshop to breathe life into our homes; we just need a few solid upcycling furniture ideas that actually fit into a busy, messy life. The goal isn’t to create a showroom; it’s about making things functional and yours without losing your mind in the process.
In this post, I’m stripping away the fluff and sharing seven of my favorite, low-stakes ways to refresh your space. We’re going to skip the complicated woodworking tutorials and focus on small, repeatable wins—from simple hardware swaps to quick sanding projects that don’t require a total overhaul. By the end of this list, you’ll have a practical toolkit of ideas to transform those “junk” pieces sitting in your garage or at the local charity shop into something you actually want to live with.
The Power of New Hardware
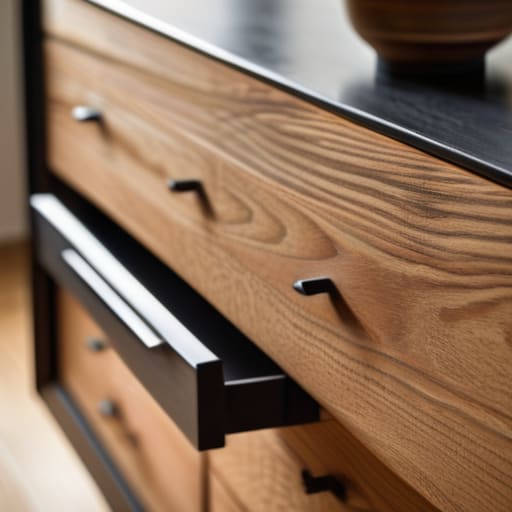
If you’ve ever looked at a thrifted dresser and felt an immediate sense of dread, stop right there. You don’t need to sand down the entire thing or strip layers of old lacquer just to make it feel current. Most of the time, the bones of a piece are solid; it’s just the clunky, dated hardware that’s dragging the whole look into the nineties. I always tell my clients that swapping out old brass pulls for something matte black or brushed nickel is the ultimate low-effort, high-reward move.
Sanding Without the Meltdown
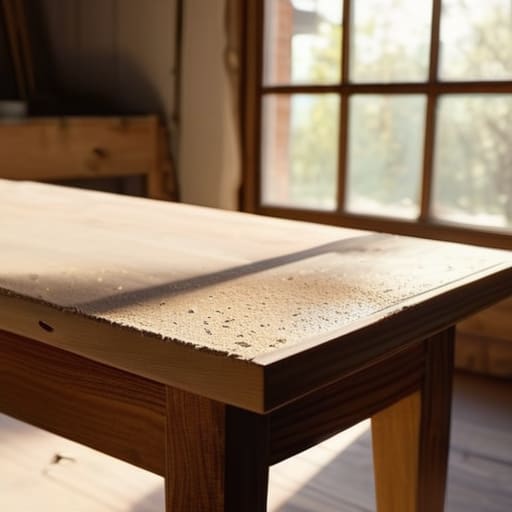
I know, I know—the word “sanding” usually conjures up images of a dusty, chaotic living room and a massive cleanup job. But listen, if you want to change the color of a wood piece, you can’t just slap paint over the old finish and hope for the best; it will peel, and then you’ll be even more frustrated. The trick is to embrace the mess by setting up a dedicated “grit zone” near a window or even outside if you have a balcony.
Paint is Your Best Friend (If Used Right)
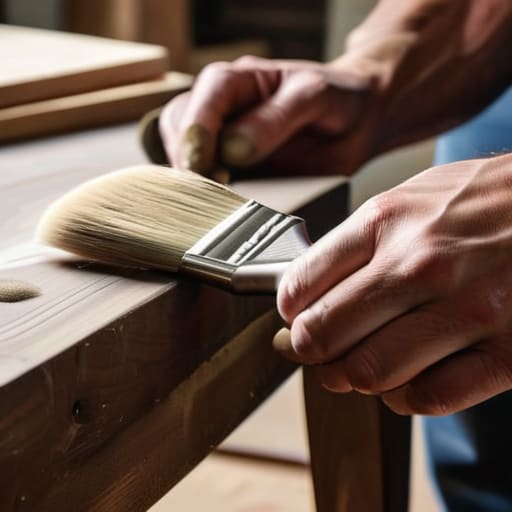
There is a massive difference between “painting a chair” and actually finishing a project that lasts. I see so many people grab a cheap can of spray paint, give it a quick coat, and then wonder why the finish looks streaky or feels tacky a week later. If you’re going to go the paint route, please, for the love of all things organized, invest in a decent primer. It’s the secret sauce that makes the color actually stick and prevents that dreaded peeling.
The Magic of New Legs
Sometimes a piece of furniture feels “heavy” or clunky because it sits too low to the ground. I’ve found that swapping out chunky, traditional legs for something more streamlined—like tapered mid-century modern wooden legs—can completely change the visual weight of a piece. It’s like giving an old, tired sideboard a much-needed shot of espresso; suddenly, it feels airy, modern, and way more expensive than it actually was.
Fabric Swaps for Seating
If you find an old armchair at a garage sale that has a great frame but hideous, scratchy upholstery, don’t walk away. You don’t necessarily need to be a master tailor to give a seat a second life. If you’re feeling brave, you can learn to staple new fabric directly onto the underside of the frame. It’s a bit of a workout for your hands, but seeing a drab, stained cushion transform into something cozy and colorful is incredibly satisfying.
Stencil Work for Character
If you have a plain wooden surface that feels a little too “blah,” stenciling is a great way to add some personality without committing to a permanent, high-stakes design choice. I’m not talking about those overly intricate, flowery patterns that look like something from a craft store clearance bin. I mean simple, geometric shapes or even just a single, bold stripe that adds a bit of structure to a tabletop or a drawer front.
Using Decoupage for Texture
Decoupage often gets a bad rap as being a bit “crafty” in a way that feels cluttered, but when used with intention, it’s a fantastic tool for hiding surface damage. If you have a coffee table with a nasty water ring or a scratch that just won’t go away, you can use patterned paper or even interesting fabric scraps to cover the area. It turns a flaw in the wood into a deliberate design element.
The Bottom Line
Stop aiming for Pinterest perfection; a slightly imperfect chair that functions well is a massive win compared to a discarded one.
Start with the tools you already have in your junk drawer before you go out and buy a professional workshop setup.
Focus on small, repeatable wins—like sanding one leg at a time—rather than trying to overhaul an entire room in a single weekend.
Forget the Pinterest Perfection
Upcycling isn’t about turning a thrift store find into a museum-quality masterpiece; it’s about finding a way to make a piece of furniture serve your life instead of just taking up space. If a quick sand and a coat of paint makes that old dresser functional for your tiny apartment, you’ve already won.
Nadia Halloway
The Messy Reality of Making It Work
At the end of the day, whether you’re just sanding down a coffee table or experimenting with some bold new hardware, the goal isn’t to create a Pinterest-perfect showroom. It’s about taking something that was headed for a landfill and turning it into something that actually serves your life. We’ve looked at everything from simple paint refreshes to more involved structural tweaks, but the takeaway is the same: you don’t need a professional workshop or a massive budget to make a difference. You just need a repeatable process and the willingness to get a little bit of sawdust on your floor.
Please, for the love of all things functional, don’t let the fear of making a mistake stop you from starting. If you mess up a coat of stain or pick a color that looks slightly different in your living room light, it’s not a catastrophe; it’s just part of the process. The most beautiful pieces in my apartment aren’t the ones that look flawless, but the ones that have a story and actually fit my space. So, grab that thrifted find, clear off your kitchen table, and just start. You’ve got this.
Frequently Asked Questions
How do I know if a piece of thrifted furniture is actually worth the effort of fixing up?
Look, I’ve definitely wasted a Saturday on a dresser that ended up being more headache than it was worth. Before you commit, check the bones. Is the structure solid, or is it wobbly and falling apart? If the wood is real, it’s usually worth it. If it’s particle board or heavy MDF, run. I always ask myself: “Can I fix this in a weekend, or is this going to haunt my entire month?”
What are some budget-friendly ways to fix structural issues, like a wobbly table leg, without spending a fortune?
Honestly, don’t panic if a table starts wobbling—it’s usually a quick fix, not a death sentence for the piece. If it’s a loose joint, a bit of wood glue and a clamp can work wonders. If the leg is just uneven, don’t go buying fancy shims; a small piece of felt or even a sliver of old leather glued to the bottom does the trick. It’s about stability, not perfection.
I’m terrified of ruining a good piece—how can I test a new paint color or stain without committing to the whole thing?
I get it—the “fear of the ruined heirloom” is real. I’ve definitely stared at a thrifted teak sideboard for twenty minutes, paralyzed by a can of dark walnut stain. My rule? Find a spot that’s naturally hidden—the underside of a tabletop, the inside of a drawer, or even the back of a chair leg. Test there first. It gives you a true sense of how the color settles without risking the main event.
How do I balance making something look "new" with keeping that authentic vintage character?
Honestly? Don’t try to erase the history. If you sand a piece down until it looks like it just came off a modern showroom floor, you’ve lost the soul of the piece. I always aim for “refreshed,” not “replaced.” Fix the structural stuff—tighten the joints, stabilize the legs—and maybe clean up the finish, but let those tiny scratches and patina marks stay. That’s where the character lives. Keep the bones, just lose the grime.
