Fixing a Leaky Faucet Quickly and Easily
I was sitting at my kitchen table last Tuesday, trying to focus on a client proposal, when that rhythmic drip… drip… drip… started driving me absolutely insane. It wasn’t just the noise; it was the mental load of knowing I was literally watching money go down the drain because I felt unqualified to handle it. Most people will tell you that a dripping tap is a sign you need to call an expensive plumber or shell out for a brand-new fixture, but that is a total myth. Learning how to fix a leaky faucet isn’t some high-stakes engineering project; it’s just a small, manageable task that you can tackle with a few basic tools and a little bit of patience.
I’m not going to give you a twenty-step manual filled with technical jargon that requires a degree in fluid dynamics. Instead, I’m sharing the exact, no-nonsense system I use to get my tiny apartment back to being a peaceful workspace. We’re going to walk through the actual mechanics of the fix, identify the specific parts that usually fail, and get that leak stopped for good. No expensive gadgets, no aesthetic-only DIY nonsense—just a practical way to save money and reclaim your sanity.
Guide Overview
Tools & Supplies
- Adjustable wrench for loosening nuts
- Screwdriver (Phillips or flathead) for removing handles
- Allen wrench for small set screws
- Replacement washers or O-rings (1-2 pieces)
- Plumber's grease (1 small tube)
Step-by-Step Instructions
- 1. Before you even touch a wrench, you need to shut off the water supply. Look under your sink for those little oval valves and turn them clockwise until they stop. If you don’t do this, you’re not just fixing a leak; you’re creating an indoor pool in your kitchen, and that is definitely not the vibe we’re going for.
- 2. Once the water is off, go ahead and drain the remaining pressure by turning the faucet on. While you’re down there, grab a towel and lay it over the drain. I learned this the hard way when I dropped a tiny screw into the plumbing, and trust me, you do not want to spend your afternoon fishing for hardware in the U-bend.
- 3. Now, it’s time to get into the guts of the thing. Use a screwdriver to remove the decorative cap on the handle, then unscrew the handle itself. If it feels stuck, don’t go at it with brute force—just a little gentle, steady pressure usually does the trick. You’re looking to expose the cartridge or the stem inside.
- 4. Pull out the cartridge or the stem using a pair of pliers. This is usually where the culprit lives. Check the O-rings (those little rubber circles) to see if they look cracked, flattened, or just generally exhausted from years of service. If they look sketchy, that’s almost certainly why you’ve been hearing that annoying drip.
- 5. Take the old parts with you to the hardware store. I know, it’s a bit of a hassle, but buying a “universal” kit is a total waste of money and usually ends in a second trip to the store. Matching the exact model ensures you aren’t guessing, which is a much more efficient use of your time.
- 6. Swap out the old, crusty parts for the new ones. Make sure everything is seated correctly and clean any mineral buildup from the base with a bit of white vinegar. You want a clean, smooth surface so the new seals can actually do their job without any grit getting in the way.
- 7. Reassemble everything in the exact reverse order you took it apart. Tighten the screws, pop the handle back on, and slowly turn your water valves back on. Test it out, and if you don’t hear that dreaded plink-plink-plink sound, you’ve officially mastered a tiny piece of home maintenance.
Identifying Common Causes of Dripping Taps
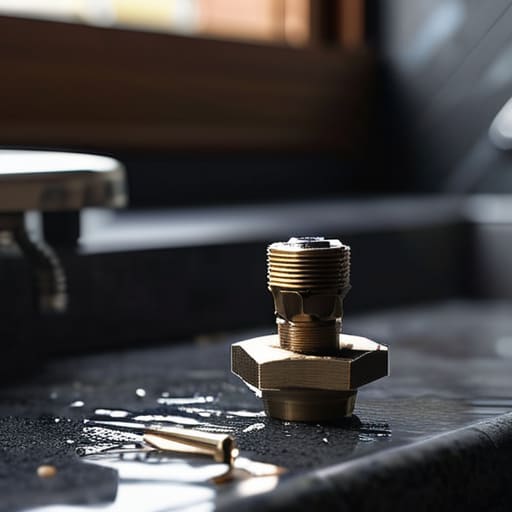
Before you go diving into your toolbox, you need to figure out what’s actually causing the headache. Most of the time, it’s not some catastrophic plumbing failure, just a tiny part that’s given up the ghost. If you have an older style handle, you’re likely fixing a compression faucet, which means a worn-out rubber washer is probably the culprit. On the flip side, if you have a single-handle lever, you’re likely dealing with a worn-out cartridge. Knowing which one you have before you start will save you a massive amount of frustration (and extra trips to the hardware store).
One of the most common causes of dripping taps is simply mineral buildup or a tiny bit of grit that’s wedged itself into the mechanism. If you’ve noticed the water flow getting a bit weird or uneven before the drip started, it might just be a buildup of calcium. However, if the leak is constant, you’ll likely need to replace the faucet washer or swap out the cartridge entirely. I’ve learned the hard way that guessing leads to a mess, so take a second to identify your faucet type first. It makes the actual repair feel a lot less like a guessing game and more like a manageable task.
The Minimalist Toolkit Essential Plumbing Tools for Faucet Repair
Look, I’m a big believer in the “less is more” philosophy, and that applies to your junk drawer, too. You don’t need a professional-grade, heavy-duty toolbox to stop water drip at sink issues. In fact, if you go out and buy a massive, expensive kit for a one-time fix, you’re just creating more clutter. For most of these jobs, a simple adjustable wrench, a screwdriver set (both Phillips and flathead), and some needle-nose pliers are all you really need. If you’re dealing with a slightly more modern setup, you might also want a small tub of plumber’s grease to keep things moving smoothly.
When you’re gathering your plumbing tools for faucet repair, my best advice is to prioritize quality over quantity. I’ve learned the hard way that a cheap, flimsy wrench can strip a bolt faster than you can say “oops,” and then you’re facing a much bigger headache. If you’re specifically looking at fixing compression faucet models, having a decent set of Allen keys can be a lifesaver. Just grab the basics, keep them organized in one small bin, and you’ll be ready to tackle the drip without turning your bathroom into a construction zone.
5 Ways to Keep Your Plumbing (and Your Sanity) Intact
- Don’t go overboard on tools. You don’t need a professional plumber’s kit gathering dust in your closet; a decent adjustable wrench and a screwdriver are usually enough to get the job done without cluttering your space.
- Always, always turn off the water supply before you start. There is nothing more “un-minimalist” than a sudden indoor flood turning your small bathroom into a makeshift swimming pool.
- Take photos of every single part as you take it apart. When you’re staring at a pile of tiny washers and O-rings later, you’ll be glad you have a visual map of how they actually fit together.
- Check the brand name on the faucet first. Instead of guessing which replacement part you need, knowing the manufacturer saves you three extra trips to the hardware store and a lot of unnecessary frustration.
- Clean as you go. While the faucet is apart, wipe down the internal components with a bit of vinegar to remove mineral buildup. It’s a tiny, five-second habit that prevents the leak from coming back next month.
The Bottom Line
Don’t let a small drip turn into a massive water bill or a plumbing nightmare; catching it early with a quick fix is way cheaper than a full replacement.
You don’t need a professional-grade workshop to get this done—just a few basic tools and a little patience will get you through it.
Focus on finding the specific culprit (like a worn-out washer or O-ring) rather than guessing, so you aren’t wasting time or money on parts you don’t actually need.
## The Bigger Picture
“A leaky faucet isn’t just a nuisance or a waste of water; it’s a tiny, constant drain on your mental bandwidth. Fixing it isn’t about being a master plumber—it’s about reclaiming your peace of mind through one small, manageable win.”
Nadia Halloway
Small Wins and Dry Sinks
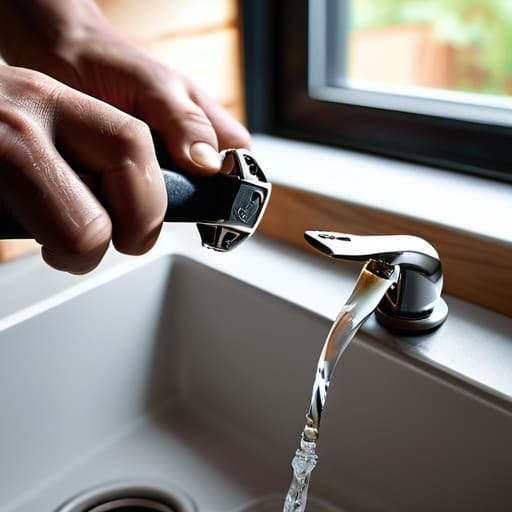
At the end of the day, fixing that drip isn’t about becoming a master plumber; it’s about having the right tools and a bit of patience to follow a simple process. We went through identifying the culprit, whether it was a worn-out washer or a faulty cartridge, and gathering the basic gear you actually need without breaking the bank. Remember, you don’t need a garage full of expensive gadgets to get the job done. By focusing on these small, repeatable steps, you’ve successfully tackled a maintenance task that would have otherwise just sat on your to-do list, draining both your water bill and your mental energy.
I know that when things start breaking around the house, it can feel overwhelming, like everything is falling apart at once. But I promise you, progress happens in the small moments. This little repair is a perfect example of how taking control of one tiny, messy problem can stop the cycle of procrastination. You didn’t need a lifestyle overhaul to fix this; you just needed to show up and do the work. So, take a second to appreciate that quiet, drip-free sink. You’ve got this, and you’re more capable than you think.
Frequently Asked Questions
Is it actually worth replacing the whole faucet, or can I just swap out a single washer and call it a day?
Look, I’ve been in that “should I just rip it all out?” headspace before. Honestly? Most of the time, swapping a single washer or an O-ring is more than enough to stop the drip. It’s cheaper, faster, and way less wasteful. Unless your faucet is looking visibly corroded or the handle feels like it’s about to snap off in your hand, don’t waste the money on a full replacement. Fix the part, save the cash.
How do I know if I’m dealing with a cartridge issue or just a worn-out O-ring?
Here’s the quick way to tell without tearing your whole bathroom apart. If the leak is coming from the handle itself while the water is on, it’s usually just a worn-out O-ring—a cheap, easy fix. But if it’s a constant drip coming straight from the spout even when everything is shut tight, that’s almost always a faulty cartridge. Think of the O-ring as a seal and the cartridge as the brain; if the brain fails, the drip stays.
What should I do if I take everything apart and realize I have no idea how to put it back together?
First, take a deep breath. We’ve all been there—staring at a pile of washers and screws like they’re pieces of a puzzle from a different dimension. Don’t force it. Stop, step away, and grab your phone. Take clear photos of every single part in the order you removed them. If that doesn’t help, search your faucet model online for a diagram. Sometimes, the best “system” is knowing when to call a pro.
Are there any specific types of sealant or plumber's tape that won't just create a bigger mess later?
Honestly, I’ve seen too many people go overboard with thick, messy caulking that just makes a nightmare out of future repairs. Stick to the basics: get a decent roll of PTFE plumber’s tape (the thin, white stuff). It’s cheap, it’s clean, and it actually does its job without turning your sink into a sticky disaster. Avoid the heavy-duty silicone sprays for this—they’re overkill and usually just create a mess you’ll regret later.
