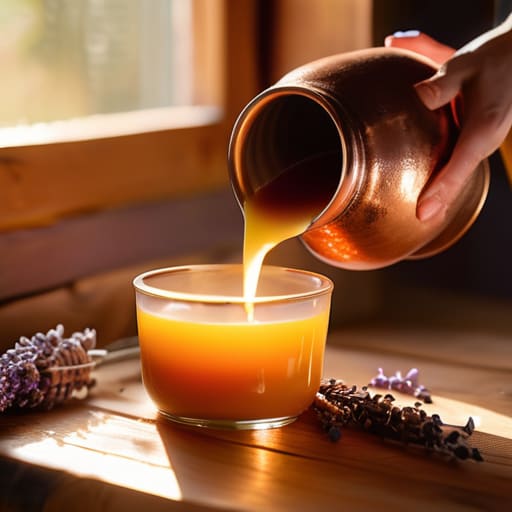
Crafting Your Own Scented Candles at Home
I was standing in my tiny kitchen last Tuesday, staring at a mountain of expensive soy wax flakes and a half-melted mess that looked more like a science experiment gone wrong than a cozy home accessory. If you’ve spent any time on Pinterest, you’ve probably seen those perfectly curated videos where making candles looks like a meditative, high-end spa experience. But let’s be real: the truth about how to make candles is usually a sticky, frustrating process involving burnt fingertips and a lot of wasted money on supplies you don’t actually need.
I’m not here to tell you that you need a professional-grade melting pot or a designer studio to get results. Instead, I want to show you a functional system that works even when your kitchen is cluttered and your schedule is chaotic. We’re going to skip the aesthetic fluff and focus on the actual mechanics—getting the scent throw right and ensuring a clean burn—without breaking your budget. This is about building a repeatable process that lets you create something beautiful without the unnecessary headache.
Guide Overview
Tools & Supplies
- Double boiler or heat-proof bowl for melting wax
- Thermometer to monitor wax temperature
- Pouring pitcher to control flow
- Wick centering tool or clothespin to hold wicks
- Soy or paraffin wax (1-2 lbs)
- Cotton wicks (set of 5-10)
- Fragrance oils (1 oz)
- Candle jars or tins (3-5 units)
Step-by-Step Instructions
- 1. First, let’s talk supplies, and no, you don’t need a professional studio. Grab some soy wax flakes (they’re easier to work with than paraffin), a couple of glass jars you already have in your kitchen, some cotton wicks, and a thermometer. I know, a thermometer sounds extra, but trust me on this—it’s the only way to avoid a smoky, wasted mess.
- 2. Set up a double boiler situation. If you don’t have one, just put a glass bowl over a pot of simmering water. Melt your wax slowly. I’ve learned the hard way that rushing this with high heat is a recipe for disaster, so just let it take its time while you finish your coffee.
- 3. Once the wax is fully melted, pull it off the heat and let it cool slightly. This is where people usually mess up. You need to use that thermometer to hit a specific temperature before adding your fragrance oil. If the wax is too hot, your scent will just evaporate into thin air instead of staying in the candle.
- 4. Now, prep your jars. This is the “un-aesthetic” part that actually matters: take a tiny bit of melted wax or a glue dot and secure your wick right in the center of the jar. If that wick isn’t perfectly centered, your candle will burn unevenly and look wonky within an hour.
- 5. Pour the wax into your jars, but don’t fill them to the brim. Leave a little headspace at the top. Once they’re poured, leave them alone. I know it’s tempting to poke them or move them around, but they need to set undisturbed to prevent cracks or weird sinkholes in the middle.
- 6. Finally, once they are completely solid (give it at least a few hours, or overnight if you can be patient), trim the wicks. You want them to be about a quarter-inch long. If they’re too long, they’ll flicker like crazy; if they’re too short, you’ll struggle to light them. Simple, repeatable, and done.
Sourcing Soy Wax Candle Making Supplies Without the Overwhelm
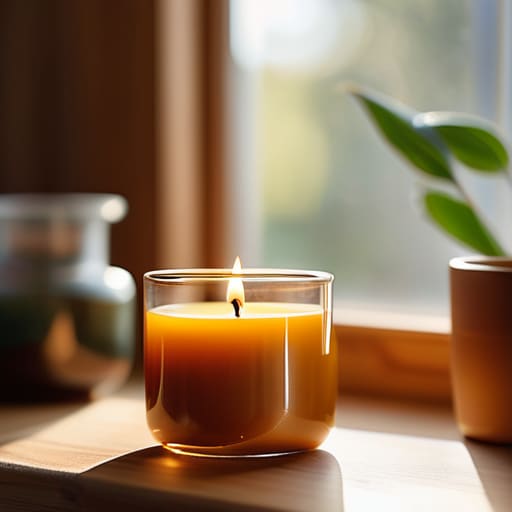
Look, I get it. You search for “candle making for beginners” and suddenly you’re staring at a digital storefront filled with hundreds of different types of wax, specialized thermometers, and enough fragrance oils to make your head spin. It feels like you need a PhD just to get started. My advice? Ignore the bells and whistles. You don’t need a professional-grade laboratory in your kitchen. Start with a basic kit of soy wax candle making supplies from a single reputable vendor rather than trying to piece together a dozen different shipments from various sites. It keeps the shipping costs down and prevents that “decision paralysis” that kills a good project before it even begins.
When it comes to the specifics, don’t get bogged down in the chemistry. If you’re looking to go the natural route, stick to simple essential oils for scented candles rather than trying to replicate complex, synthetic perfumes right out of the gate. Also, please, for the love of your sanity, don’t stress about finding the “perfect” wick immediately. Just grab a variety pack of cotton wicks so you can test what actually works with your specific jar size. The goal here isn’t to build a factory; it’s to get a few decent candles burning without breaking your budget or your spirit.
Mastering the Natural Candle Making Process in a Messy Kitchen
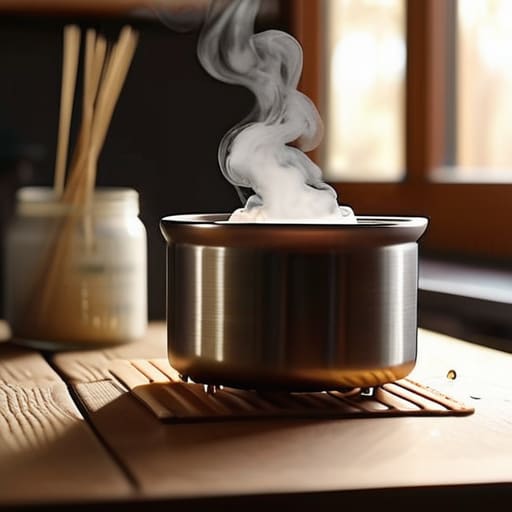
Look, I know what you’re thinking: “I don’t have a dedicated craft room, and my kitchen counter is currently covered in mail and coffee mugs.” Good. You don’t need one. Most of us aren’t working in a sterile lab; we’re working in the middle of real life. When you’re diving into the natural candle making process, the goal isn’t a pristine workspace—it’s a setup that prevents a wax disaster. My biggest tip? Clear just one square foot of counter space and lay down some old newspapers or a silicone mat. It makes the inevitable cleanup so much less daunting when you’re finished.
The real trick to avoiding a total meltdown is managing your heat. I used to think I could just wing it, but you really need to respect a basic candle pouring temperature guide to avoid those weird frost patterns or sinkholes. If you’re using essential oils for scented candles, timing is everything; if you add them while the wax is screaming hot, you’ll just end up smelling nothing but burnt botanicals. Instead, wait until the wax has cooled slightly. It feels counterintuitive to wait when you’re in the zone, but patience is your best tool for getting a smooth, professional finish without the expensive equipment.
5 ways to stop overcomplicating your candle setup
- Stop hunting for the perfect scent blend right away. Start with one single, reliable fragrance oil that you actually like. You can tweak the ratios later once you’ve actually mastered the basics of the pour.
- Forget the expensive, designer glass jars for now. I’ve found that thrifted ceramic mugs or even simple tin containers work just as well and keep your startup costs from spiraling.
- Don’t let “precision” become a trap. You don’t need a laboratory-grade thermometer to get started; just get a decent digital one so you aren’t guessing when the wax is ready for the oil.
- Clean as you go, but don’t obsess. Keep a roll of paper towels and some rubbing alcohol right next to your melting pot. It makes wiping up those inevitable wax spills way less of a headache.
- Test your wicks before you commit to a full batch. There is nothing more frustrating than spending an hour pouring ten candles only to realize the wick is too small and the flame is struggling.
The "No-Stress" Summary
Forget the fancy studio setup; you only need a few basic tools and a kitchen counter that can handle a little bit of a mess to get started.
Focus on small, repeatable batches of soy wax rather than trying to make fifty candles at once—it’s much easier to manage when life gets busy.
Don’t get caught up in the “aesthetic” side of candle making; prioritize a consistent scent and a clean burn over perfectly centered labels or expensive jars.
## Realism over perfection
“Forget the Pinterest-perfect setups and the expensive, specialized kits. Candle making isn’t about having a sterile studio; it’s about finding a repeatable system that works even when your kitchen counter is covered in mail and you’ve only got twenty minutes of peace.”
Nadia Halloway
Real Results Over Perfect Aesthetics
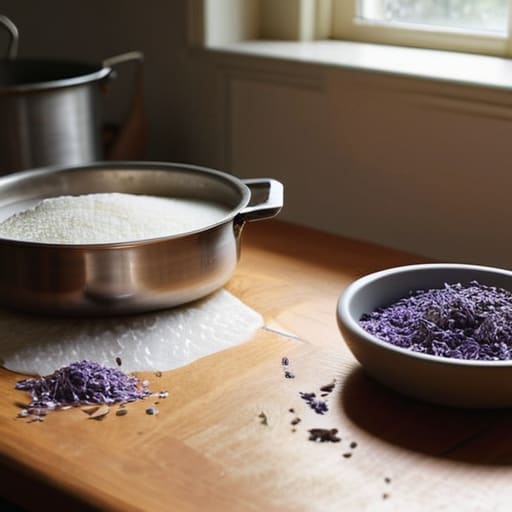
At the end of the day, making your own candles isn’t about having a pristine, Pinterest-worthy studio or a collection of gold-plated tools. It’s about knowing how to source decent soy wax, managing your heat without losing your mind, and setting up a workspace that doesn’t require a deep clean every single time. We’ve covered how to find supplies without the overwhelm and how to actually execute the process in a real, messy kitchen. If your first batch looks a little wonky or the scent throw isn’t exactly what you imagined, don’t sweat it. The goal was to build a repeatable system that fits into your life, not to launch a high-end boutique overnight.
So, light that first candle and actually enjoy the scent you created. There is something incredibly grounding about making something functional with your own two hands, especially when life feels like it’s moving at a hundred miles an hour. Don’t let the pursuit of perfection stop you from starting. Just grab your thermometer, embrace the little spills, and focus on the small wins. You don’t need a perfect setup to make something beautiful; you just need to show up and try.
Frequently Asked Questions
How do I know if my scent load is too high without making a huge, expensive mess?
Don’t go dumping your entire bottle of expensive fragrance oil into a massive batch just to “see what happens.” That’s how you end up with a sink full of oily sludge and a wasted budget. Instead, do a tiny test pour in a single small jar. If the wax looks oily or won’t fully solidify, you’ve overdone it. It’s much easier to fix a failed 4oz test than a ruined 2lb batch.
What do I do if my candle has those annoying sinkholes or a weird texture on top?
Look, I’ve been there. You finish a pour, wait for it to set, and suddenly it looks like a lunar landscape instead of a cozy candle. Don’t panic—it’s not a failed project. Usually, it’s just a temperature hiccup. The easiest fix? Grab a hair dryer on low heat and gently melt that top layer until it’s smooth again. If that fails, just re-melt the whole thing and try pouring it a little slower next time.
Is it actually worth buying expensive essential oils, or can I get away with cheaper fragrance oils?
Look, I get the temptation to go all-in on those pricey essential oils, but let’s be real: unless you’re trying to build a high-end aromatherapy brand, you don’t need to break the bank. Essential oils are finicky and expensive. Honestly? High-quality fragrance oils are often more reliable for a consistent scent throw. Just do a quick check to make sure they’re phthalate-free. Save that extra cash for more wax or a decent thermometer instead.
How can I keep my kitchen from smelling like a giant vat of melted wax for three days straight?
Honestly, the “wax smell” is the worst part of this hobby. To keep your kitchen from smelling like a candle factory, don’t just open a window—that’s a losing battle. Instead, run your stove’s vent fan on high before you start melting. Once you’re done, wipe down every surface with a bit of isopropyl alcohol to catch any invisible residue. It’s not fancy, but it stops the scent from lingering in your cabinets.