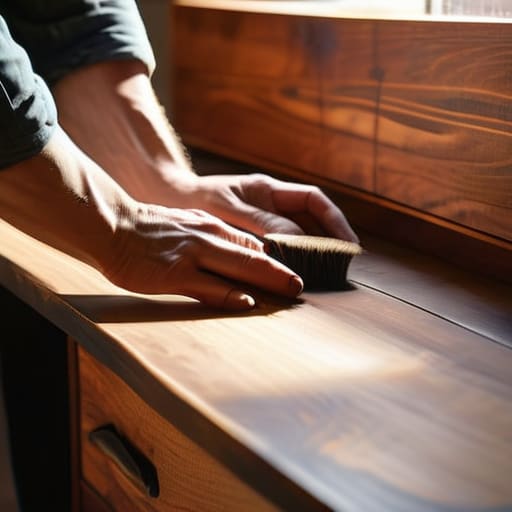
Bringing Old Furniture Back to Life Through Refinishing
I was standing in my kitchen last Tuesday, staring at a chipped, mustard-yellow side table I’d rescued from a curb, feeling that familiar wave of “what have I done?” sink in. My hands were covered in dust, my tiny apartment smelled vaguely of chemicals, and I realized I was staring at a Pinterest tutorial that made the whole process look like a meditative spa day. Let’s be real: most guides on how to refinish furniture make it seem like you need a professional workshop and a pristine white apron to get results. But if I’ve learned anything from years of scouring thrift stores and working in cramped spaces, it’s that you don’t need a showroom setup to create something beautiful; you just need a system that actually works when you’re tired and short on space.
In this guide, I’m stripping away the fluff and the expensive, unnecessary gadgets. I’m going to walk you through my realistic, step-by-step approach to learning how to refinish furniture without losing your mind or your security deposit. We’ll focus on the essential tools, the messy middle parts no one talks about, and how to get a finish that looks intentional rather than accidental. This isn’t about achieving perfection; it’s about making things last and finding a rhythm that fits into your actual, busy life.
Guide Overview
Tools & Supplies
- Sandpaper (various grits for smoothing)
- Paintbrush or foam roller (for even application)
- Screwdriver (to remove hardware)
- Tack cloth (to remove dust)
- Wood filler (small container for cracks)
- Primer (1 quart for base coat)
- Paint or stain (1 quart for finish)
- Degreaser or soap (small amount for cleaning)
Step-by-Step Instructions
- 1. First things first, you need to clear some space. Don’t try to do this in the middle of your living room where you’ll be tripping over things. Find a spot with good airflow—ideally a garage or a balcony—and lay down some old drop cloths. I’ve learned the hard way that furniture stain is basically permanent once it hits your rug. Once you’re set up, strip off all the hardware. Take those old knobs and pulls and put them in a labeled Ziploc bag. You don’t want to be hunting for a specific screw three weeks from now when you’re halfway through a different project.
- 2. Now, let’s talk about the sanding. This is the part where most people want to quit because it’s tedious, but it’s where the real work happens. Start with a coarser sandpaper (around 80 or 100 grit) to get through the old, crusty finish. You aren’t trying to sand it down to raw wood in five minutes; you’re just leveling the playing field. Once the surface feels relatively even, move up to a finer grit, like 150 or 220. If you skip this middle step, your final finish will feel like sandpaper, and trust me, your hands will regret it.
- 3. Before you even think about touching a can of stain or paint, you have to get the dust off. I know, it sounds obvious, but I’ve seen so many people skip this and end up with a finish that feels like it’s full of grit. Use a vacuum with a brush attachment first, then wipe the whole piece down with a tack cloth. It’s a sticky cheesecloth that picks up those microscopic particles that a regular rag just pushes around. If the surface isn’t completely clean, nothing you apply next is going to stick properly.
- 4. Time to decide on your vibe: stain or paint. If the wood grain is beautiful and you just want to refresh it, go with a stain. If the wood is cheap or heavily scarred, just cover it up with a good quality furniture paint. If you’re staining, start with a wood conditioner first. It sounds like an extra, unnecessary step, but it prevents the stain from looking blotchy and uneven. I always say: prep work is 90% of the job. If you rush this, you’ll spend the next three hours trying to fix mistakes that could have been avoided.
- 5. Apply your color in thin, even layers. Whether you’re using a brush, a sponge, or a rag, the goal is to avoid those thick, gloppy streaks that look amateur. If you’re using stain, wipe it on, let it sit for a minute, and then wipe the excess off with a clean cloth. It’s better to do two thin coats than one thick, messy one. If you see a drip or a smudge, don’t panic—just let it dry and sand it back down lightly.
- 6. Once your color is dry, you need to seal the deal with a topcoat. This is what protects your hard work from coffee rings and scratches. I usually go with a water-based poly if I want a matte look, or something slightly glossier if I’m feeling fancy. Apply it just like you did the stain—thin, steady strokes. And for the love of all things organized, check your lighting frequently to make sure you aren’t leaving brush marks behind.
- 7. Finally, wait. This is the hardest part for my caffeinated brain, but you cannot rush the drying process. Even if it feels dry to the touch after an hour, the finish is still “off-gassing” and settling. Give it at least 24 to 48 hours before you start putting heavy objects back on it. If you try to use that coffee table too early, you’ll end up with a permanent ring, and we are not here for more work than we already have.
Mastering Wood Stripping Techniques for Real Life Messes
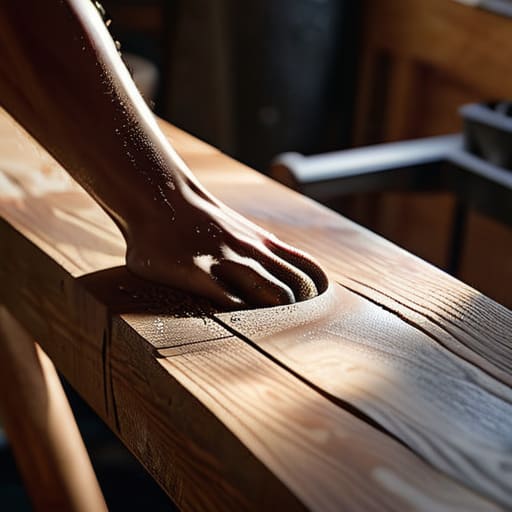
Look, I know the idea of stripping old finish sounds like a nightmare, especially if you’re working in a small apartment or a garage that isn’t exactly ventilated. Most people think you need a chemistry degree, but honestly, the secret to successful wood stripping techniques is just knowing when to stop pushing. If you’re using a chemical stripper, don’t rush it. Let the product do the heavy lifting. If you start scraping too early because you’re impatient, you’re just going to gouge the wood and end up creating more work for yourself later.
If you’re dealing with something more delicate, like when I’m restoring antique wood furniture I found at a flea market, I usually opt for a more controlled approach. Instead of a heavy-duty caustic cream, I might use a heat gun or even just a lot of elbow grease with a scraper. The goal isn’t to get every microscopic speck of old varnish gone in one go; it’s about getting the surface clean enough to actually see the grain. Don’t aim for perfection on the first pass. If you leave a little residue, you can always catch it during the sanding phase. Just keep it steady, keep your workspace organized, and try not to let the mess overwhelm you.
A Realistic Furniture Sanding Grits Guide for Beginners
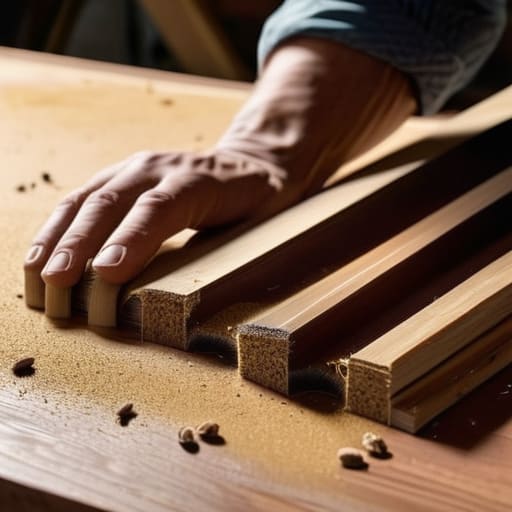
Look, if you walk into a hardware store and see fifty different types of sandpaper, don’t panic. You don’t need a specialized kit for every single project; you just need a logical progression. Most people make the mistake of jumping straight to a fine grit because they want to see results fast, but if you haven’t leveled out the deep scratches from the previous finish, you’re just polishing the damage. Think of it like skincare: you can’t apply expensive serum over a layer of grit and grime. Start with something heavy-duty—around 80 or 100 grit—to do the heavy lifting, then work your way up.
My personal rule of thumb for a furniture sanding grits guide that actually works is to never skip more than one grit level at a time. If you go from 80 grit straight to 220, you’re going to leave swirl marks that will look like a disaster once you start applying wood stain tips later on. I usually hit 120, then 150, and finish with 220 once the surface feels smooth to the touch. It feels tedious, I know, but it’s the difference between a piece that looks “DIY” and one that actually looks like you knew what you were doing.
Five ways to keep your sanity (and your budget) while you work
- Don’t go overboard with the gear. You don’t need a professional workshop to get decent results; start with the basics and only buy the specialized stuff once you actually realize you’re missing it.
- Accept that it’s going to get messy. If you try to keep your workspace “aesthetic” while stripping old varnish, you’re going to end up frustrated. Embrace the dust and the chemical smell—it’s part of the process.
- Test your finish on a hidden spot first. I know it’s tempting to just slap on that expensive walnut stain, but do a little patch test on the underside or a back leg to make sure you actually like how it looks once it dries.
- Work in small, manageable chunks. Instead of trying to tackle a whole dining table in one frantic Saturday, just focus on one tabletop or one chair leg at a time. It keeps the project from feeling like a mountain you can’t climb.
- Remember that “perfect” is the enemy of “done.” If there’s a tiny scratch you can’t quite get out, let it go. That little imperfection is just proof that it’s a real piece of furniture with a history, not a factory-made slab.
The "Don't Overthink It" Summary
Perfection is the enemy of progress—if the wood is smooth enough to touch without catching your skin, you’re ready for the next step.
Focus on the system, not the gear; you don’t need a professional workshop, just a consistent rhythm and the right sandpaper grits.
Expect a mess and embrace it; the goal isn’t a showroom-ready masterpiece on day one, it’s a piece of furniture that actually functions in your home.
The Reality of the Process
“Don’t get paralyzed trying to make it look like a showroom piece on your first try; just focus on getting the surface smooth enough to work with and remember that a little character is better than a lot of perfectionism.”
Nadia Halloway
The Real Finish Line
Look, we’ve covered a lot of ground, from the messy reality of stripping old finishes to finding the right sanding grit so you don’t end up with a surface that feels like sandpaper. The goal here wasn’t to turn your garage into a professional workshop or to follow some rigid, untouchable manual. It was about breaking down a daunting project into manageable, repeatable steps that don’t require a degree in woodworking. If you stripped the wood, sanded it smooth, and didn’t lose your mind in the process, you’ve already won. Remember, the most important part of this entire cycle is consistency over perfection; you don’t need a flawless result to have a piece of furniture that feels like yours.
At the end of the day, that slightly uneven grain or that tiny bit of character you couldn’t sand away isn’t a failure—it’s proof that you actually did the work. We spend so much time chasing that polished, store-bought look, but there is something so much more rewarding about a piece that has a story. Don’t let the fear of a “mistake” stop you from picking up the sandpaper next time you see a diamond in the rough at a thrift store. Just embrace the mess, keep your systems simple, and enjoy the fact that you’ve created something truly functional and uniquely yours.
Frequently Asked Questions
How do I know if a piece of thrifted furniture is actually worth the effort of refinishing?
Look, I’ve definitely spent a Saturday sweating over a dresser only to realize it was a lost cause. Before you commit, check the “bones.” Is it solid wood or cheap particle board? If it’s particle board, walk away—it won’t survive the sanding. Also, check for structural integrity; if the drawers are wonky or the frame is wobbly, you’re looking at a massive headache. If the wood is decent and the shape is classic, go for it.
What’s the best way to deal with that weird, patchy stain that just won't come off?
Look, we’ve all been there. You think you’ve cleared the surface, but then you see that stubborn, blotchy patch staring back at you. Don’t panic and don’t go buying a $200 professional sprayer. Usually, it’s just uneven stripping or a bit of old finish trapped in the grain. Grab a bit more solvent, take your time with a fine-grade steel wool, and spot-treat that area. It’s about patience, not power.
Do I really need to buy all those fancy protective masks and respirators, or is there a cheaper way to stay safe?
Look, I get it—safety gear can feel like another unnecessary expense when you’re already deep in a project. But please, don’t skimp here. You don’t need a $100 professional respirator, but a cheap, paper dust mask from the hardware store won’t cut it once you start sanding or using strippers. Grab a decent N95 mask or a basic reusable respirator with organic vapor cartridges. It’s a small investment to keep your lungs from hating you later.
How do I stop the finish from looking blotchy once I finally get to the staining part?
The blotchiness is the absolute worst, especially after you’ve put in all that sanding work. It usually happens because the wood is absorbing stain unevenly. My go-to fix? Use a wood conditioner first. It’s not an extra “aesthetic” step; it’s a functional necessity. It pre-seals the thirsty spots so the stain goes on smooth and predictable. If you skip the conditioner, you’re basically just gambling with your finish.
