A Beginner’s Guide to Making Your First Macramé Wall Hanging
I was sitting on my floor three years ago, surrounded by a chaotic mountain of tangled, cheap polyester cord and feeling completely defeated because my “simple” plant hanger looked more like a bird’s nest than a piece of decor. If you’ve scrolled through Pinterest lately, you’ve probably seen those perfectly curated, sun-drenched studios that make macrame for beginners look like a peaceful, effortless meditation. Let’s be real: it usually starts with cramped fingers, a lot of wasted string, and a mounting sense of frustration when your knots don’t look anything like the photo. I realized pretty quickly that the problem wasn’t my lack of talent, but the fact that I was trying to follow “aesthetic” tutorials instead of actually learning how the tension works.
In this guide, I’m skipping the expensive, specialized toolkits and the fluff. I’m going to show you how to build a functional system for learning these knots using just a few basic supplies you probably already have in a junk drawer. We’re going to focus on the repeatable patterns that actually matter, so you can stop stressing about perfection and start making things that actually look good in your home.
Guide Overview
Tools & Supplies
- Scissors for cutting cord
- Measuring tape for length accuracy
- S-hooks or dowel for hanging work
- Cotton macrame cord (3mm or 4mm) 50-100 meters
- Wooden dowel or ring 1 piece
Step-by-Step Instructions
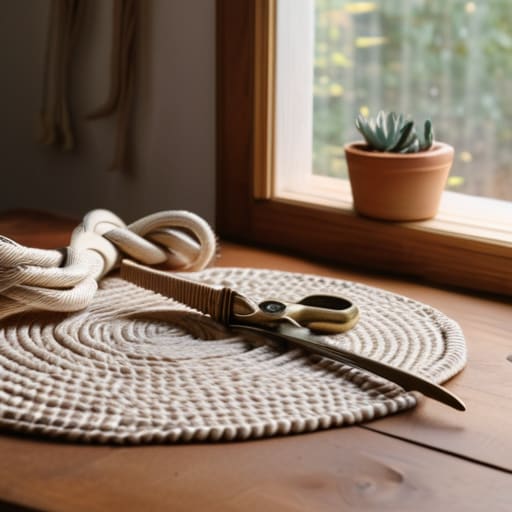
- 1. First, grab your supplies, but please—don’t go overboard. You don’t need a professional studio kit or a mountain of expensive specialty cords to get started. All you really need is a single spool of 3mm or 4mm cotton macrame cord (it’s much easier to work with than the thin stuff), a pair of sharp scissors, and something to hold your work up, like a command hook or even a sturdy coat hanger.
- 2. Next, you’ve got to set up your “workspace,” which in my case is usually just the edge of my kitchen table. Cut a length of cord—let’s say about eight feet—and fold it in half. Take that folded loop and slide it over your hook or hanger. This creates a mounting point, which is essentially the anchor for everything you’re about to do. If you don’t have a hook, just tape the loop to the table; it’s not about being fancy, it’s about making it work.
- 3. Now, let’s tackle the “Lark’s Head Knot.” This is the bread and butter of macrame. Take the loose end of your folded cord, pull it up through the loop at the top, and then tuck the ends through that new loop you just created. Pull it tight. It sounds a bit repetitive, but once you do it three or four times, your hands will start to remember the movement. This is how you attach your cords to your base.
- 4. Once you have your cords hanging, it’s time for the “Square Knot,” which is the first real building block of any pattern. You’ll use four strands: two in the middle act as the stationary core, and the two on the outside do the actual moving. Take the far-left cord, cross it over the middle two to make a shape like a “4,” then take the far-right cord, place it over the left cord, under the middle ones, and up through the loop on the left. Pull it snug, and you’ve got it.
- 5. To keep things from getting frustrating, try making a series of these square knots in a row. This is called a “Square Knot Row.” If you want to get a little more visual, you can alternate the direction of your knots (starting with the left cord one time, then the right cord the next) to create a spiral effect. It’s a low-effort way to make something look way more complex than it actually is.
- 6. As you work, don’t obsess over every single knot being absolutely identical. If one is a little looser than the others, just keep going. The beauty of macrame is that it’s tactile and organic; a little bit of variation actually gives it character. If you find yourself getting stressed about perfection, take a breath, grab a coffee, and remember that we’re just playing with string here.
- 7. Finally, once you’ve knotted your way down the length of the cord, it’s time for the “fringe” phase. This is my favorite part because it’s where the magic happens. Use your scissors to trim the ends of the cord. You can leave them long for a bohemian look, or trim them into a clean, straight line for something more modern and minimalist. If the cord looks a bit fuzzy, give it a gentle brush with a comb to fluff it out.
Finding Your Rhythm With Macrame Cord Types and Essential Tools
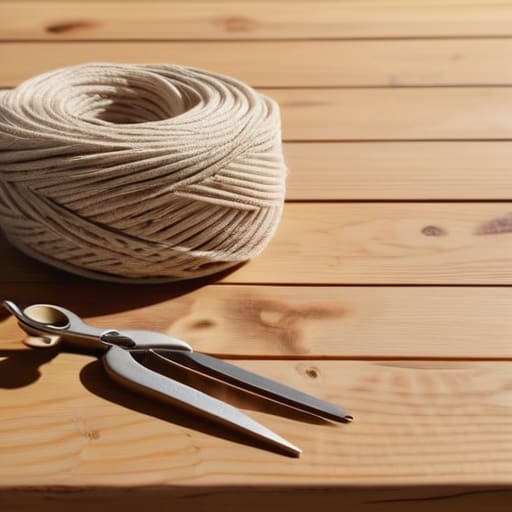
Look, I know the first time you scroll through Pinterest, it looks like you need a massive, professional studio setup to get started. You don’t. I’ve spent way too much money on fancy kits in the past, only to realize that most of it was just clutter. When it comes to essential macrame tools, you really only need the basics: a sharp pair of scissors, some masking tape (to hold your cords in place), and a sturdy dowel or even a fallen branch from your backyard. Don’t get hung up on the gear; the magic happens in the movement of your hands, not the price tag of your equipment.
The real learning curve, though, is figuring out which macrame cord types actually work for your hands. If you’re just starting out, I highly recommend a 3mm or 4mm single-strand cotton cord. It’s forgiving, easy to untangle when you inevitably mess up a knot, and it feels much better than that stiff, synthetic stuff that feels like fishing line. As you get comfortable with a basic square knot tutorial, you’ll start to notice how different textures change the look of your work. Don’t stress about getting everything perfect on your first try—just pick a cord that feels good and start knotting.
Mastering the Square Knot Tutorial Without the Stress
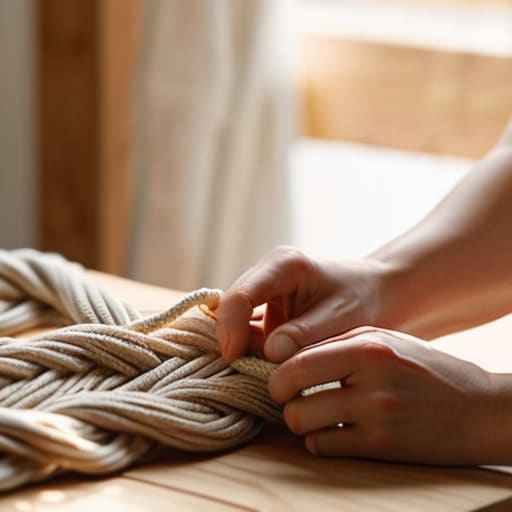
Look, I’ll be the first to admit that my very first attempt at a square knot looked less like art and more like a tangled bird’s nest. It’s easy to get frustrated when your knots look uneven or suddenly feel way too tight to manipulate. The secret isn’t having some magical steady hand; it’s all about your macrame tension techniques. If you pull one side harder than the other, your whole piece is going to lean to the left, and that’s a headache you don’t need. Try to find a consistent “middle ground” tension—not so loose that it’s floppy, but not so tight that you’re fighting the cord.
Another thing that saved my sanity was realizing that I didn’t need to be perfect on the first try. When you’re working through a square knot tutorial, your fingers might feel a bit clumsy at first. That’s totally normal. If a knot looks wonky, don’t scrap the whole thing. Just untie it, take a breath, and try again. I usually find that working in small, manageable sections helps keep the overwhelm at bay. Once you get that rhythm down, you’ll realize these basic knots are the actual engine behind almost all the macrame wall hanging projects you see online.
5 ways to keep your first project from becoming a pile of tangled string
- Stop scrolling Pinterest for “perfect” wall hangings. Most of those are professional-grade pieces that take weeks. Start with something small, like a plant hanger, so you actually see a finished product before you lose steam.
- Don’t go overboard on the gear. You don’t need a specialized studio kit or a dozen different textures. One decent spool of single-twist cotton cord and a sharp pair of scissors are more than enough to get moving.
- Embrace the “messy middle.” Your knots are going to look wonky, and your tension will be uneven. That’s fine. It’s better to have a slightly lopsided knot than to quit because you’re chasing a level of precision that doesn’t exist in your first month.
- Manage your workspace like a pro. Macrame creates a ridiculous amount of tiny string scraps. Keep a small trash bin or even just a bowl right next to you so you aren’t constantly getting up to clean, which breaks your flow.
- Learn to forgive your hands. If your fingers start cramping or you find yourself getting frustrated because a knot won’t sit right, just walk away. Grab a coffee, reset, and come back later. Macrame is a rhythm, not a race.
Real-world takeaways for when the knots get messy
Stop chasing the “perfect” Instagram setup; just grab one decent spool of cotton cord and a pair of scissors to start, because the best way to learn is by actually doing it.
Focus on mastering one single knot—like the square knot—until it feels like muscle memory before you even think about buying more expensive patterns or complex tools.
Embrace the tangles and the uneven tension; macrame is a process of small, repeatable movements, and your first few pieces are meant to be functional experiments, not museum-quality art.
Forget the Pinterest perfection
Don’t get hung up on buying the most expensive cotton cord or having a perfectly curated studio space; macrame is just a series of knots, and the goal isn’t a museum-quality piece—it’s about finding a way to sit still and create something with your own two hands.
Nadia Halloway
Stop Overthinking and Start Knotting
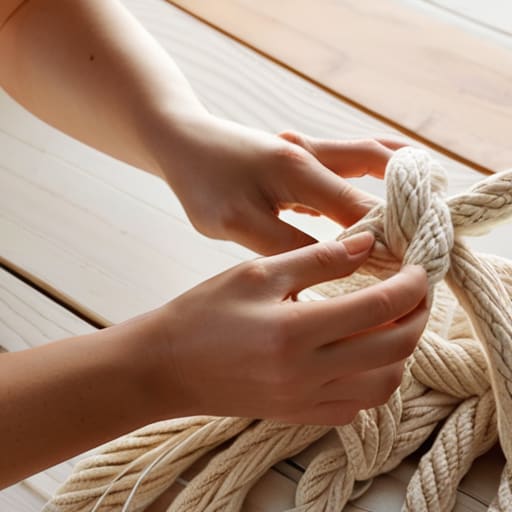
Look, if you’re feeling a little overwhelmed by the sheer amount of cord and tension math out there, take a breath. We’ve covered the essentials: picking a decent cotton cord that won’t drive you crazy, grabbing just the tools you actually need, and getting that first square knot down without wanting to throw your scissors across the room. You don’t need a Pinterest-perfect studio or a massive inventory of specialty beads to make something beautiful. The goal isn’t to produce a museum-quality piece on your first try; it’s about building a repeatable habit that fits into your actual, messy life. Once you have the basic knots under your belt, everything else is just a variation on a theme.
At the end of the day, macrame is just a way to slow down and make something with your hands. There will be knots that look wonky and projects that end up in the “not quite right” pile, and honestly? That is perfectly fine. Don’t let the pursuit of a perfect aesthetic stop you from the actual joy of creating. Just grab a spool, find a quiet corner, and see where the cord takes you. You’re doing better than you think you are, so just keep knotting.
Frequently Asked Questions
How do I stop my knots from looking all wonky and uneven?
Honestly, I used to think I just lacked “the touch,” but it’s usually just tension. If your knots are looking wonky, you’re probably pulling one cord tighter than the others. Try to find a consistent rhythm—treat every knot like a repeatable system rather than a creative explosion. Also, don’t be afraid to use a comb or your fingers to gently nudge things into place. Perfection is a lie; aim for consistency instead.
Is it actually worth buying a dedicated macrame board, or can I just use a piece of cardboard?
Honestly? Save your money. Unless you’re planning on making massive, heavy wall hangings every single weekend, a dedicated macrame board is just another piece of clutter you don’t need. A sturdy piece of cardboard or even a heavy wooden cutting board works perfectly fine to hold your cords in place. Let’s stick to the “small, repeatable systems” approach—get the basics down first, and only upgrade once your hobby actually demands it.
How much cord should I really buy so I don't run out halfway through my first project?
Look, I’ve been there—staring at a half-finished wall hanging with nothing but three inches of string left. It’s frustrating. My rule of thumb? Always buy about 20% more than the pattern suggests. If a tutorial says you need 50 meters, grab 60. That extra bit is your safety net for mistakes, tension errors, or just that one knot that goes sideways. It’s much cheaper than paying for shipping on a single replacement spool.
What do I do when I mess up a knot and don't want to start the whole thing over from scratch?
Look, I’ve been there—staring at a tangled mess of cord and feeling that immediate urge to just cut the whole thing up and start over. Don’t. If you’ve only messed up a few rows, grab a seam ripper or a small pair of precision scissors and carefully snip the knot. Untie the cord, pull it straight, and just restart from that specific point. It’s much faster than starting from scratch and saves your sanity.
