How to Achieve a Flawless Finish With Spray Paint
I was standing in my driveway last Saturday, staring at a thrifted, mid-century side table that looked more “garbage” than “gem,” covered in a thick, peeling layer of old varnish. I had this overwhelming urge to buy a professional-grade spray booth and a dozen expensive specialty primers just to give it a second life, but my bank account—and my tiny apartment lifestyle—had other plans. Here is the truth: you don’t need a studio full of high-end gear to get a professional finish. Learning how to spray paint isn’t about owning the most expensive cans at the hardware store; it’s about mastering a few simple, repeatable movements that prevent those dreaded drips and uneven patches.
I’m not going to bore you with a lecture on industrial-grade ventilation or suggest you spend a fortune on fancy kits you’ll only use once. Instead, I’m sharing the exact, stripped-back system I use when I’m restoring furniture on a budget. We’re going to cover the essential prep work, the secret to steady hands, and how to avoid the messy mistakes that usually turn a fun DIY project into a total headache. Let’s get into it.
Guide Overview
Tools & Supplies
- Spray paint cans (the primary coating)
- Drop cloths (to protect surfaces from overspray)
- Sandpaper (to smooth the surface before painting)
- Painter's tape (to mask off areas you don't want painted)
- Surface cleaner or degreaser (1 bottle/can)
- Primer (1-2 cans depending on surface size)
- Spray paint (2-3 cans for even coverage)
Step-by-Step Instructions
- 1. First things first: clear a workspace that you don’t mind getting a little messy. If you’re working on a thrifted chair or a small lamp, find a spot outside or in a garage with plenty of airflow. I always lay down some old newspapers or a cheap drop cloth—don’t bother with the heavy-duty plastic unless you’re doing something massive; just something to catch the inevitable overspray so you aren’t scrubbing paint off your driveway for three hours later.
- 2. Clean your item like your life depends on it. This is the step everyone tries to skip, but if there’s even a hint of dust, old wax, or finger oils on that mid-century side table, your paint is going to peel off in chunks within a week. Grab a damp cloth with a little dish soap and get every nook and cranny. Once it’s clean, let it dry completely—patience is your best friend here.
- 3. Now, let’s talk about masking. You don’t need a professional kit; just grab some painter’s tape and some scrap paper. Cover up anything that shouldn’t be colorful—like metal hardware or fabric upholstery. I like to be a little extra thorough with the tape because once that spray starts flying, it doesn’t care about your boundaries.
- 4. Give your spray can a good, vigorous shake. I’m talking for at least a full minute. You want to make sure the pigment and the propellant are completely blended so you don’t end up with a nozzle that clogs or a finish that looks blotchy. If you skip this, you’ll end up with a patchy mess that’ll make you want to give up on the whole project.
- 5. This is where most people mess up: the application. Do not, under any circumstances, try to cover the whole object in one go. Instead, aim for thin, light coats. Hold the can about 8 to 12 inches away and move your hand in a steady, sweeping motion—start the spray off to the side of the object, pass over it, and stop the spray on the other side. It’s much better to do four thin layers than one thick, drippy one.
- 6. Let it dry. And I mean really let it dry. It might feel dry to the touch in twenty minutes, but that doesn’t mean it’s cured. If you touch it too soon, you’ll leave permanent fingerprints in the finish. I usually leave my projects alone for at least a few hours between coats, and then wait a full day before I even think about moving them or putting anything on top of them.
Mastering Spray Paint Surface Preparation Without the Overwhelm
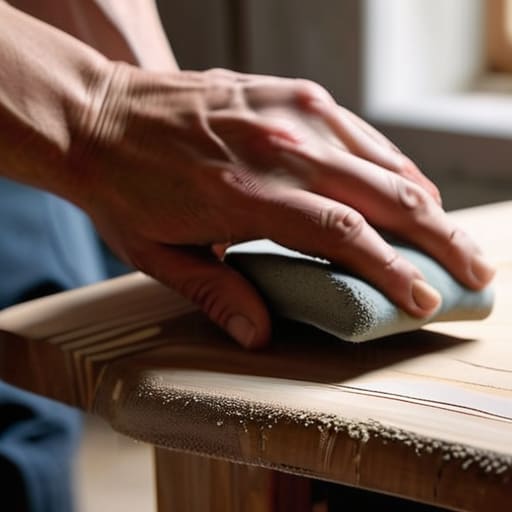
Look, I know the idea of “prep work” sounds like a massive chore that stands between you and a finished project, but here’s the truth: skipping it is exactly how you end up with a sticky, uneven mess. You don’t need a professional workshop, but you do need a solid foundation. If you’re working on an old thrifted chair or a metal lamp, start by giving it a thorough cleaning. Any leftover oils or dust will act like a shield, causing your paint to bead up or peel off later. I always say that good spray paint surface preparation is about 80% of the battle; if the surface is clean and slightly scuffed with some fine-grit sandpaper, the paint actually has something to grab onto.
Once you’ve cleaned everything, don’t forget about a quality primer for spray painting. It’s not just an extra step to waste time; it’s the secret to preventing paint drips and runs and ensuring your color looks even. If you’re working in a small space or a garage, please don’t skip the spray painting safety gear either. A decent mask and some gloves aren’t just for show—they keep you from inhaling fumes that’ll leave you with a headache for hours. Just keep it simple, keep it clean, and you’ll save yourself a massive headache in the long run.
Choosing the Best Spray Paint for Diy Projects and Real Life
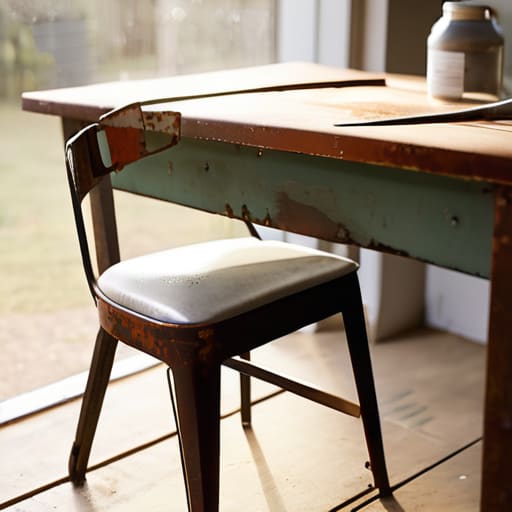
Look, walking down the hardware aisle can feel like a trap. There are a million cans staring at you, all promising “professional results,” but most of them are just overpriced pigment. If you’re looking for the best spray paint for DIY projects, my rule of thumb is to look at the finish and the base. If you’re working on something porous like raw wood or a thrifted metal chair, don’t skip the primer for spray painting. It’s the difference between a smooth, professional coat and a finish that looks like it’s peeling off in six months.
I also used to make the mistake of buying the cheapest can available just to save a few bucks, only to realize the nozzle was a disaster. High-quality cans have much better atomization, which is a fancy way of saying they spray a fine mist rather than a chunky stream. This is actually your best defense for preventing paint drips and runs later on. It’s much easier to spend an extra five dollars on a reliable brand now than it is to spend your entire Saturday sanding down a sticky, uneven mess. Just grab a decent brand, check the drying time on the back, and stick to the plan.
5 Ways to Keep Your Project from Turning Into a Total Disaster
- Test your spray pattern on a piece of scrap cardboard first. I’ve learned the hard way that what looks like a smooth mist in the can can actually come out in heavy, uneven globs that ruin your finish.
- Don’t try to be a hero and cover everything in one go. It’s way better to do three or four super thin, light coats than to try and get full coverage on the first pass and end up with those nasty, thick drips.
- Keep the can moving constantly. If you pause for even a second while your hand is over the object, you’re going to get a paint puddle, and cleaning that up is a nightmare you don’t need.
- Watch the weather like a hawk. If it’s super humid or windy outside, your paint is going to act weird—either staying tacky way too long or blowing fine mist all over your driveway.
- Work in short, controlled bursts. Instead of spraying from left to right in one long motion, think of it as overlapping small strokes. It keeps the application even and saves you a massive amount of frustration.
The "No-Stress" Summary
Don’t skip the cleaning phase; a quick scrub to remove dust and grease is the difference between a professional finish and a peeling mess.
Focus on thin, light coats rather than trying to cover everything in one go—it’s better to do three quick passes than one heavy, drippy disaster.
Invest in the paint, not the fancy accessories; a decent can of high-quality spray paint does 90% of the heavy lifting for you.
## The Reality Check
“Forget the Pinterest-perfect tutorials that make it look like magic; spray painting is really just about doing the boring prep work properly so you don’t end up with a flaky, expensive mess that you’ll just want to throw away in a month.”
Nadia Halloway
Don't Let the Fear of a Mess Stop You
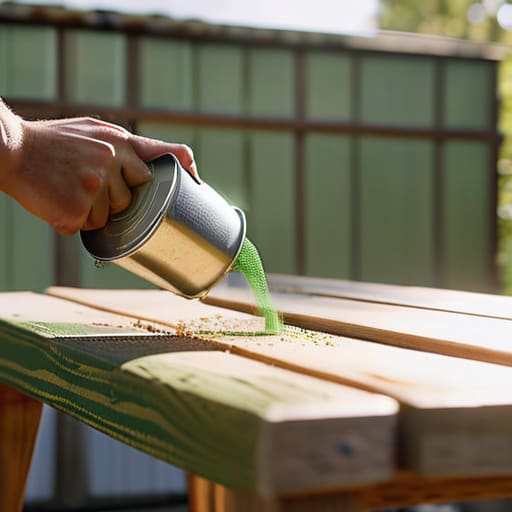
Look, at the end of the day, spray painting isn’t about achieving a showroom-perfect finish on your first try. It’s about the process. If you’ve cleaned your surfaces, picked a decent paint that won’t flake off in a week, and kept your coats thin, you’ve already done the hard part. Don’t get hung up on every tiny speck of dust or a slight drip; those little imperfections are just part of the real-world reality of DIY. Just remember to keep your movements steady and your environment ventilated, and you’ll avoid most of the headaches that usually make people want to quit halfway through.
I know it can feel intimidating to pick up a can and hope for the best, especially when you’re working with something you actually care about. But my advice is to just start small. You don’t need to repaint your entire living room this weekend. Start with a thrifted vase or a small tray. Once you see that a little bit of effort can completely transform something old and tired into something functional and fresh, you’ll realize that these small wins are what actually build confidence. You’ve got this—now go make something beautiful.
Frequently Asked Questions
How do I stop the paint from looking all streaky and uneven?
The secret is all in the “light pass” method. Most people try to cover the whole surface in one heavy coat, and that’s exactly how you get those annoying drips and streaks. Instead, think of it like dusting: spray thin, misty layers. It’ll look a bit patchy at first—don’t panic—but once you build up three or four light coats, it’ll even out beautifully without the mess.
Can I actually spray paint metal or plastic without it peeling off in a month?
Short answer: Yes, but only if you stop treating it like a “coat and go” situation. Plastic and metal are non-porous, meaning the paint has nothing to grab onto. If you skip the sanding or the primer, it will peel. Think of it like this: you’re creating tiny scratches for the paint to live in. Scuff it up, clean it with degreaser, and use a primer meant for that specific surface. Do that, and it’ll stick.
How long do I really need to wait before I can touch it or put things on it?
Look, I get it—you’ve finally finished, it looks great, and you want to actually use that piece. But please, resist the urge to touch it. Even if it feels dry to the touch after twenty minutes, it’s still “soft.” I usually wait at least 24 hours before putting anything on it. If you’re impatient, give it a full 48. Let the paint cure properly so you don’t end up with fingerprints stuck in your hard work.
Is there a way to do this without the smell taking over my entire house?
The short answer? Yes, but you can’t just spray in your living room and hope for the best. If you don’t have a garage, find a balcony or even a small corner of your yard. If you absolutely have to work indoors, set up a “containment zone” near a window with a heavy-duty fan blowing outward. Most importantly, keep the cans tightly sealed when you aren’t actively spraying. It’s about controlling the drift, not just the mess.
