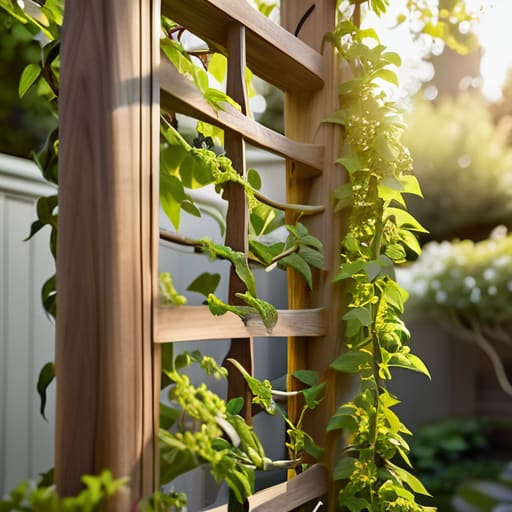
Building a Sturdy Garden Trellis for Climbing Vines
I was standing in my backyard last July, staring at a heap of expensive, pre-fabricated cedar lattice that had already started warping under the weight of my unruly tomato plants. It was a total mess, and honestly, a complete waste of money. Most people think that learning how to build a garden trellis requires a massive trip to the home improvement store and a garage full of specialized tools, but that’s just not true. You don’t need a professional-grade setup to give your climbing plants something to hold onto; you just need a system that actually holds up when the summer storms hit.
In this guide, I’m skipping the fancy architectural blueprints and the “aesthetic” Pinterest projects that fall apart in a week. Instead, I’m going to show you how to use basic, affordable materials to create a sturdy, functional structure that works with your space, not against it. We’re going to focus on a few low-maintenance methods that prioritize durability over decoration. By the end of this, you’ll know exactly how to get your garden organized without breaking your budget or losing your mind.
Guide Overview
Tools & Supplies
- Measuring tape for precise wood cuts
- Handsaw or miter saw for cutting lumber
- Drill with bits for making pilot holes
- Screwdriver or drill driver for fastening
- Cedar or pressure-treated wood stakes (4-5 pieces)
- Wood lattice or thin bamboo poles (1 large panel)
- Exterior grade wood screws (1 box)
- Garden staples or wire ties (1 pack)
Step-by-Step Instructions
- 1. First, let’s talk about your materials. You don’t need to run to a high-end garden center and drop a fortune on treated lumber that looks like it belongs in a catalog. Honestly, just grab some untreated cedar or even scrap wood from a previous project. If you’re on a tight budget, even some sturdy bamboo stakes from a discount store will do the job. Just make sure whatever you pick is actually strong enough to hold the weight of your plants once they start getting heavy and unruly.
- 2. Once you have your wood, it’s time to map out the frame. I like to keep things simple with a basic rectangular structure, but you can get creative if you have a specific corner in mind. Measure the area where your plants are going to live and cut your vertical posts accordingly. I always suggest cutting your vertical stakes a few inches longer than you think you need; it’s much easier to bury the extra bit in the dirt than it is to realize your trellis is too short halfway through the season.
- 3. Now, grab your twine or some thin wire. This is where the “system” part comes in. Instead of trying to weave a complex web that will take you three hours and leave you frustrated, just create a simple grid pattern. Drive your vertical posts into the ground first, then stretch your horizontal lines across them. I prefer using natural jute twine because it’s easy on the hands and eventually breaks down, so you aren’t fighting with rusted metal wire when it’s time to clear the garden in the fall.
- 4. If you’re working with something a bit more heavy-duty, like climbing beans or heavy squash, you might want to add some “cross-bracing.” This is just a fancy way of saying “don’t let it fall over.” Take a few smaller pieces of wood or even some sturdy sticks and lash them diagonally across your frame. It might not look like a Pinterest-perfect installation, but it will handle the wind and weight without collapsing on your prize tomatoes.
- 5. Secure everything into the soil. If you’re using stakes, don’t just push them in and call it a day. Give them a good firm press with your foot or a mallet to ensure they are deeply anchored. A trellis that wobbles every time a breeze hits is just a future headache. If the ground is particularly sandy or loose, you might even want to tie the base of your posts to a heavy stone or a small brick to give it that extra bit of stability.
- 6. The final step is the most important: the actual planting. Don’t just toss the seeds at the base and hope for the best. Place your seedlings near the bottom of the trellis and, as they start to sprout, gently guide the first few tendrils toward your grid. This “training” process is what sets your plants up for success. It’s a small, five-minute task that saves you from a chaotic mess of tangled vines later on.
Essential Garden Trellis Materials List for Real Life
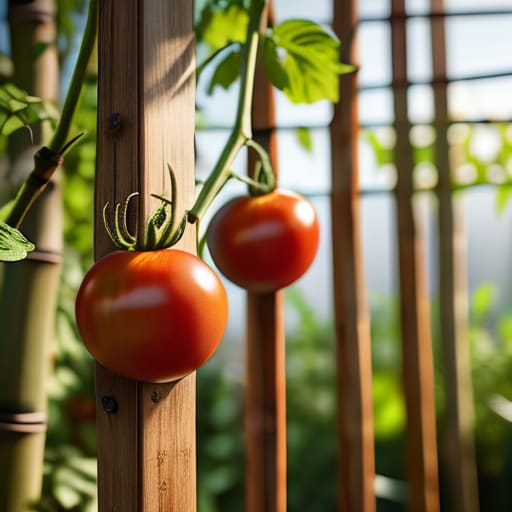
Look, I’ve seen enough “Pinterest-perfect” garden setups to know that they usually fall apart the second a heavy summer storm hits. When you’re putting together your garden trellis materials list, don’t feel pressured to go out and buy expensive, treated cedar if it’s not in the budget. If you’re working with a tight space, even some sturdy scrap wood or leftover bamboo stakes from a previous project can serve as excellent climbing plant support systems. The goal isn’t to win a landscaping award; it’s to create something that holds up the weight of your heavy tomatoes without snapping.
If you’re leaning toward more permanent vertical gardening structures, I’d suggest focusing on the hardware. Cheap plastic ties or flimsy twine will degrade in the sun faster than you think, leaving your plants sprawling on the ground. Instead, invest a little extra in some galvanized wire or heavy-duty zip ties. It’s a small upfront cost that saves you from a massive headache mid-season. Just keep it simple: get the structural elements right, ensure they’re anchored deep enough to handle the wind, and stop overcomplicating the aesthetic. A trellis doesn’t need to be a masterpiece to be functional.
Easy Diy Garden Structures for Climbing Vegetable Support Systems
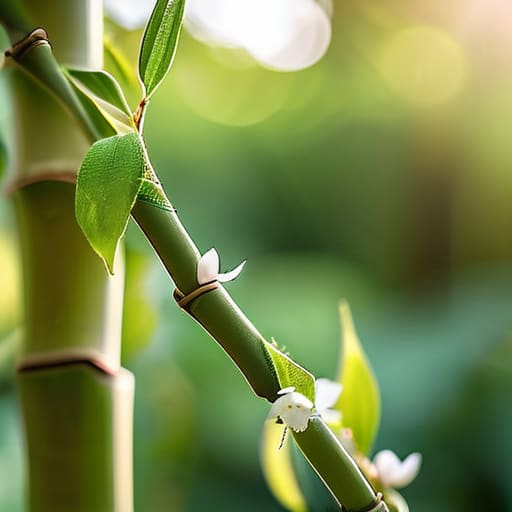
If you aren’t looking to build a massive, permanent installation, don’t feel like you have to commit to a heavy-duty construction project. Sometimes the best easy diy garden structures are the ones that feel almost accidental. I’m a huge fan of using repurposed items like old cattle panels or even just some sturdy bamboo stakes tied together with twine. These work incredibly well as climbing plant support systems for things like peas or pole beans, and the best part is that they don’t require a weekend of heavy lifting or a trip to the lumber yard.
If you want something a bit more intentional but still low-stress, try experimenting with different vertical gardening structures based on your space. For instance, if you’re working with a small balcony or a tight corner, a simple A-frame made from scrap wood is a total game-changer. It’s much more stable than a single stake, and it gives your plants more surface area to grab onto. You don’t need a master plan or complex wooden trellis design ideas to make this work; you just need something that stays upright when the wind picks up. Focus on function over form and your vegetables will do the rest.
5 Ways to Keep Your Trellis From Becoming a Total Mess
- Don’t overthink the materials. You don’t need expensive, pressure-treated cedar to keep a tomato plant upright; a few sturdy bamboo stakes or even some leftover scrap wood from a home project will do the job just fine.
- Build for the wind, not just the plant. I’ve seen so many beautiful, flimsy trellises get snapped in the first summer storm because they weren’t anchored deep enough. Make sure your base is actually secured into the ground, not just sitting on top of the dirt.
- Leave a little “wiggle room” for growth. It’s tempting to build something tight and compact to save space, but plants are chaotic. If you don’t give them an extra few inches of breathing room, they’ll end up tangling themselves into a knot that’s impossible to harvest.
- Think about your back. If you’re growing heavy climbers like squash or melons, build your trellis a bit higher than you think you need to. There is nothing worse than having to hunch over in the dirt every time you want to check on your produce.
- Plan for easy access. A trellis shouldn’t be a wall that blocks you from your garden. Make sure you can actually reach behind or through the structure to prune or harvest without having to perform acrobatics.
The Bottom Line for Your Garden
Stop chasing the perfect Pinterest look; a trellis is a tool, not a centerpiece, so prioritize stability over aesthetics.
Use what you already have—scrap wood and leftover wire are just as effective as store-bought kits if they get the job done.
Build for the mess of the season, meaning your structure should be easy to reinforce or replace when the heavy vines actually start growing.
## The Philosophy of the Build
“Forget the Pinterest-perfect cedar arches that cost a fortune and fall apart in two seasons; a good trellis isn’t about looking like a magazine cover, it’s about building a sturdy, reliable system that keeps your plants off the dirt and lets you actually enjoy your garden without constant repairs.”
Nadia Halloway
The Bottom Line
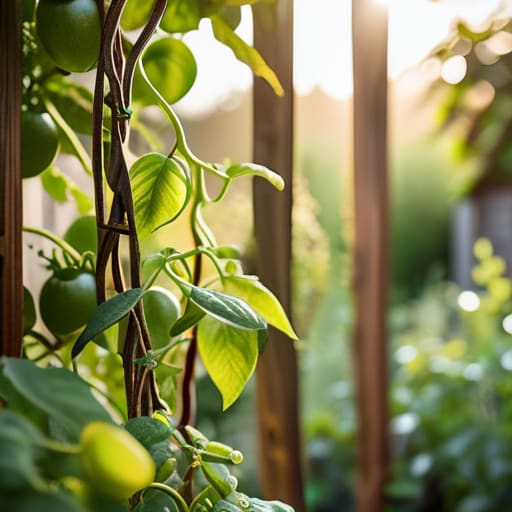
At the end of the day, building a trellis doesn’t require a degree in carpentry or a massive trip to the big-box hardware store. Whether you went with the scrap wood method or opted for a more structured DIY setup, the goal was the same: creating a reliable system to keep your plants from turning into a tangled, ground-level mess. Remember that you don’t need the most expensive cedar or the most intricate design to see results. What matters is that your structure is sturdy enough to handle the weight of your harvest and simple enough to maintain when you’re busy with everything else life throws at you.
Gardening is messy, unpredictable, and occasionally frustrating, but that’s exactly why these small wins matter. Don’t get caught up in trying to build the “perfect” garden that looks like a magazine spread; just focus on building what works for your specific space and your actual schedule. Once your climbers start finding their grip on that trellis you built, you’ll realize that the effort was worth it. It’s not about the aesthetic; it’s about the satisfaction of a functional system that actually supports your growth—both in the garden and in your own daily rhythm. Now, go get some dirt under your fingernails.
Frequently Asked Questions
How do I stop the trellis from leaning or sinking into the dirt after a heavy rain?
Look, there is nothing more frustrating than spending a Saturday building something only to watch it tilt sideways after the first thunderstorm. If your trellis is sinking, you probably didn’t go deep enough. Don’t just stick the stakes in the topsoil; you need to drive them at least eight to twelve inches into the ground. If the soil is really mushy, try driving a heavy brick or a large stone against the base of the stake to act as an anchor. It’s not pretty, but it keeps things upright when the weather gets messy.
What’s the best way to attach the vines without accidentally killing the plant or damaging the structure?
Look, the last thing you want is to strangle your plants while trying to help them grow. Skip the tight wire or heavy twine that digs into the stems. Instead, use soft garden ties or even old strips of cotton fabric—something that has a little “give.” Loop them loosely around both the vine and the trellis. You want to support the weight without cutting off the circulation. Think of it as a gentle hug, not a straightjacket.
Can I use cheaper materials like bamboo or twine, or am I going to be rebuilding this every single season?
Look, you absolutely can use bamboo and twine, and honestly, I’m a huge fan of starting there. It’s cheap, it’s easy, and it doesn’t feel like a massive commitment. Just don’t expect it to survive a brutal winter or heavy tomato vines for three years straight. Treat bamboo as a seasonal system: build it, use it, and expect to replace it next year. It’s better to rebuild a cheap setup than to overinvest in something permanent that doesn’t fit your space.
How do I figure out which trellis design is actually strong enough for heavy hitters like squash or cucumbers?
Look, if you’re planning on growing heavy hitters like squash or cucumbers, you can ditch the flimsy twine and light bamboo sticks. Those will buckle the second things get real. You need structural integrity. I always recommend using thicker wooden stakes or even a recycled metal cattle panel. If it feels like it might wobble when you give it a firm nudge, it’s not going to hold up under the weight of a massive, water-heavy harvest.
