The Right Way to Freeze Food for Long-term Freshness
I am so tired of seeing those “aesthetic” pantry organization videos where people spend hundreds of dollars on matching glass canisters and high-end vacuum sealers just to store a bag of peas. Honestly, if you think you need a professional-grade kitchen setup to master how to freeze food, you’ve been lied to by influencers with too much free time. I grew up in a tiny apartment where every inch of freezer space was a battlefield, and I learned the hard way that fancy gadgets don’t stop freezer burn—smart, simple systems do.
I’m not here to give you a lecture on food science or sell you a subscription to a meal-prep service. Instead, I want to share the gritty, realistic ways I manage my kitchen when my freelance schedule goes sideways and I actually have time to cook. We’re going to focus on low-effort, high-impact methods that use what you already have in your cabinets. No fluff, no expensive gear, just the actual mechanics of how to keep your food fresh when life gets messy.
Airtight Container Methods That Actually Work
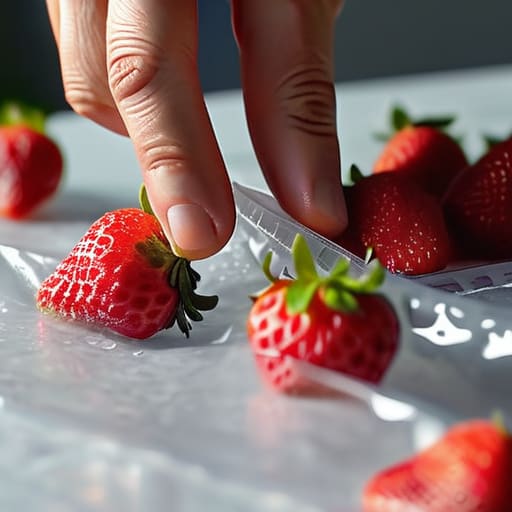
Look, I know the temptation to just toss a loose handful of berries into a random Tupperware is real, especially when you’re halfway through a recipe. But if you want to avoid that dreaded icy, cardboard-like texture, you have to get serious about preventing freezer burn. The goal is to eliminate as much air as possible. If you aren’t ready to invest in a vacuum sealer—and honestly, most of us don’t need one—the best approach is the “squeeze and seal” method. Use heavy-duty freezer bags, push out every bit of air before zipping them shut, and try to lay them flat so they stack like books in your freezer. It saves space and keeps the air from touching your food.
For things like soups or stews, I’ve found that glass containers are a lifesaver, provided they are high-quality and freezer-safe. Just a pro-tip from my own kitchen: leave an inch of headspace at the top. Liquids expand when they freeze, and nobody wants a shattered jar or a frozen mess leaking all over their thrifted freezer shelves. When it comes to airtight container methods, consistency is more important than being fancy. Whether it’s a silicone lid or a sturdy plastic bin, as long as the seal is tight, your food is going to stay much fresher for much longer.
Best Practices for Food Storage on a Budget
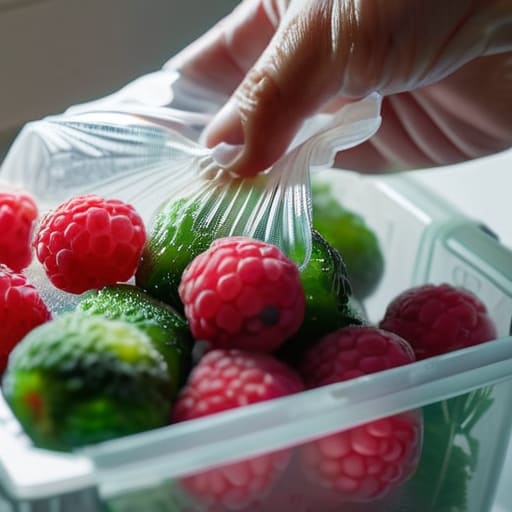
Look, I get it. You want to save money, but you don’t want to spend a fortune on a specialized organizational system that looks great on Pinterest but fails the first time you actually use it. When it comes to best practices for food storage on a budget, the secret isn’t buying a $50 set of matching glass canisters; it’s about managing air and space. If you’re working with a standard freezer, air is your biggest enemy. It’s what leads to that weird, icy texture we all hate. To keep things simple, I always suggest using heavy-duty freezer bags if you’re short on Tupperware. Just squeeze every bit of air out before sealing—it’s a tiny step, but it’s the most effective way of preventing freezer burn without spending a dime.
Another thing I’ve learned from years of trying to stretch a grocery budget is that “one size fits all” doesn’t apply to your inventory. If you’re freezing vegetables and fruits, don’t just toss them in whole. Chop them up first and freeze them in flat layers. This makes them stackable like books on a shelf, which saves a massive amount of space in a cramped freezer. Plus, it helps you track how long food lasts in the freezer because you can actually see what’s in there without digging through a frozen mountain of mystery bags.
My low-effort rules for a freezer that actually helps
- Don’t overthink the containers. If you don’t have a stash of matching glass tubs, just use heavy-duty freezer bags. The trick is to squeeze every last bit of air out before you zip it shut—it’s the easiest way to stop freezer burn without buying a vacuum sealer.
- Label everything with a Sharpie. I know, it feels extra, but three weeks from now, you won’t remember if that frozen block is homemade pesto or just a clump of spilled green smoothie. Write the date and what it is; your future, hungry self will thank you.
- Freeze in portions, not bulk. There is nothing worse than thawing a massive tub of chili only to realize you only wanted one bowl. Freeze your leftovers in small, single-serving amounts so you can grab exactly what you need for a quick lunch.
- Flatten your bags. Instead of freezing big, awkward lumps, lay your freezer bags flat on a baking sheet until they’re solid. Once they’re frozen, you can stack them like files in a drawer. It saves a ton of space and keeps your freezer from looking like a junk drawer.
- Give things a little breathing room. If you’re freezing something delicate, like herbs in oil or even just leftovers, try not to pack the container to the absolute brim. Things expand when they freeze, and nobody wants a “freezer explosion” in their kitchen.
The bottom line for your freezer
Skip the expensive specialized gear and just use what you have—Ziplocs and old Tupperware work perfectly fine if you squeeze the air out first.
Don’t try to freeze everything at once; start with one category, like bread or leftovers, so you don’t get overwhelmed and end up doing nothing.
Label your bags with a Sharpie and a date, because “mystery frozen block” is not a meal plan and it’s a total waste of money when you forget what it is.
## The real goal of meal prep
“Stop trying to turn your freezer into a Pinterest-perfect showroom; the goal isn’t to have perfectly labeled jars, it’s to make sure that on a Tuesday night when you’re exhausted, you actually have something edible to eat without spending twenty bucks on takeout.”
Nadia Halloway
Stop overthinking it and just start
Look, if you’ve taken anything away from this, let it be that you don’t need a professional-grade kitchen or a mountain of expensive gear to make this work. Whether you’re squeezing the air out of a basic Ziploc bag or repurposing old glass jars, the goal is simply to stop wasting food and money. Remember: use airtight containers whenever possible, label your bags so you aren’t playing a guessing game in three months, and don’t feel guilty if your freezer looks a little chaotic at first. It’s not about having a Pinterest-perfect pantry; it’s about building a system that actually survives a busy work week.
At the end of the day, food freezing is just one of those small, repeatable habits that keeps your life from feeling like it’s constantly spinning out of control. We all have those weeks where cooking feels impossible, and having a stash of prepped meals waiting for you is a total game-changer for your mental health. Don’t wait for the “perfect” time to get organized or for the perfect set of matching containers to arrive in the mail. Just grab what you have, get it in the freezer, and focus on what works for your real, messy life. You’ve got this.
Frequently Asked Questions
Is it actually safe to freeze leftovers that have already been sitting in the fridge for a couple of days?
Look, I get the temptation to save a few bucks, but here’s the deal: if those leftovers have been hanging out in your fridge for more than three or four days, just let them go. It’s not worth the risk of food poisoning. Ideally, you want to freeze things within a day or two of cooking. If they’ve been sitting there for a while, the quality will also be pretty mediocre once they thaw.
How do I stop my frozen veggies from turning into a mushy, flavorless mess when I thaw them?
The secret is to stop treating frozen veggies like fresh ones. If you thaw them on the counter and then cook them, they’re doomed to be mush. Instead, skip the thawing step entirely. Toss them straight from the freezer into a hot pan or boiling water. You want that “flash” heat to hit them immediately so they retain their structure. If you absolutely must thaw them, do it in the fridge overnight and pat them dry first.
Do I really need to label everything, or is there a better way to keep track of what's buried in the back of the freezer?
Look, if you’re anything like me, a roll of masking tape and a Sharpie feel like a chore. But here’s the reality: if it isn’t labeled, it’s just a mystery block of ice you’ll eventually throw away. If full labels feel too intense, try the “one-word” method. Just write the item and the date on the front. It takes five seconds, but it saves you from digging through everything just to find that one bag of peas.
Can I freeze things like bread or cooked pasta without them getting weird textures?
The short answer is yes, but you have to be intentional about it. For bread, don’t let it sit out on the counter first—slice it, wrap it tight, and freeze it immediately to prevent those weird, stale bits. For cooked pasta, it can get a little mushy if you aren’t careful. My trick? Toss it in a little olive oil before freezing so the noodles don’t clump into one giant, sad brick.
