Tiling Your Own Backsplash: a Diy Guide
I was sitting on my kitchen floor three years ago, surrounded by half-empty bags of grout and a mounting sense of regret, staring at a crooked row of subway tiles that looked more like a jagged mountain range than a kitchen feature. I had watched dozens of those polished “DIY makeover” videos where everything looks effortless and perfectly symmetrical, but nobody tells you about the messy reality of trying to figure out how to tile a backsplash when your walls aren’t actually level and your budget is tight. I realized then that the obsession with achieving showroom perfection is exactly what makes most people quit halfway through a project.
In this guide, I’m skipping the fancy, expensive tools you don’t actually need and focusing on the small, repeatable steps that actually work. I’ll show you my realistic system for how to tile a backsplash without losing your mind or your entire savings account. We’re going to talk about the right adhesive, how to handle those inevitable gaps, and how to get a result that looks clean and intentional—even if your house isn’t perfect. Let’s get into it.
Guide Overview
Tools & Supplies
- Tile cutter or wet saw for precise cuts
- Notched trowel for spreading adhesive
- Rubber grout float for applying grout
- Spacers to maintain even gaps
- Level to ensure straight lines
- Backsplash tiles (enough for area plus 10% extra)
- Tile adhesive or mastic (1 gallon)
- Grout (1 bag based on joint width)
- Tile spacers (1 pack)
- Grout sealer (1 bottle)
Step-by-Step Instructions
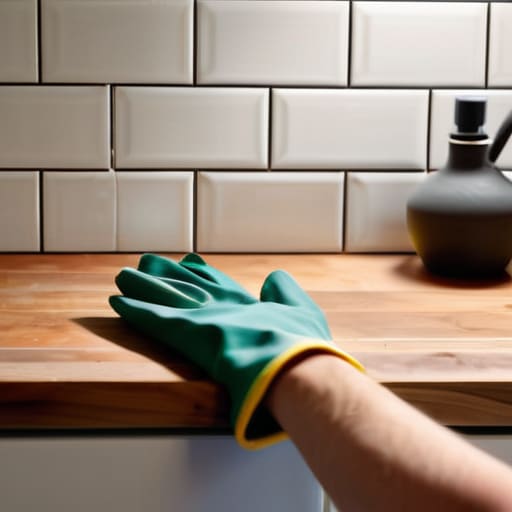
- 1. First things first, clear everything off your counters and give the wall a proper scrub. I know, it sounds tedious, but if there’s any lingering grease or dust from your last cooking session, your adhesive is going to have a very bad time. Grab a sponge with some degreaser and wipe it down until the surface feels totally clean and dry.
- 2. Next, you need to figure out where your first tile is going to live. Don’t just start at one end and pray; if you do that, you might end up with a tiny, awkward sliver of tile at the other end that looks totally amateur. Use a level to draw a straight horizontal line where you want your first row to sit. This is your anchor point, and getting it right now saves you a massive headache later.
- 3. Now, grab your thin-set (that’s just the fancy word for tile adhesive) and start spreading it onto a small section of the wall using a notched trowel. Don’t try to do the whole wall at once—you’ll end up with a thick, crusty mess before you even get halfway through. Aim for small, manageable sections and try to keep the ridges running in one direction to help the air escape when you press the tiles in.
- 4. This is the part where you actually place the tiles. Press them into the adhesive with a little bit of a twist—think of it like screwing in a lightbulb—to make sure they’re really seated. Use your spacers (those little plastic crosses) between every single tile. If you try to eyeball the gaps, you’re going to end up with a wavy line that will drive you absolutely insane every time you make coffee.
- 5. Once you’ve finished a row or two, take a damp sponge and wipe away any excess adhesive that squeezed up into the gaps. You want those spaces completely clear before you move on to the grout. If the grout gets stuck in the cracks because you were too lazy to clean it up, it’s a total nightmare to scrape out once it dries.
- 6. When the adhesive has had enough time to set (usually 24 hours), it’s time for the grout. Mix it up until it’s the consistency of peanut butter—not runny, not a brick—and smear it over the tiles using a rubber grout float. Work in a diagonal motion to force the grout into the gaps, making sure you don’t leave any empty pockets.
- 7. Finally, wait about 15 to 20 minutes, then take a slightly damp sponge and wipe the excess grout off the face of the tiles. Don’t use too much water, or you’ll wash the color right out of the grout itself. Once it’s mostly clean, let it dry, and then give the whole thing a final buff with a microfiber cloth to get rid of that hazy film. Now, go make a coffee; you earned it.
Essential Tiling Tools for Beginners Not Perfectionists
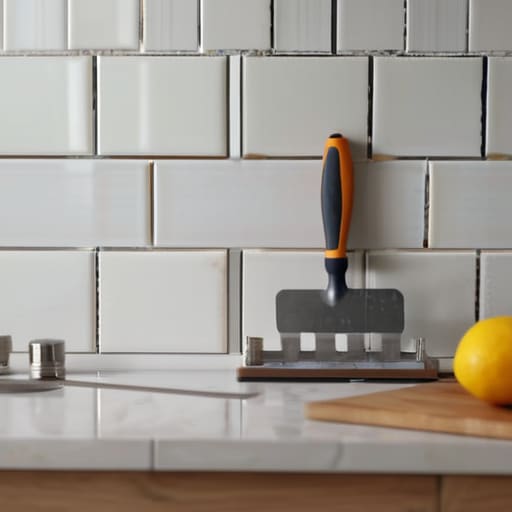
Look, you don’t need a professional contractor’s entire toolkit to get this done, and you definitely don’t need to blow your budget on fancy electric cutters. When I first started restoring old furniture, I learned that the most expensive tools usually just sit in the garage gathering dust. For a backsplash, you really just need the basics: a notched trowel, a manual tile cutter (or a simple wet saw if you’re feeling ambitious), a level, and some spacers. If you try to eyeball the lines without spacers, you’re going to regret it the second you start figuring out how to grout tile backsplash gaps later on.
One thing people always forget is the “prep” part of the prep. Before you even touch a single tile, spend five minutes protecting kitchen counters during tiling with some heavy-duty drop cloths or even just old cardboard. If you get adhesive or grout on your granite or laminate, it’s a massive headache to scrub off later. Also, don’t skimp on the adhesive. Finding the best tile adhesive for backsplash projects—usually a simple mastic for indoor walls—is way more important than having a high-end laser level. Just get the right stuff, keep your workspace tidy, and you’ll be fine.
Choosing the Best Tile Adhesive for Backsplash Stability
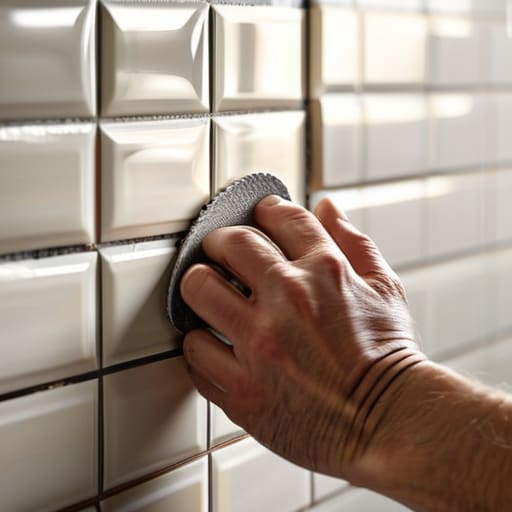
Look, when you’re staring at the hardware store aisle, it’s easy to get overwhelmed by the sheer amount of goop in buckets. Here is the truth: you don’t need the most expensive industrial-grade stuff on the shelf, but you also can’t cheap out here. If you’re working with standard ceramic or glass, a high-quality pre-mixed mastic is usually your best friend. It’s much easier to manage for a DIYer because it’s less messy and doesn’t require mixing ratios that feel like a high school chemistry lab experiment. Just make sure you check the label to ensure it’s rated for your specific tile type.
The one thing I’ve learned from years of fixing things in small apartments is that the best tile adhesive for backsplash stability is the one that actually stays where you put it. If you’re working with heavier stone or large-format tiles, you might need a thin-set mortar instead, which requires a bit more muscle and a bit more precision. Whatever you choose, don’t rush the process. Part of the most important kitchen backsplash installation steps is simply letting the adhesive set properly before you even think about how to grout tile backsplash. If the bond isn’t solid, the grout won’t matter.
Five things I wish I knew before I started tiling
- Don’t skip the dry run. Before you even touch the adhesive, lay your tiles out on the counter exactly how you want them. It’s much easier to realize you hate the pattern now than when you’re staring at a half-dried mess on your wall.
- Embrace the spacers. I know it feels like extra work, but if you try to “eye it” to save time, your lines will look wonky, and you’ll spend the next three hours regretting it. Use the plastic spacers; they are your best friends for keeping things sane.
- Start from the center and work your way out. It’s tempting to start in a corner, but if your walls aren’t perfectly level (and let’s be real, they never are), you’ll end up with a massive, ugly gap at the other end. Centering your layout keeps the mistakes hidden.
- Keep a damp sponge nearby at all times. As soon as you apply grout, wipe away the excess from the tile faces. If that grout dries on the surface of your beautiful new tile, you’ll be scrubbing for hours, and you might end up scratching the finish.
- Accept that it won’t be perfect. There might be a slightly uneven grout line or a tiny chip here and there. That’s okay. This is a backsplash, not a museum exhibit. If it functions well and looks decent from three feet away, you’ve won.
The "keep it real" summary
Don’t sweat the tiny imperfections; as long as your lines are straight and the tiles are stuck firm, your kitchen is going to look great and—more importantly—it’ll actually be functional.
Focus on the systems, not the gear—buy decent adhesive and a basic trowel, but don’t feel pressured to buy every expensive gadget in the aisle just because the box says it’s “professional grade.”
Progress over perfection is the goal here—it’s better to finish a slightly imperfect backsplash than to leave your kitchen in a half-tiled mess because you were chasing a showroom standard that doesn’t exist in real life.
## The mindset shift
“Stop trying to build a Pinterest board and start building a functional kitchen. A few slightly uneven grout lines won’t ruin your life, but a half-finished project that left you exhausted and broke definitely will. Aim for ‘done and decent,’ not ‘flawless and frantic.'”
Nadia Halloway
The Reality Check: You’re Done
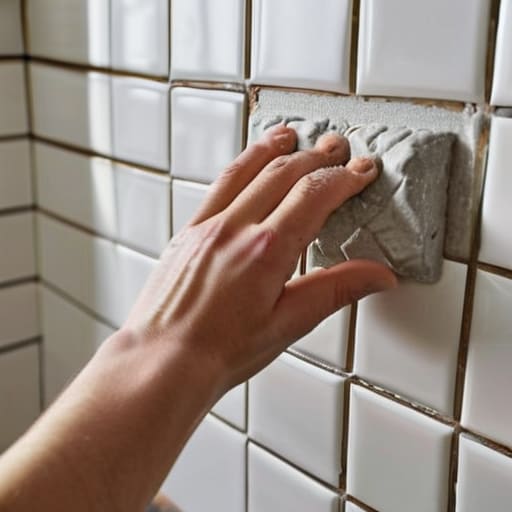
Look, if you’re staring at your new backsplash and noticing a tiny bit of grout inconsistency or a tile that isn’t mathematically perfect, take a deep breath. You’ve successfully navigated the messy part—you picked the right adhesive, gathered your tools, and actually got your hands dirty. The goal here wasn’t to recreate a high-end showroom; it was to take a functional, tired space and make it yours without blowing your entire savings. By focusing on steady, repeatable steps rather than chasing an impossible standard of perfection, you’ve built something that actually works for your home and your budget.
At the end of the day, the best part of this project isn’t the tile itself, but the fact that you did it. There is a specific kind of quiet confidence that comes from looking at a kitchen you improved with your own two hands. Don’t let the fear of a small mistake stop you from starting the next project. Life is messy, and your home will be too, but having a space that feels intentional and cared for makes all the difference. Now, go grab a coffee, step back, and actually enjoy the view. You earned it.
Frequently Asked Questions
How much extra tile should I actually buy so I don't run out halfway through but also don't end up with a mountain of leftovers?
Look, I’ve definitely been there—staring at a half-finished wall with one single tile left and a prayer. Don’t aim for perfection; aim for a 10% buffer. If you’re doing a complex pattern like herringbone, bump that up to 15%. That extra bit isn’t just for mistakes; it’s for the inevitable chipped edge or the piece you accidentally crack while cutting. It’s much cheaper to have a few spares than to pay for shipping on one single box later.
What do I do if my kitchen walls are super uneven or won't stay perfectly flat?
Look, I’ve been there. I once tried to tile a kitchen in a rental where the wall looked like a topographical map. Don’t panic—you aren’t going to get a perfectly flat surface without a total renovation. Instead, use a slightly thicker layer of thin-set to “build up” the low spots. It’s basically just leveling the playing field as you go. Just take your time; if you rush it, the tiles will slide.
Is it worth it to spend more on fancy grout, or can I just go with the cheapest option available?
Honestly? Don’t go for the absolute cheapest, but don’t blow your budget on “designer” grout either. The ultra-budget stuff can be a nightmare to work with—it dries too fast, cracks easily, or just looks patchy. Aim for a reliable mid-range brand. It’ll save you so much frustration during the cleanup phase. Think of it as a small investment in your sanity; a decent grout makes the finished product actually look intentional rather than accidental.
How long do I really need to wait before I can actually start cleaning or cooking near my new backsplash?
Look, I get it—you want your kitchen back. But please, don’t go scrubbing those tiles five minutes after the grout dries. Generally, give the grout at least 24 to 48 hours to fully cure before you subject it to any heavy moisture or cleaning sprays. You can probably do light cooking sooner, but avoid splashing grease or water directly on it for a couple of days. Patience is annoying, but it beats fixing a cracked seam later.
