Give Your Old Chair a Makeover With Reupholstery
I was sitting on my floor last Tuesday, surrounded by a mountain of old foam, tangled upholstery thread, and a chair that looked more like a crime scene than a piece of furniture, wondering why I ever thought I could do this myself. We’ve all seen those polished DIY videos where someone effortlessly transforms a vintage find in thirty seconds, but let’s be real: the actual process of learning how to reupholster a chair is usually a messy, frustrating scramble. You don’t need a professional studio or a warehouse full of industrial tools to get it done; you just need a way to manage the chaos without losing your mind (or your deposit).
In this guide, I’m skipping the “aesthetic perfection” nonsense and giving you the actual, repeatable system I use when I’m hunting through thrift stores. I’ll walk you through the essential tools you actually need, how to handle stubborn fabric, and the small tricks that keep everything from sagging after a week. We aren’t aiming for a museum-quality masterpiece here; we are focusing on functional results that make your space feel like home without breaking your budget.
Guide Overview
Tools & Supplies
- Staple gun and staples for securing fabric
- Pliers for pulling old staples and tacking fabric
- Fabric shears for precise cutting
- Screwdriver for removing seat components
- Measuring tape for sizing fabric pieces
- Upholstery fabric (2-3 yards depending on chair size)
- High-density foam (1 piece matching seat dimensions)
- Batting/Dacron (1 roll for smoothing and padding)
- Dust cover fabric (1 yard for the bottom)
Step-by-Step Instructions
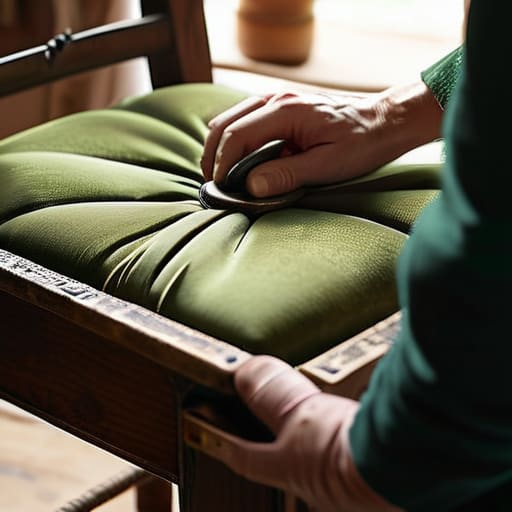
- 1. First things first: you need to perform a “surgery” on the chair. Grab a staple remover or a flathead screwdriver and carefully pull off the old fabric. I know it looks like a disaster zone once you get underneath, but don’t throw away the old fabric yet. Use it as a template to cut your new material. If you’re working with a tricky shape, tracing the old pieces is the only way to ensure you don’t end up with awkward gaps later on.
- 2. Once the old stuff is cleared out, it’s time to inspect the bones. Check the wooden frame for any wobbles or loose joints. If the chair feels sketchy, now is the time to hit it with some wood glue and clamps. You also want to look at the padding. If the foam is crumbling into tiny orange bits like some kind of weird snack, it’s time to replace it. I usually grab a fresh slab of high-density foam; it’s a small investment that makes a massive difference in how the chair actually feels when you sit in it.
- 3. Now, let’s talk about the actual “upholstering” part. Lay your new fabric face down on a clean floor, place the chair seat (or back) upside down on top of it, and start stapling. My rule of thumb is to start in the middle of each side to create tension. Pull the fabric taut—but not so tight that you’re straining your muscles—and staple it down. Think of it like tightening a drum skin; you want it even and firm all the way around.
- 4. As you move toward the corners, things get a little more chaotic. This is where most people give up and call it a day, but don’t let the wrinkles win. You’ll need to fold the excess fabric neatly, almost like you’re wrapping a gift, to tuck it into the corners. It’s not going to look like a Pinterest-perfect studio shot, but as long as the folds are flat and tucked away, no one will ever know the difference once the chair is upright.
- 5. Once you’ve got the fabric secured, grab your staple gun and go over those mid-points one last time to make sure nothing is loose. If you’re working on a piece with a wooden trim or a decorative edge, you might need to use upholstery tacks instead of staples for a cleaner look. Just take your time here; rushing the finish is the fastest way to end up with a chair that looks lopsided.
- 6. The final step is the most satisfying: the reveal. Flip the chair right-side up and give it a quick once-over. If there are any tiny wrinkles or bits of loose thread, just trim them off with some sharp scissors. If the seat feels a little uneven, you can always add a thin layer of batting over the top to smooth things out. Now, grab a coffee, sit in your creation, and enjoy the win.
Practical Fabric Selection for Upholstery Without the Fluff
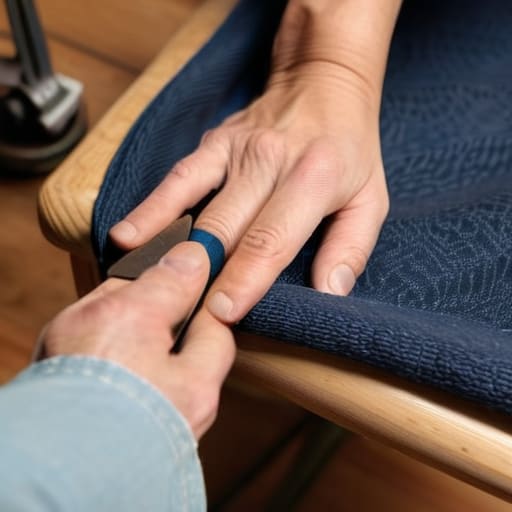
Look, I know the Pinterest boards make it look like you need a $500 swatch of Italian velvet to make this work, but let’s be real: most of us are working with a budget and a life that doesn’t involve a showroom. When you’re looking at fabric selection for upholstery, my rule of thumb is to prioritize durability over “vibes.” If you’re picking something for a dining chair that’s going to see spilled coffee or kids’ crumbs, skip the delicate linens. Go for a heavy-duty cotton duck or a tight weave polyester. You want something that can handle a bit of a beating without losing its shape.
Also, don’t get so caught up in the pattern that you forget about the physics of the chair. If you’re working on a piece with lots of curves, a stiff, heavy upholstery fabric is going to fight you every step of the way. I’ve spent way too many Sunday afternoons sweating over a piece because I chose a fabric that was too thick to pull around a tight corner. Aim for a medium weight that has enough “give” to wrap smoothly, especially if you’re also replacing chair foam and padding at the same time. It makes the whole process much more manageable when things actually cooperate.
Mastering Upholstery Tools and Supplies for Real Life
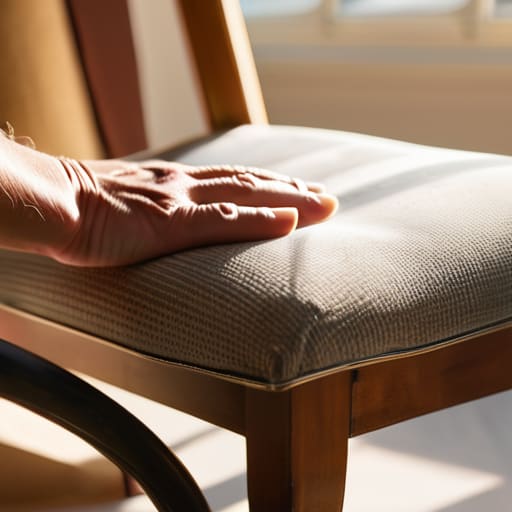
Look, you don’t need a professional workshop to do this, but you do need a few reliable items that won’t quit halfway through the job. If you’re anything like me, you probably don’t want to drop a fortune on specialized equipment. Honestly, a decent manual staple gun is your best friend here—don’t bother with the super cheap plastic ones that jam every three staples. When you’re working on staple gun techniques for furniture, the secret isn’t strength; it’s consistency. Aim for even spacing along the edges so the fabric doesn’t pull or ripple later. It’s much easier to fix a mistake now than to realize your whole seat is lopsided once you’ve finished.
While you’re at it, don’t overlook the stuff that actually makes the chair comfortable. If the seat feels like you’re sitting on a piece of plywood, it’s time for replacing chair foam and padding. I usually grab a layer of high-density foam and maybe a bit of polyester batting to smooth out the edges. The batting is the real MVP; it hides those awkward lumps and gives the fabric that smooth, professional finish without requiring a degree in design. Just keep it simple—layer it, tuck it, and move on.
Five Reality Checks Before You Start Pulling Staples
- Don’t throw away the old fabric until the new stuff is actually on the chair. I know it looks like trash, but those old scraps are your only blueprint for how the original maker handled the corners and the tension.
- Forget about being a perfectionist with your first attempt. If a seam is slightly crooked or a staple is hidden a little wonky, leave it. The goal is a functional, comfy seat, not a museum exhibit.
- Test your fabric tension before you commit to the whole piece. Pull a section tight, then let it go—if it ripples like a cheap curtain, you need a different material or a different approach to your pulling technique.
- Invest in a decent staple remover, not just a staple gun. Trying to pry old staples out with a screwdriver is a fast track to frustration and bruised knuckles, and I’ve definitely been there.
- Work in small, manageable sections. If you try to pull the entire back of the chair tight all at once, you’re going to end up with huge, ugly wrinkles that no amount of smoothing will fix.
The Bottom Line: Keeping It Simple
Don’t aim for perfection on your first try; focus on getting the fabric tight and the chair stable so it actually works in your space.
Invest in a few solid tools rather than a massive kit of cheap junk—the right staple gun makes a huge difference in how much you’ll dread the process.
Choose fabrics that can handle real life, because a beautiful chair isn’t much use if you’re too afraid to actually sit in it.
## The Real Goal of DIY
“Don’t get hung up on making it look like a museum piece or a showroom display; the real win is taking something that was headed for a landfill and turning it into something functional that actually fits your life.”
Nadia Halloway
The Reality of the Finished Product
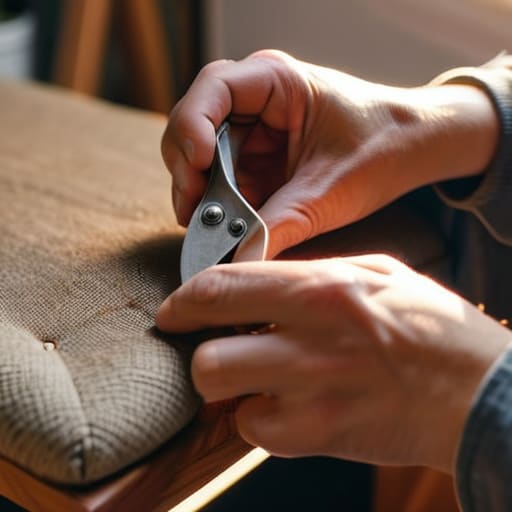
Look, if you’re expecting a flawless, showroom-quality masterpiece on your first try, I’m going to be the person to tell you that you might be disappointed. There will probably be a stray staple you missed or a corner that isn’t quite as crisp as the ones in the Pinterest photos. But that’s okay. We’ve covered the essentials: choosing a fabric that actually stands up to real life, grabbing the right tools so you aren’t fighting your materials, and following a repeatable process that keeps you from getting overwhelmed. The goal here wasn’t to become a master craftsman overnight; it was to build a functional piece of furniture that works for your space and your budget without breaking the bank.
At the end of the day, a reupholstered chair is more than just a place to sit. It’s proof that you can take something tired, worn out, or headed for a landfill and make it useful again through a little bit of intentional effort. Don’t let the fear of a few imperfections stop you from starting. Perfection is a trap that keeps us from actually doing things, and honestly, a slightly wonky seam is a small price to pay for the satisfaction of saying, “I did that.” So, grab your staple gun, take a breath, and just start the process. You’ve got this.
Frequently Asked Questions
How do I know if the chair's internal frame is actually worth saving or if it's just a pile of broken wood?
Before you spend a dime on fabric, you’ve got to play detective. Strip the old fabric back and give the frame a good shake. If it wobbles like a loose tooth, you’ve got structural issues. Check the joints: if the wood is cracked or the glue has turned to dust, it might be a lost cause. But if the frame is solid and just needs a little tightening or a fresh layer of foam, go for it.
Is there a way to do this without spending a fortune on specialized heavy-duty staplers?
Look, I get it. You don’t want to drop fifty bucks on a professional pneumatic stapler for a one-off project. Honestly? You don’t have to. A decent manual heavy-duty stapler from a hardware store works fine if you don’t rush it. My trick is to work in small sections and let your hand strength do the work rather than trying to blast through thick foam all at once. Just keep your staples straight, and you’ll be fine.
What should I do if I mess up the first stretch and the fabric starts looking bunchy or uneven?
Take a breath. Seriously, don’t panic and don’t try to force it. If you see bunching, it means you’ve likely pulled too hard in one spot or haven’t distributed the tension evenly. The fix? Pull your staples out—yes, all of them in that section—and start that specific stretch over. Lay the fabric flat, find your center, and work your way outward slowly. It’s better to redo a section than to live with a lumpy chair.
Can I actually reuse the old foam, or is that just a recipe for a lumpy, uncomfortable seat?
Honestly? If you’re looking for that “cloud-like” feeling, skip the old foam. Most of the time, it’s lost its structural integrity and will just end up feeling lumpy and uneven under your new fabric. If the chair is a daily driver, invest in some fresh high-density foam. But, if you’re just doing a quick cosmetic refresh on a piece you won’t sit in for hours, you can get away with reusing it.
