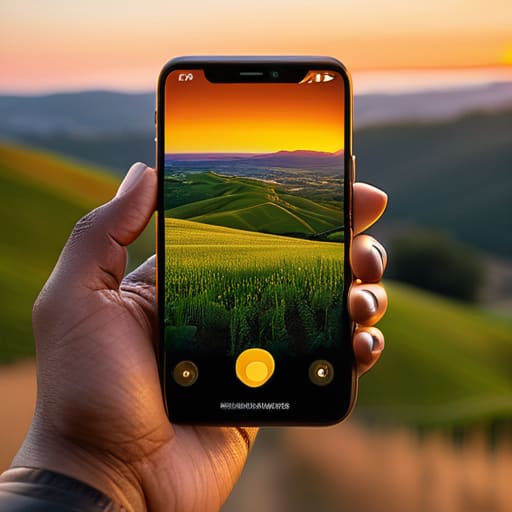
How to Level Up Your Mobile Photography Skills
I’m so tired of seeing those “aesthetic” influencers tell you that you need a $2,000 mirrorless camera and a tripod setup just to capture a decent shot of your morning coffee. Honestly, it’s a total scam. I spent years thinking I was the problem because my snapshots looked grainy and flat, but the truth is, most of that advice is just noise designed to sell you gear you don’t need. If you’re actually looking for how to take better phone photos, you don’t need a studio; you just need to stop fighting the device in your pocket and start working with what it’s actually capable of doing.
I’m not going to bore you with complex technical jargon or suggest you download five different subscription-based editing apps. Instead, I want to share the small, repeatable habits I’ve picked up from years of documenting my DIY projects and thrift store finds. We’re going to focus on a few practical tweaks to lighting, composition, and those tiny settings you probably haven’t even touched. My goal is to give you a no-nonsense toolkit that actually works when you’re out living your life, not just when you’re posing for a curated grid.
The One Second Habit of Smartphone Camera Lens Cleaning
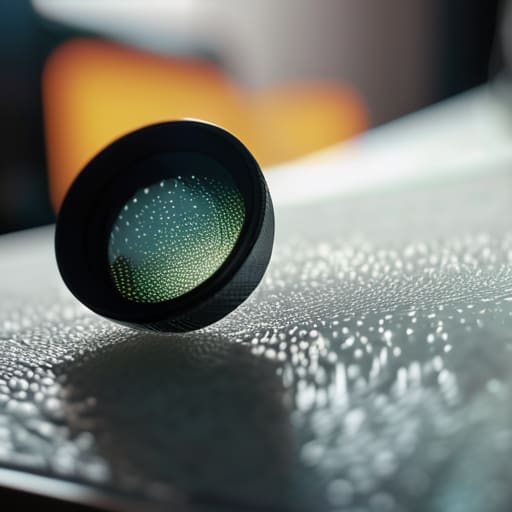
If you’ve ever taken a photo that looked like it was shot through a layer of Vaseline, you know exactly what I’m talking about. We spend so much time obsessing over improving mobile image lighting or hunting for the perfect angle, but we completely overlook the most basic physical reality: our phones live in our pockets, our hands, and next to our keys. They are absolute magnets for fingerprints, lint, and mystery smudges. That hazy, dreamlike glow isn’t an intentional aesthetic; it’s just a dirty lens obstructing the sensor.
I started making smartphone camera lens cleaning a non-negotiable part of my routine—literally a one-second habit before I even open the camera app. I don’t use fancy microfiber cloths; I just use the hem of my softest cotton shirt. It sounds incredibly basic, but the difference in clarity is night and day. When that glass is actually clear, you’ll notice that your colors pop more naturally and your edges stay sharp. It’s the easiest, zero-cost way to instantly upgrade your shots without needing to touch a single complex setting.
Improving Mobile Image Lighting Without Fancy Studio Lights

Look, I get it. You see these influencers posting these crisp, glowing shots and you think, “I need a three-point lighting kit and a studio rental to make my life look that good.” You don’t. Most of the time, you just need to stop fighting the sun. If you’re improving mobile image lighting, your best friend is a window. I always tell my clients that natural light is free, it’s abundant, and it’s way more forgiving than those harsh, artificial bulbs in your kitchen. If you’re indoors, just move your subject closer to a window. If the light feels too intense or creates those weird, heavy shadows, a thin white curtain works wonders as a DIY diffuser.
When you’re out and about, aim for the “golden hour”—that soft, warm light right before sunset—but if you’re stuck in the midday glare, find some open shade. That means standing under a tree or the shadow of a building. It keeps the light even and prevents your subject from squinting like they’re in an interrogation room. You don’t need to mess with complex smartphone camera settings for portraits right away; just find the right light, and the sensor will do most of the heavy lifting for you. Keep it simple, keep it natural, and stop overthinking the gear.
Five Low-Effort Tweaks for Better Shots
- Stop zooming with your fingers. I know it’s tempting to pinch the screen to get closer to the action, but digital zoom is basically just a fancy way of making your photo look like a blurry mess. If you need a closer shot, just move your feet. It keeps the quality sharp and saves you the headache of trying to fix it in an app later.
- Lock your focus and exposure so you aren’t chasing the light. Instead of letting your phone guess what you’re looking at, tap the screen where you want the focus to be and hold it for a second. Most phones will let you slide a little sun icon up or down to adjust the brightness right then and there. It takes two seconds and stops those weirdly dark or blown-out shots.
- Use the grid lines to actually find your balance. Most of us just point and shoot, which usually results in a crooked horizon or a subject that feels “off.” Go into your camera settings, turn on the grid, and try to line up your main subject where those lines intersect. It’s a tiny bit of extra effort that makes a photo look intentional rather than accidental.
- Get low to change your perspective. We spend most of our lives looking at the world from eye level, so every photo we take looks exactly the same. Try crouching down or even holding your phone near the ground. It gives your subject more presence and makes a mundane sidewalk or a coffee table look way more interesting.
- Embrace the “Rule of Thirds” without the math. You don’t need a photography degree to make a photo look good. Just imagine your frame is divided into nine squares and try not to put everything dead center every single time. Off-centering your subject slightly creates a sense of movement and gives the eye a place to wander, which feels much more natural.
The "Good Enough" Photo Checklist
Stop worrying about the gear you don’t have and just focus on the basics: a clean lens, decent lighting, and a steady hand.
Prioritize natural light over expensive flashes; if the light looks messy, move your subject (or yourself) just a few inches to find the sweet spot.
Build a tiny, repeatable habit of checking your composition before you hit the shutter so you aren’t stuck trying to “fix it in post” later.
## Stop Chasing the Gear
“You don’t need a thousand-dollar setup to capture a moment that feels real; you just need to stop fighting your environment and start working with the light you actually have.”
Nadia Halloway
Stop Overthinking It and Just Start Shooting
At the end of the day, you don’t need a massive DSLR or a lighting kit that takes up half your living room to capture something meaningful. We’ve covered the basics: wipe that lens clean so your shots aren’t a blurry mess, and stop fighting against the shadows—just find the light that’s already there. It’s about these tiny, low-effort adjustments that actually yield results. You don’t need a complicated workflow or a dozen new apps; you just need to realize that better photos are a result of better habits, not better gear.
My biggest piece of advice? Don’t let the pursuit of the “perfect shot” stop you from actually living the moment. I spent way too many years trying to curate an aesthetic that felt heavy and exhausting, only to realize that the best photos are often the ones that feel a little raw and unpolished. The goal isn’t to look like a professional photographer; it’s to document your life in a way that feels real to you. So, put the phone down when you need to, but when you do pick it up, trust your eye and just keep clicking. You’ve got this.
Frequently Asked Questions
Do I actually need to buy a tripod, or can I just lean my phone against a stack of books?
Look, unless you’re shooting professional architectural photography, you do not need a fancy tripod gathering dust in your closet. Honestly? Lean your phone against a stack of books, a coffee mug, or even a heavy shoe. It’s the “I have things to do” method, and it works. If you’re feeling extra stable, a cheap $15 phone grip can help, but for now, just use what’s already on your desk. Keep it simple.
How do I stop my photos from looking blurry when I'm trying to take a quick shot on the move?
Look, I get it. You’re mid-stride, something cool happens, and suddenly your photo looks like a smudge of colors. The quickest fix? Use both hands and tuck your elbows tight against your ribs. It creates a makeshift stabilizer for your body. Also, if you’re moving fast, tap your screen to lock the focus before you hit the shutter. It’s not fancy, but it beats coming home to a gallery of blurry messes.
Is there a way to edit my photos that doesn't involve spending hours on complicated apps?
Look, I don’t have the patience for apps that require a PhD to navigate. If you aren’t spending twenty minutes tweaking sliders, you’re doing it right. My rule? Stick to the built-in editor on your phone or something dead-simple like VSCO. Focus on just three things: brightness, contrast, and warmth. That’s it. Don’t get sucked into the “aesthetic” rabbit hole; just make the photo look like what your eyes actually saw.
What's the best way to frame a shot when I'm in a crowded, messy space?
When things get chaotic around you, stop trying to capture the whole room. That’s a recipe for a messy, distracting photo. Instead, zoom in on the details. I like to look for “anchors”—a single coffee cup, a hand reaching for a book, or even just a texture. Use a tight crop to turn the surrounding clutter into a soft, blurred background. It’s about finding the one small thing that matters amidst the noise.
