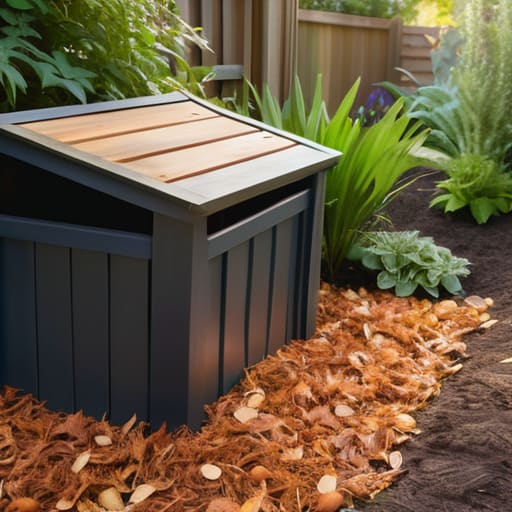
How to Construct a Practical Compost Bin
I used to think that if I wanted to start composting, I needed to drop two hundred dollars on a sleek, rotating tumbler and a subscription to some high-end gardening app. I spent weeks staring at my kitchen scraps, feeling like a failure because I didn’t have a perfectly curated backyard setup. But here’s the truth: you don’t need a designer system to turn your coffee grounds into gold. Learning how to make a compost bin isn’t about buying the most expensive gear; it’s about creating a simple, functional system that actually survives your busy week without becoming a smelly, neglected mess in the corner of the yard.
In this guide, I’m skipping the fluff and the “aesthetic” garden trends to show you how to build something that actually works. I’ll walk you through a few low-cost, low-maintenance DIY options that fit into a small space or a tight budget. We’re going to focus on the bare essentials—airflow, moisture, and the right balance of scraps—so you can stop overthinking it and start doing it. Let’s build a system that’s as efficient as it is easy to manage.
Guide Overview
Tools & Supplies
- Drill with spade bit for aeration holes
- Measuring tape for sizing components
- Handsaw if cutting wood is required
- Plastic storage bin (18-30 gallons)
- Drill bit (1/2 inch or larger)
- Potting soil or finished compost (small amount for layering)
Step-by-Step Instructions
- 1. First, let’s talk about your container. You don’t need a $200 designer bin from a garden center. Honestly, the most efficient way to start is by grabbing a heavy-duty plastic storage bin from a hardware store—the kind with a lid. If you’re feeling extra thrifty, check your local thrift shop for an old wooden crate, but just make sure it’s sturdy enough to hold weight.
- 2. Now, we need to address the most important part: airflow. If your compost doesn’t breathe, it’s going to smell, and nobody wants a stinky kitchen. Grab a drill and make small holes all along the sides and the bottom of your bin. You want enough ventilation to keep things moving, but not so many that you’re basically looking at a pile of loose dirt.
- 3. Before you throw in your actual scraps, you need to build a base. I like to start with a thick layer of “browns”—think shredded cardboard, dried leaves, or even old newspaper. This creates a buffer zone at the bottom that helps with drainage and keeps the moisture from pooling in a way that turns everything into a swampy mess.
- 4. Time to add the “greens.” This is where your kitchen scraps come in: coffee grounds, veggie peels, and fruit cores. The trick to making this actually work without it becoming a chore is to mix your layers as you go. Don’t just dump a mountain of wet food on top; sandwich it between those dry, brown materials to keep the nitrogen-carbon balance in check.
- 5. Every once in a while—maybe once a week when you’re cleaning out the fridge—take a small shovel or even a sturdy stick and give the pile a quick stir. You aren’t trying to do a full workout here; you just want to introduce some oxygen to the center of the pile. This keeps the decomposition process from stalling out.
- 6. Keep an eye on the moisture levels. You want your compost to feel like a wrung-out sponge. If it looks too dry, sprinkle in a little water; if it’s looking a bit slimy or smells funky, add more shredded cardboard or dry leaves to soak up the excess. It’s all about finding that sweet spot where the biology can actually do its thing.
A Realistic Compost Bin Materials List for Real Life
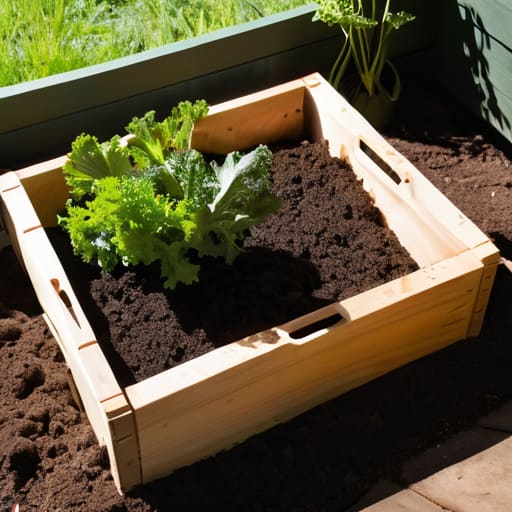
Look, I know the internet loves to show you these pristine, $200 cedar bins that look like they belong in a Pinterest mood board. But if you’re anything like me, you probably want something that actually functions without eating up your entire weekend or your grocery budget. When putting together your compost bin materials list, please don’t feel pressured to buy a specialized kit. A simple plastic storage tote with some drilled holes or even an old wooden crate will do the trick just fine. The goal isn’t to have the most aesthetic setup in the neighborhood; it’s to create a space where your scraps can actually do their job.
The real secret to success isn’t the container itself, but how you manage what goes inside. You need to prioritize aeration for compost bins to keep things from getting stinky and slimy. If you’re working with a smaller space—like a tiny apartment balcony—you might want to skip the big pile and look into a vermicomposting setup using red wiggler worms. They are basically tiny, low-maintenance roommates that handle the heavy lifting for you. Just remember: whatever you choose, make sure it’s something you can actually manage when your life gets hectic.
Smart Compost Bin Location Tips for Messy Schedules
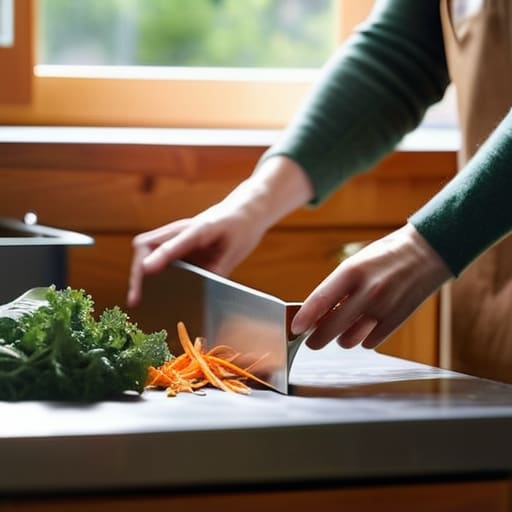
Look, I’ve learned the hard way that if your compost bin is tucked away in a far corner of the backyard behind a shed, you aren’t going to use it. When life gets chaotic and you’re juggling client calls or just trying to get dinner on the table, that extra thirty-second walk feels like a marathon. For a system to actually stick, it needs to be part of your natural flow. My best compost bin location tips usually boil down to one thing: proximity to the kitchen. If you can see it or easily reach it while you’re scraping plates, you’ll actually do it.
If you’re dealing with a tiny apartment or a rental with zero yard space, don’t let that stop you. You don’t need a massive pile in the garden to master organic waste management. A small, sealed bin under the sink or a compact vermicomposting setup in a corner of your laundry room works just as well. The goal isn’t to create a perfect ecosystem overnight; it’s about making the habit so easy that you don’t even have to think about it. Just find a spot that’s convenient, keeps the smells contained, and fits into your actual, messy daily routine.
Five things I wish I knew before my first compost pile went sideways
- Don’t aim for a perfect ratio. I used to stress over “browns vs. greens” math, but honestly? Just make sure you aren’t dumping a mountain of wet coffee grounds in there without adding some shredded cardboard or dry leaves to balance the moisture.
- Keep it small enough to actually manage. If you build a massive, industrial-sized bin, you’ll get overwhelmed when it needs turning. Start with a bin that fits your actual weekly waste output, not your “ideal” version of yourself.
- Smell is your signal. If your bin starts smelling like a swamp, it’s too wet or you’ve added too much nitrogen. Just toss in some more dry, carbon-rich stuff (think torn-up egg cartons) and give it a stir. It’s not a failure; it’s just feedback.
- Avoid the “forbidden” scraps. It’s tempting to throw everything in, but keep meat, dairy, and oils out of your DIY bin. Unless you want to turn your backyard into a buffet for every local rodent, stick to fruit, veggies, and yard scraps.
- Give it a little air. Compost needs to breathe to break down efficiently. You don’t need a fancy aeration tool; just a sturdy stick or a garden fork to poke some holes and turn things over once a week. It keeps the process moving without taking up your whole Saturday.
The bottom line: keeping it simple
Forget the expensive, high-tech composting gadgets; a basic bin that fits your space and your budget is all you actually need to get started.
Don’t aim for a perfect, scientific ecosystem on day one—just focus on a consistent routine that works even when your kitchen gets messy.
Location is everything, so pick a spot that is convenient enough that you’ll actually use it, rather than a “perfect” spot that feels like a chore to reach.
The real secret to composting
“Stop waiting for the perfect, high-tech setup to start. A compost bin isn’t a centerpiece for your garden; it’s just a simple, messy system meant to turn your leftovers into something useful. If it’s too complicated to maintain on a Tuesday when you’re exhausted, it’s too complicated.”
Nadia Halloway
Making it Stick
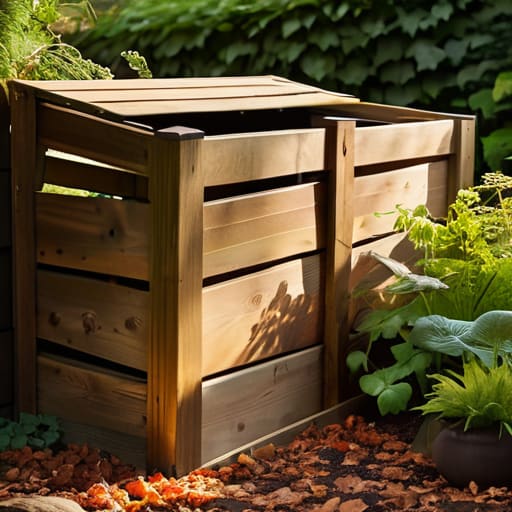
Look, I know the idea of managing a pile of decaying organic matter sounds like a lot of extra work when your to-do list is already overflowing. But remember, you don’t need a high-tech, expensive rotating tumbler to make this happen. All you really need is a decent bin, a spot that won’t drive you crazy, and the willingness to embrace a little bit of mess. Whether you’re using a simple DIY wooden crate or a repurposed plastic tub, the goal isn’t to create a perfect, odorless science experiment on your first try. It’s about setting up a repeatable system that fits into your actual life, not the idealized version of yourself you see on Instagram.
If things get a little smelly or you forget to turn the pile for a week, don’t sweat it. Life happens, and your compost bin isn’t going anywhere. The most important part of this whole process is simply starting and staying consistent. You’re turning something that would have just been trash into something incredibly valuable for your plants, and that’s a huge win. Focus on the small, daily wins rather than perfection. Once you get into the rhythm of it, you’ll realize that managing your waste is just another way of taking control of your space and your impact on the world. You’ve got this.
Frequently Asked Questions
Will my compost bin end up smelling like a literal garbage dump in my backyard?
Honestly? If you do it right, no. A healthy compost pile should smell like damp earth, not a landfill. If it starts smelling like a garbage dump, it’s usually just a sign that things are out of balance—likely too much moisture or too many “green” scraps. Just toss in some more brown material (like shredded cardboard or dry leaves) and give it a quick stir. It’s a simple fix for a messy reality.
How do I know if I’m adding too much of one thing and ruining the whole batch?
If your bin starts smelling like a literal trash can or feels like a swampy mess, you’ve gone too heavy on the “greens” (kitchen scraps). It’s a classic mistake. If it’s slimy and stinky, toss in some shredded cardboard or dried leaves to balance it out. On the flip side, if nothing is happening and it just looks like a pile of dry sticks, you need more nitrogen—basically, more food scraps. Just aim for a rough 50/50 mix.
Do I actually need to turn the pile all the time, or can I just let it do its thing?
Look, if you’re asking this, you’re probably already feeling the “productivity guilt” of a new hobby. Here’s the truth: you don’t have to turn it constantly. If you want it done fast, yes, turn it to get oxygen in there. But if you’re busy or just over it, let it sit. It’ll still compost; it’ll just take longer. I prefer the “lazy” way—just toss things in and let nature do its thing.
What happens if I see bugs or critters hanging around—is that a sign I'm doing something wrong?
Look, seeing a few fruit flies or a stray ant isn’t a sign of failure; it’s just nature knocking on the door. If you’re seeing bigger pests like rodents, though, that’s your signal to pivot. Usually, it means you’ve added too much “green” (food scraps) without enough “brown” (dried leaves or cardboard) to balance it out, or something is sitting too exposed. Just tighten up your layers and keep it covered.
