Clothing Repair Tips to Extend the Life of Your Wardrobe
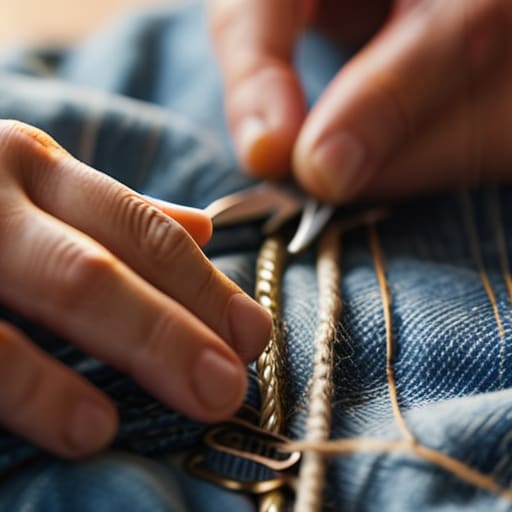
I was staring at a tiny, jagged hole in my favorite vintage denim jacket last Tuesday, feeling that familiar wave of guilt. My first instinct was to toss it into the “donate” pile, thinking I just wasn’t the type of person who could sit down and master a sewing machine. But honestly? That’s a lie we tell ourselves to justify buying something new. Learning how to mend clothes isn’t about becoming a master tailor or owning a $500 sewing kit; it’s about realizing that a little bit of thread is usually all you need to keep your favorite pieces in rotation.
Forget the intimidating tutorials that require a degree in textile engineering. I’m going to show you the low-effort, high-impact ways to fix common snags, loose buttons, and thinning fabric without turning your living room into a craft store. We’re skipping the perfectionism and focusing on small, repeatable fixes that actually work when you’re busy and life is messy. Let’s get your wardrobe back in order, one stitch at a time.
Guide Overview
Tools & Supplies
- Sewing needles of various sizes for different fabric weights
- Fabric scissors for clean cuts
- Embroidery hoop to keep fabric taut
- Thread in multiple colors to match garments
- Fabric scraps or patches for visible mending
- Sewing kit containing pins and measuring tape
Step-by-Step Instructions
- 1. First, let’s grab your supplies. You don’t need a massive, expensive sewing machine or a professional kit; honestly, just a simple needle and some thread will do most of the heavy lifting. I usually keep a small tin in my junk drawer with a few different thread colors so I’m not scrambling when a seam decides to give up on me. Try to find a thread that matches your garment as closely as possible, or if you’re feeling bold, go for a contrasting color to make the repair look intentional rather than like a mistake.
- 2. Clean up the mess before you start. If there are loose, fraying threads hanging around the hole or the rip, use a pair of small scissors to snip them away cleanly. If you try to sew over those loose bits, you’re just going to end up with a tangled, lumpy knot that makes the repair look messy. You want a clean canvas to work with so your stitches actually stay put.
- 3. Thread your needle and tie a knot. This part is a bit tedious, but it’s the foundation of everything. Pull the thread through the eye of the needle, leaving a little tail on the other side, and tie a sturdy knot at the end. If you’re working with a particularly thin fabric, like an old linen shirt, I find it helpful to double the thread for extra strength, even if it makes the process a little slower.
- 4. Start your stitches from the “safe” side of the fabric. Don’t start sewing right in the middle of the hole; instead, poke your needle into the fabric about a quarter-inch away from the edge of the tear. This anchors your work and prevents the fabric from pulling apart further under the tension of your thread. Work your way inward, keeping your stitches small and close together to ensure a tight seal.
- 5. For bigger holes, try the “running stitch” or a simple “darning” method. If it’s just a small rip along a seam, you can just sew the two edges back together. But if there’s an actual chunk of fabric missing, you’ll want to weave the thread back and forth across the gap like a little miniature web. It might look a bit “crafty” at first, but it’s the most reliable way to bridge a gap without the fabric sagging.
- 6. Don’t forget to secure the end. Once you’ve reached the other side of the tear, don’t just pull the thread out. You need to tie it off by looping the thread through your last stitch a couple of times and pulling it tight to create a knot. This prevents the whole thing from unraveling the moment you put the garment on and head out the door.
- 7. Give it a quick “stress test.” Before you tuck the clothes back into your drawer, give the repaired area a gentle tug to make sure everything feels secure. If it feels flimsy, don’t be afraid to go back in and add a few more stitches. It’s much better to spend an extra five minutes now than to have your favorite sweater fall apart in the middle of a grocery run.
The Bare Minimum Basic Sewing Kit Essentials for Real Life
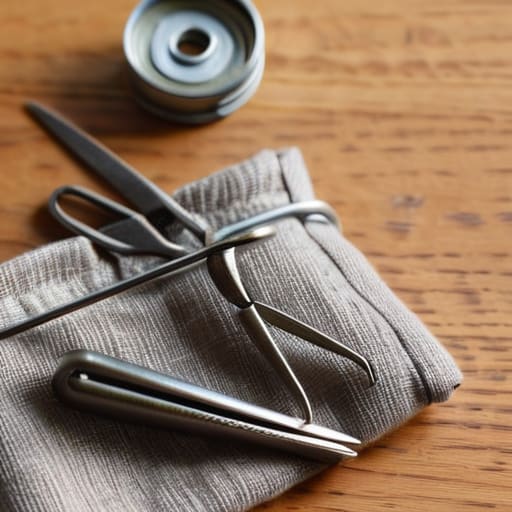
Look, you don’t need a massive, velvet-lined sewing box that takes up half your dresser just to fix a loose button or a tiny snag. I’ve spent way too many years trying to organize “perfect” craft rooms, only to realize that a cluttered kit is just a barrier to actually getting things done. For me, the goal is to have a small, accessible stash of basic sewing kit essentials that lives in a single drawer or a small pouch. All you really need is a handful of decent needles, a few spools of thread in neutral colors (black, white, and grey will cover 90% of your life), a small pair of sharp scissors, and some safety pins.
When you’re starting out with fabric repair for beginners, don’t feel pressured to master complex embroidery right away. Most of the time, a simple hand stitch is going to be your best friend. While some people swear by the speed of a machine, I actually prefer the control of hand stitching for small fixes; it’s quieter, requires zero setup, and you can do it while watching a show on the couch. If you can manage a basic running stitch and a knot, you’re already ahead of most people. Keep it simple, keep it reachable, and you’ll actually use it.
Fabric Repair for Beginners Small Systems That Actually Stick
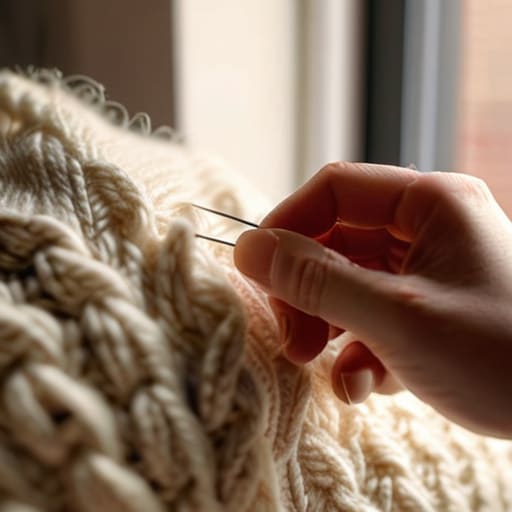
Look, I know the idea of “learning to sew” can feel like a massive, overwhelming project that requires a dedicated craft room and a degree in textile arts. It doesn’t. When I’m talking about fabric repair for beginners, I’m not suggesting you become a master tailor overnight. I’m suggesting you build a system that works when you’re tired and just want to save your favorite sweater from the trash. Start with the low-stakes stuff. If you have a tiny snag, don’t panic; just learn a few invisible mending techniques to tuck that loose thread back into place. It’s much more satisfying than buying a replacement.
For the bigger stuff—think the inevitable blowout in your favorite jeans—don’t feel like you have to go full DIY-expert immediately. Patching denim holes is actually a great way to practice because the fabric is forgiving and the aesthetic is meant to look a little rugged. You don’t even need to worry about sewing machine vs hand stitching right away; honestly, a simple needle and thread are usually more than enough for most daily repairs. The goal isn’t a flawless finish; it’s about making the garment wearable for one more season. Keep it simple, keep it functional, and just start where you are.
Five ways to keep your clothes out of the trash (without losing your mind)
- Don’t aim for invisible repairs. If you’re fixing a hole in a favorite sweater, embrace the “visible mending” look. A slightly contrasting thread or a cool patch makes it look intentional rather than like a desperate patch-up job.
- Stop hoarding every scrap of fabric you find. Keep a small “scrap jar” for your denim or cotton pieces. When a small hole pops up, you’ll actually have the exact material on hand to patch it without hunting through a junk drawer.
- Learn the “safety stitch” for emergencies. If a seam starts to rip while you’re out, a quick backstitch is your best friend. It’s not fancy, but it’s the difference between a quick fix and having to toss the whole garment.
- Treat your sewing kit like a real tool, not a craft project. Keep it in a small, reachable container—not buried in a bin in the back of a closet. If it takes more than thirty seconds to find your needle, you’re probably not going to use it.
- Check your clothes before they fail. Once a month, when you’re doing laundry, take thirty seconds to look for loose buttons or thinning fabric. Catching a problem early is way easier than trying to fix a massive tear later.
The bottom line: keeping your clothes in rotation
Don’t wait for a massive wardrobe crisis; grab a needle the second you notice a loose thread so the problem doesn’t snowball.
Forget the fancy, $100 sewing kits—just keep the basics on hand so you actually use them when life gets messy.
Aim for “functional” over “perfect”—a visible mend is way better than a hole in your favorite sweater.
## On why we fix things
“Mending isn’t about being a master tailor or having a Pinterest-perfect wardrobe; it’s about breaking the cycle of ‘buy, break, discard’ and realizing that a little bit of thread can make something old feel brand new again.”
Nadia Halloway
The long game of a well-loved wardrobe
Look, we’ve covered a lot, from the absolute bare-minimum kit you need to keep in a drawer to the actual mechanics of fixing a snag or a seam. The goal here isn’t to turn you into a professional seamstress or someone who spends their entire Sunday hunched over a sewing machine. It’s just about having a few small, repeatable systems in place so that a tiny hole doesn’t turn into a reason to toss a perfectly good sweater in the trash. Whether you’re just doing a quick running stitch or tackling a small patch, remember that functionality always beats perfection. If the mend holds and the garment stays wearable, you’ve already won.
At the end of the day, mending is a quiet act of rebellion against a world that tells us to just buy something new every time a thread pulls loose. It’s about breaking that cycle of mindless consumption and actually respecting the things we own. Your clothes aren’t going to stay pristine forever—they’re meant to be lived in, washed, and worn. So, don’t be intimidated by a little wear and tear. Grab your needle, find some decent lighting, and just fix what’s broken one stitch at a time. You’ve got this.
Frequently Asked Questions
What do I do if I accidentally make the hole even bigger while trying to fix it?
Deep breaths. We’ve all been there—one minute you’re fixing a tiny snag, and the next, you’ve accidentally unraveled half your sleeve. Don’t toss it in the “guilt pile” just yet. If the hole is too big for a simple stitch, stop trying to “mend” and start “patching.” Grab a scrap of similar fabric or even a cool iron-on patch. Sometimes, turning a mistake into a deliberate design choice is the most efficient way to move forward.
Is it actually worth spending time fixing old clothes, or should I just buy something new?
Look, I get it. Sometimes it feels easier to just hit “add to cart” than to spend an hour wrestling with a needle. But honestly? If the item is high quality and fits you well, it’s almost always worth the effort. Buying new is a temporary fix; mending is a long-term system. Save your money for things that actually matter and keep the pieces you already love. It’s better for your wallet and your sanity.
How do I match thread colors so the repair doesn't look like a giant, ugly eyesore?
Honestly, I used to try and find the exact same shade, but that’s a losing game that usually ends in frustration. Instead, try to go one shade darker than the fabric. Lighter thread tends to stand out like a neon sign, but a slightly darker thread settles into the weave and disappears much more naturally. If you’re really stuck, grab a thread that’s a blend of two colors in the fabric. It’s a small system that actually works.
Are there any specific types of fabric that are just a lost cause and not worth the effort?
Look, I’m all for sustainability, but we have to be realistic. If you’re dealing with paper-thin, sheer silks or heavily distressed knits that are literally unravelling at the seams, sometimes it’s okay to call it. If the fabric structure itself has disintegrated, no amount of stitching will save it. Save your energy and your good thread for pieces that actually have some structural integrity left. Don’t let a “fix-it” project become a waste of your time.
