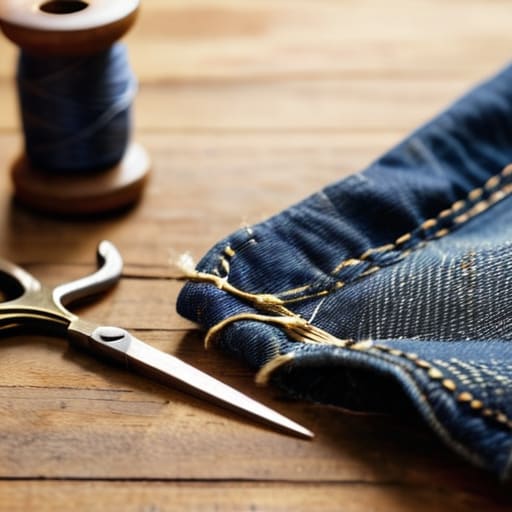
How to Repair Denim So Your Jeans Look Better Than Ever
I was sitting on my floor last Tuesday, surrounded by half-finished freelance contracts and a cold cup of coffee, staring at a gaping hole in my favorite vintage Levi’s. My first instinct wasn’t to find a sewing kit; it was to wonder if I should just toss them and buy a new pair. We’ve been conditioned to think that once something is broken, it’s garbage, but I’m here to tell you that’s a lie. Learning how to patch jeans isn’t about achieving some flawless, invisible repair that looks like it never happened; it’s about functional resilience. It’s about taking something you love and making it work for your life, even if the repair shows a little character.
Forget those intimidating, high-production DIY tutorials that require a specialized sewing machine and a studio setup. I’m going to show you the low-stress, realistic ways to fix your denim using stuff you actually have lying around the house. We’re skipping the perfectionism and focusing on simple, repeatable methods that will get your clothes back in rotation without wasting your entire afternoon. Whether you want a hidden fix or a bold, visible patch, let’s just get it done.
Guide Overview
Tools & Supplies
- Needle and thread or sewing machine for joining fabric
- Fabric scissors for trimming excess material
- Pins to hold the patch in place
- Denim patch or scrap fabric (1 piece)
- Thread matching the denim color (1 spool)
Step-by-Step Instructions
- 1. First things first, grab your jeans and find a spot with decent lighting—ideally near a window so you aren’t squinting. You’ll need to clean the area around the hole to get rid of any grit or loose fibers. If the denim is fraying badly, take a pair of small scissors and snip away the loose threads until you have a relatively clean edge. It’s not about making it look brand new; it’s about creating a stable surface to work on.
- 2. Now, go hunting for your patch material. Since I’m a big fan of not spending money I don’t have, don’t run out and buy expensive denim scraps. Check your “junk drawer” or an old pair of jeans you were planning to toss. You want a piece of fabric that is slightly larger than the hole itself. If you’re going for a more intentional look, you can even use a scrap of patterned flannel or canvas, but keeping it similar in weight to the denim makes the repair much easier.
- 3. Lay your jeans flat on a hard surface—a table is much better than a bed for this. Place your patch fabric directly underneath the hole. If you’re using a heavy denim, you might want to pin the patch in place with a few sewing pins so it doesn’t shift around while you’re trying to be precise. This is one of those moments where a little bit of prep work prevents a massive headache ten minutes later.
- 4. Grab a needle and some heavy-duty thread. If you have embroidery floss or “all-purpose” thread, that works, but try to match the color of the jeans as closely as possible. Start your stitching about a half-inch away from the edge of the hole. I personally prefer the “running stitch” because it’s fast and doesn’t require any fancy equipment, but if you want something more durable, a whipstitch around the edges is your best friend.
- 5. Begin sewing through both layers—the denim and the patch. Keep your stitches small and relatively close together. You don’t need to be a master tailor; you just need to ensure the patch is securely anchored to the garment. If you find yourself getting frustrated because the fabric is bunching up, just take a breath, pull the thread a little tighter, and keep moving.
- 6. Once you’ve stitched all the way around the perimeter of the hole, tie off your thread with a couple of sturdy knots. Don’t just cut the thread immediately; give the patch a gentle tug to make sure it’s not going to pop off the first time you sit down. If it feels solid, you’re good to go.
- 7. Finally, give your jeans a quick wash. This helps settle the new stitches into the fabric and softens up the patch so it doesn’t feel like a stiff board against your leg. It might look a little different than it did before, but that’s the point. It’s a functional repair that keeps your favorite clothes out of the landfill and in your rotation.
Mastering the Darning Method for Jeans Without the Stress
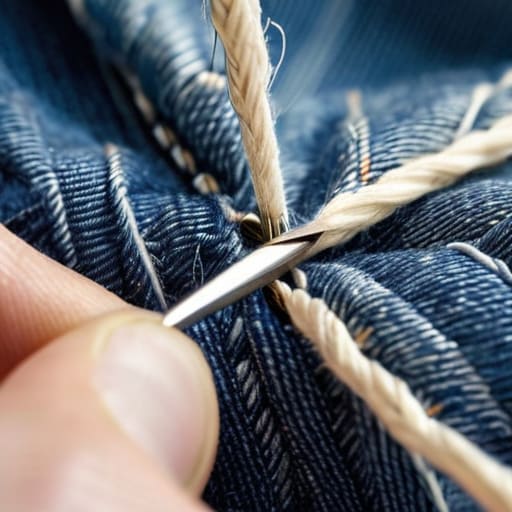
If you’re feeling intimidated by the idea of darning, let’s take a breath. I used to think darning had to look like a perfect, seamless weave, but that’s just not realistic when you’re trying to fix a pair of favorites on a Tuesday night. The secret to the darning method for jeans isn’t about making the hole disappear; it’s about reinforcing the area so it stays functional. Instead of stressing over a perfect grid, think of it as adding texture. If your stitches are a little wonky, that’s fine. It adds character.
To make this even easier, I highly recommend keeping a small stash of denim fabric scraps in a jar near your sewing kit. Using scraps that have a similar weight to your jeans helps prevent the patch from feeling like a stiff, uncomfortable brick against your skin. If you’re really struggling with the structural side of things, you can always layer some iron-on denim patches underneath your stitching. It gives you a solid foundation to work on so you aren’t just sewing air, making the whole process much more manageable when you’re just trying to get through your to-do list.
Using Denim Fabric Scraps for Quick Visible Mending Techniques
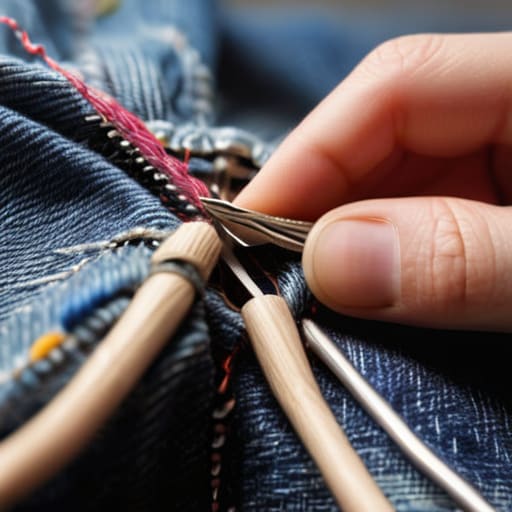
If you aren’t feeling particularly crafty or just don’t have the patience for the precision of the darning method for jeans, I highly recommend leaning into the “messy” side of things with some visible mending techniques. Instead of trying to make the repair disappear, make it a feature. I keep a little bin of denim fabric scraps—everything from old, frayed cut-offs to pieces of leftover upholstery—specifically for this. When you have a hole that’s a bit too large for a simple stitch, you can just layer a scrap of contrasting denim behind the gap and tack it down. It’s not about perfection; it’s about giving your clothes a second life with a bit of character.
The beauty of this approach is that it’s incredibly forgiving. You don’t need to be a master tailor; you just need a sturdy sewing needle and thread for denim and a little bit of creative courage. If you’re worried about the patch shifting while you work, a quick hit with some iron-on denim patches underneath can act as a temporary stabilizer. This method turns repairing holes in denim fabric from a chore into a way to personalize your wardrobe. It’s much more satisfying to wear a pair of jeans that tells a story of being cared for, rather than just being replaced.
A few things I wish I’d known before my first mending fail
- Don’t aim for a perfect match; if you can’t find the exact shade of denim, just lean into it. A slightly different blue actually makes the patch look intentional rather than like a mistake.
- Always iron your jeans before you start. I know, it’s an extra step, but trying to sew on wrinkled or bunched-up fabric is the fastest way to end up frustrated and with a crooked patch.
- Keep your tension loose. If you pull your thread too tight while sewing, you’re going to end up with puckered, wavy fabric that looks more like a topographical map than a pair of pants.
- Use heavy-duty thread or even embroidery floss if you’re doing visible mending. Standard thin thread tends to snap the second you actually try to sit down or move around in those jeans.
- Stop overthinking the “right” way to do it. If a patch is holding the fabric together and it doesn’t bother you, it’s a success. We’re looking for function here, not a museum exhibit.
The real way to think about mending
Stop aiming for “invisible” repairs; visible mending isn’t a mistake, it’s a way to give your favorite denim a second life without the stress of perfection.
Focus on the system, not the masterpiece—choose the simplest method (like a quick patch or basic darning) that actually fits into your busy week so you don’t let the project sit in a “to-do” pile forever.
Keep a small, functional repair kit handy with scrap fabric and a needle so you can fix a hole the moment it happens, rather than waiting for a “perfect” time that never comes.
## The beauty of a visible mend
“I used to think a hole in my favorite denim meant the story was over, but honestly? A well-placed patch is just proof that you actually live in your clothes instead of just looking at them in a mirror.”
Nadia Halloway
Don't let a small hole ruin a good pair of jeans
At the end of the day, whether you went with a clean, invisible darning job or leaned into the chaos of visible mending with some colorful scraps, you’ve done more than just fix a garment. You’ve stopped a cycle of mindless consumption. We’ve covered everything from the meticulous thread-work of darning to those quick, low-stress patches that work perfectly when you’re short on time. The goal wasn’t to make your jeans look brand new or like they came straight off a boutique shelf; the goal was to make them functional again so you can get back to your actual life without worrying about a tear turning into a disaster.
I know it can feel a bit intimidating to sit down with a needle and thread when you’re used to the “just buy a new pair” mentality, but I promise it’s worth the effort. These little repairs are just small, repeatable systems that keep your wardrobe—and your budget—intact. Your clothes are meant to be lived in, washed, and even worn down. Don’t sweat the imperfections. In fact, I think those little mended spots tell a much better story than a pristine, untouched pair of denim ever could. So, grab your kit, embrace the mess, and just start stitching.
Frequently Asked Questions
Can I still wash my jeans in a regular machine after I've patched them?
Short answer: Yes, but don’t just toss them in like you normally would. If you’ve done a heavy-duty darning job, they’ll likely hold up fine, but I always recommend turning them inside out and using a gentle cycle. It minimizes the friction that can fray your hard work. And please, skip the high-heat dryer—air drying is your best friend here if you want your repairs to actually last.
What if the hole is right on a seam or a pocket—is that still fixable?
Ugh, the worst. It feels like the universe is specifically targeting your favorite pair. But honestly? Yes, it’s still fixable, though it’s a bit more of a puzzle. If it’s on a seam, you’ll likely need to unpick a little bit of the original stitching to get your fabric patch underneath properly. It’s a bit more tedious, but once you reinforce that area, it’s actually much sturdier than a standard patch. Don’t give up yet!
Do I really need a specific type of thread, or can I just use whatever is in my sewing kit?
Honestly? You don’t need to run to the craft store for fancy denim thread unless you’re going for a very specific look. If you’ve got a standard all-purpose polyester thread in your kit, grab it and go. It’s durable enough for most quick fixes. Just a heads-up: if the hole is huge, double up your thread for strength. We’re aiming for functional, not perfect—so use what you have and get back to your day.
How do I stop the hole from getting even bigger while I'm actually trying to sew it?
The absolute best way to do this is to stop fighting the fraying and start stabilizing it. Before you even pick up a needle, grab a piece of lightweight fusible interfacing—the kind you iron on—and press it onto the back of the hole. It acts like a temporary scaffold, holding those loose threads in place so they don’t unravel further while you’re working. If you’re in a pinch, even a scrap of thin cotton will do.
