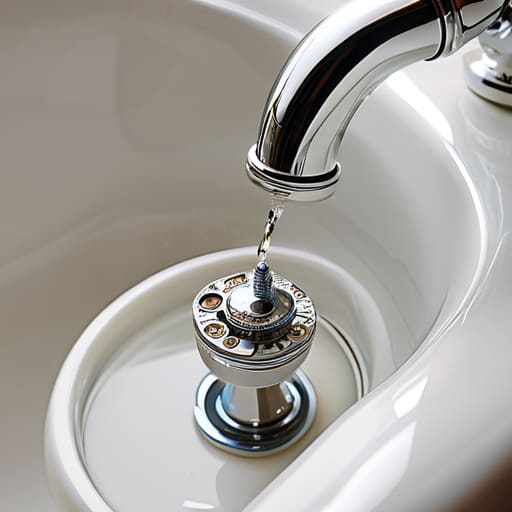
Stop That Running Toilet and Lower Your Water Bill
I was sitting in my tiny studio apartment last Tuesday, trying to focus on a client proposal, when I heard it: that relentless, rhythmic hiss coming from the bathroom. It’s that sound that tells you your water bill is about to skyrocket and your peace of mind is officially gone. Most people think that learning how to fix a running toilet requires a degree in plumbing or a massive trip to the hardware store for expensive, specialized tools, but that’s just a myth. Usually, it’s just a tiny, annoying part that’s slightly out of alignment, and you can likely solve it before your coffee even gets cold.
I’m not going to give you a lecture on home maintenance or suggest you buy a whole new porcelain throne. Instead, I’m going to show you how to troubleshoot the most common culprits—like a stubborn flapper or a misaligned float—using zero fancy gadgets. We’re going to focus on the small, repeatable checks that actually stop the waste and save your budget. Let’s get into the no-nonsense steps to silence that drip so you can get back to your actual life.
Guide Overview
Tools & Supplies
- Adjustable wrench for loosening water supply line
- Screwdriver for securing tank components
- Sponge or cloth for absorbing excess water
- Replacement flapper (1 unit)
- Replacement fill valve (1 unit)
- Replacement flapper chain (1 unit)
Step-by-Step Instructions
- 1. First things first, grab a pair of gloves (trust me, nobody wants to touch toilet water) and shut off the water supply. You’ll find a small valve on the wall right behind the toilet. Turn it clockwise until it stops. Once that’s done, flush the toilet and hold the handle down to drain as much water as possible from the tank. This keeps things from becoming a total swamp while you’re working.
- 2. Take a good look inside the tank and identify the culprit. Most of the time, it’s just the flapper—that little rubber plug at the bottom that lifts when you flush. If it looks warped, slimy, or just plain old, it’s time to replace it. I’ve learned from my DIY furniture days that rubber degrades over time, so don’t feel bad if yours is shot; it’s just physics.
- 3. If the flapper looks fine, check the chain. It connects the handle to the flapper, and if it’s too long, it can get caught underneath the seal, causing a constant leak. If it’s too short, it might be preventing the flapper from closing all the way. Adjust the clip so there’s just a tiny bit of slack—enough to move freely without getting tangled.
- 4. Next, let’s look at the water level. If the water is constantly spilling into the overflow tube (that open pipe in the middle of the tank), your fill valve is likely set too high. You don’t need to buy a new one yet; just look for the adjustment screw on the fill valve and turn it to lower the float. It’s a quick tweak that can save you a ton on your water bill.
- 5. If the water level is fine but you still hear that ghostly hissing, the fill valve itself might be the issue. These are actually pretty easy to swap out. Turn the water back on briefly to see if the valve is sputtering or leaking from the top. If it is, you can grab a universal replacement at any hardware store for a few bucks. It’s a small investment that pays for itself in a month.
- 6. Once you’ve made your adjustments or swapped the parts, it’s time for the moment of truth. Turn the water valve back on slowly and let the tank refill. Watch it closely to make sure the water stops at the right level and the flapper seats itself firmly. If everything stays quiet, you’ve officially conquered the chaos and saved yourself a call to an expensive plumber.
Toilet Flapper Replacement a Simple System for Constant Leaks
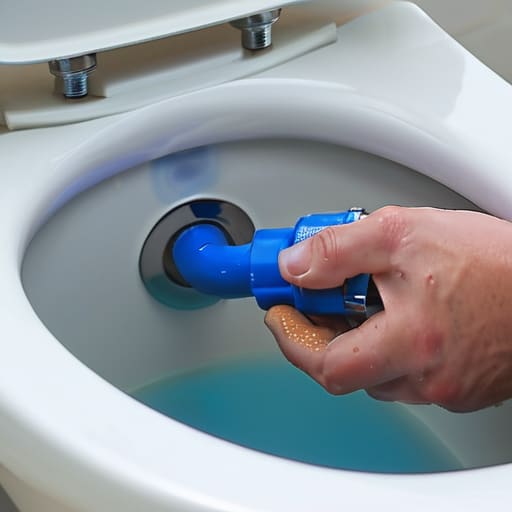
If you’ve checked the water levels and adjusted the float, but you still hear that ghostly trickle of water, you’re likely looking at a worn-out rubber seal. This is where most people get overwhelmed, but a toilet flapper replacement is honestly one of the easiest DIY wins you can snag. Think of the flapper like a gatekeeper; over time, the rubber gets brittle or warped from the constant contact with water, and it just stops making a clean seal. When that happens, you’re essentially paying a “leak tax” every single month on your utility bill.
Before you run to the hardware store, do a quick bit of flush valve troubleshooting by feeling the underside of the flapper with your finger. If it feels slimy or leaves black residue on your skin, that rubber is disintegrating. When you grab a replacement, don’t go for the cheapest generic version you find—investing an extra couple of bucks in a high-quality silicone model is a small, repeatable way to ensure you aren’t doing this again in three months. It’s all about building a system that actually lasts, rather than just patching a problem temporarily.
Flush Valve Troubleshooting When Your Handle Isnt Working
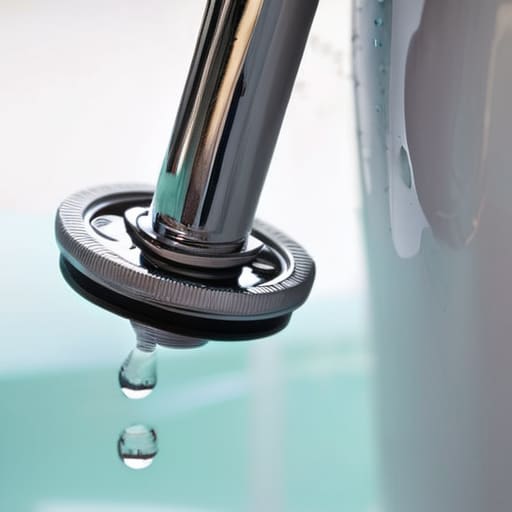
If you’ve already swapped out the flapper and you’re still staring at a tank that won’t behave, it’s time to look deeper into the mechanics. Sometimes the issue isn’t the seal itself, but the connection between your hand and the tank. If you notice your toilet handle not working—meaning it feels loose, spins aimlessly, or just won’t trigger a flush—the culprit is usually the lift chain or the handle assembly. Check to see if the chain has become tangled or if it’s too long, causing it to get caught under the flapper. A tiny adjustment here can be the difference between a smooth flush and a constant, money-wasting trickle.
If the handle feels fine but the water level is still acting up, you might need to move on to some basic flush valve troubleshooting. If the water level in the tank is sitting too high and constantly spilling into the overflow tube, you aren’t looking at a leak, but a calibration issue. This is where a quick toilet tank fill valve adjustment comes in handy. Most modern valves have a screw or a sliding clip that lets you lower the float. It’s a five-minute fix that stops the cycle of water running constantly without needing to call a plumber.
Pro-Tips to Keep Your Bathroom From Wasting Your Money
- Check the water level in the tank first. If it’s constantly spilling into the overflow tube, your fill valve is likely set too high. It’s a quick adjustment that saves a ton of water (and money) without needing a single tool.
- Don’t just buy any random flapper. When you go to the hardware store, take the old one with you. They look identical to the naked eye, but even a millimeter of difference in size will keep that leak going.
- Give the handle a little wiggle test. If the tank keeps running after a flush, your lift chain might be too tight or too loose. It should have just a tiny bit of slack so it doesn’t get caught under the flapper.
- Keep a small bottle of white vinegar in your cleaning supplies. If you notice mineral buildup on the parts inside the tank, a quick soak can clear out the gunk that’s preventing a tight seal.
- Stop using those “drop-in” bleach tablets. I know they smell clean, but they’re super corrosive and will eat through your rubber seals and plastic parts way faster than they should. Stick to liquid cleaners that don’t sit in the tank.
The Bottom Line: Keeping Your Bathroom (and Budget) in Check
Don’t wait for the water bill to spike before you act; most running toilets are caused by a tiny, cheap part like a flapper that’s easy to swap out yourself.
Skip the expensive plumber visit for basic leaks—if you can take the tank lid off, you can probably handle the most common fixes with just a few minutes and a trip to the hardware store.
Focus on the simple mechanical stuff first, because once you fix the actual hardware, you won’t need to worry about those fancy, overpriced “smart” toilet gadgets that promise more trouble than they’re worth.
## The Real Cost of Small Leaks
“A running toilet is exactly like a leaky budget: it’s a tiny, constant drain that you eventually stop noticing, until you realize it’s quietly eating away at everything else. Don’t wait for the massive repair bill to take action; fix the small stuff now so it doesn’t become your biggest headache later.”
Nadia Halloway
Small Fixes, Big Wins
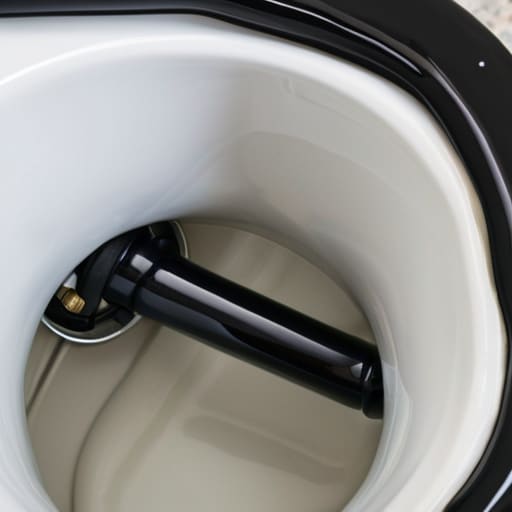
At the end of the day, fixing a running toilet usually boils down to one of three things: a worn-out flapper, a misaligned chain, or a faulty fill valve. It’s rarely a catastrophic plumbing disaster that requires a professional with a massive bill; more often than not, it’s just a small component that stopped doing its job. By checking the tank, swapping out that rubber flapper, or adjusting the water level, you’ve effectively stopped the money leak and prevented a massive water bill from hitting your inbox next month. You don’t need a degree in engineering to maintain your home; you just need to look under the lid and tackle the problem one piece at a time.
I know that staring down a broken appliance can feel overwhelming, especially when you’re already juggling a million other things. But honestly? This is exactly how you build confidence in your own space. Every time you fix something yourself, you’re proving that you don’t have to be a victim of your environment or your budget. Don’t aim for a perfectly manicured, Pinterest-worthy home—aim for a home that actually works for you. Take the win, enjoy the silence of a quiet bathroom, and go grab another coffee. You’ve got this.
Frequently Asked Questions
Is there a way to tell if the leak is actually coming from the tank or if it's an issue with the wax ring at the base?
This is the million-dollar question, and honestly, it’s the one that usually stresses people out the most. Here’s the quick way to tell: grab some food coloring or a heavy dose of dark dye and drop it into the tank. If the water on your bathroom floor gets tinted, it’s a base/wax ring issue. If the dye stays in the tank but you hear that constant phantom flushing, it’s just a tank component.
How often should I actually be checking my toilet parts before they become a total disaster?
Look, I’m not a fan of unnecessary maintenance—it’s just more work. But if you want to avoid a midnight emergency, aim for a quick visual check once every few months. Pop the lid during your seasonal deep clean and just look for anything looking crusty or worn. If you notice the handle feeling “mushy” or hear that faint, constant hiss, don’t wait for a flood. Fix it then. Prevention is way cheaper than a plumber.
Can I use any old flapper from the hardware store, or do I need to hunt down a specific brand for my toilet model?
Don’t go down a rabbit hole trying to find a “brand-name” replacement; it’s usually not worth the stress or the extra cash. Most flappers are fairly universal, but size matters. Grab your old one (or a ruler) and check if it’s a 2-inch or a 3-inch. As long as the diameter matches and it fits your specific tank shape, a generic one from the hardware store will do the job just fine.
If I fix the leak but the handle still feels "mushy" or loose, is that a separate problem I need to tackle?
Honestly, it’s usually a separate issue, but it’s an easy one to tackle. If the handle feels mushy, it’s likely just a loose connection inside the tank. Check the handle lever itself or the chain connecting it to the flapper. If the chain is too long, it tangles; if it’s too short, it won’t lift properly. It’s a tiny tweak, but getting that tension right makes the whole system feel way more reliable.
