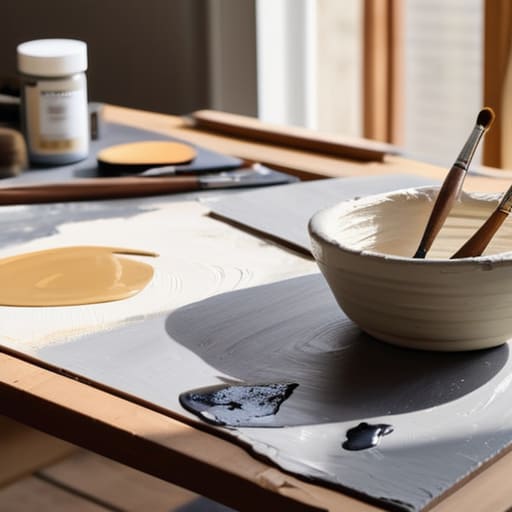
Create Store-bought Style Wall Art at Home
I used to stare at those massive, empty white walls in my first apartment and feel this overwhelming pressure to go out and buy something “curated” or “designer” just to make the place feel like a home. I thought you needed a massive budget or a hidden talent for sketching to pull off a decent gallery wall, but that’s a total lie. The truth is, learning how to make wall art isn’t about being an artist; it’s about finding a repeatable system that looks intentional rather than cluttered. I spent way too many weekends scrolling through expensive home decor sites before realizing that some of my favorite pieces were just things I’d put together with thrifted frames and a little bit of grit.
In this guide, I’m skipping the complicated tutorials that require a studio setup and a degree in fine arts. Instead, I’m going to show you a few low-maintenance ways to create pieces that actually fit your vibe without draining your bank account. We’re going to focus on simple, tactile methods—from textile hangings to minimalist prints—that you can execute even when your schedule is a total mess. Let’s stop chasing that unattainable “Pinterest perfection” and just make something that actually works for your space.
Guide Overview
Tools & Supplies
- Paintbrush [Assorted sizes for different textures]
- Palette knife [For mixing and applying thick paint]
- Pencil [For sketching initial designs]
- Canvas [1 medium size]
- Acrylic paint [Set of various colors]
- Gesso [1 small jar for priming]
- Masking tape [1 roll for clean edges]
Step-by-Step Instructions
- 1. First, clear a dedicated workspace. I know, I know—finding a clean surface in a small apartment feels like a myth, but you need a spot where you won’t accidentally knock over a cup of coffee onto your project. Grab a cheap plastic tablecloth or even some old newspapers to protect your table. The goal here is to minimize the cleanup later so you don’t feel overwhelmed by the mess.
- 2. Pick a medium that doesn’t require a massive investment. Since we aren’t trying to build a professional studio in our living rooms, skip the expensive oil paints for now. I usually go for watercolor or even just high-quality markers. If you’re feeling more tactile, grab some scraps of fabric or even old pages from a book you’ve already read. The point is to use what you have without breaking your budget.
- 3. Choose a “system” for your design rather than trying to draw a masterpiece. If you aren’t an artist, don’t fight it; instead, lean into geometric shapes or abstract lines. I love using painter’s tape to create crisp, straight borders on a canvas or heavy paper. It’s a foolproof way to make something look intentional and modern even if your hand isn’t perfectly steady.
- 4. Layer your textures to add depth. This is where the “DIY” part actually starts to look high-end. If you’re working with paper, try tearing the edges instead of cutting them with scissors for a more organic, textured feel. If you’re using paint, don’t be afraid to let some colors bleed into each other. It’s much better than a perfect, sterile line that looks like it came off a printer.
- 5. Let it dry completely before you even think about framing. This sounds obvious, but when I’m in a “productive” rush, I always want to jump straight to the finish line. If you try to move a wet piece of art into a frame, you’ll end up with a smudge that ruins the whole vibe. Patience is a system, too—give it the time it needs to set.
- 6. Find a way to display it that doesn’t involve drilling holes in your walls. If you’re renting or just hate the thought of a massive renovation project, use command strips or even lean your art against a stack of books on a shelf. I’ve found that leaning art actually looks more effortless and “curated” than hanging everything perfectly straight, and it makes it way easier to swap things out when your mood changes.
Low Stress Mixed Media Wall Art Supplies You Actually Need
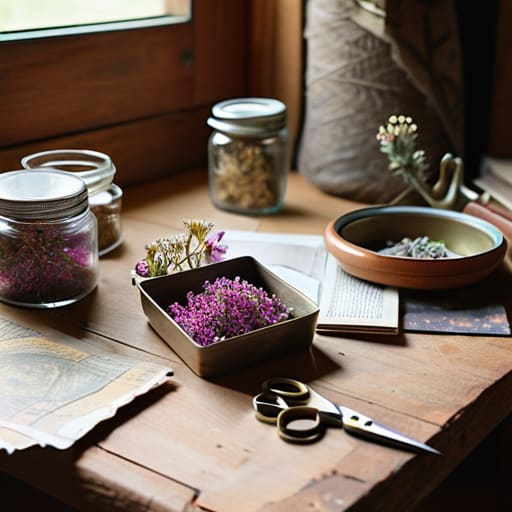
Look, I’ve spent way too much money in my twenties on “curated” sets that ended up gathering dust because they were too precious to actually touch. When it comes to gathering your mixed media wall art supplies, my rule is simple: if you’re afraid to mess it up, you won’t enjoy the process. You don’t need a professional studio or a massive investment to get started. I usually just raid my junk drawer or hit up a local thrift store for old frames and interesting textures. Think about things like scrap fabric, old magazine clippings, or even some dried botanicals you found on a walk. The goal is to build a kit of items that feel approachable, not intimidating.
Instead of buying expensive, specialized tools, lean into what you already have around the house. A bit of leftover acrylic paint, some heavy-duty glue, and even some sandpaper can turn a plain piece of cardboard into something that looks intentional. I’m a huge fan of budget friendly home decor projects that rely on texture rather than perfect precision. If you’re looking for that elevated look without the price tag, focus on layering different materials—like a piece of linen over a rough canvas—rather than trying to master complex techniques right out of the gate. Keep it tactile, keep it messy, and most importantly, keep it sustainable for your schedule.
Simple Abstract Canvas Painting Methods for Messy Days
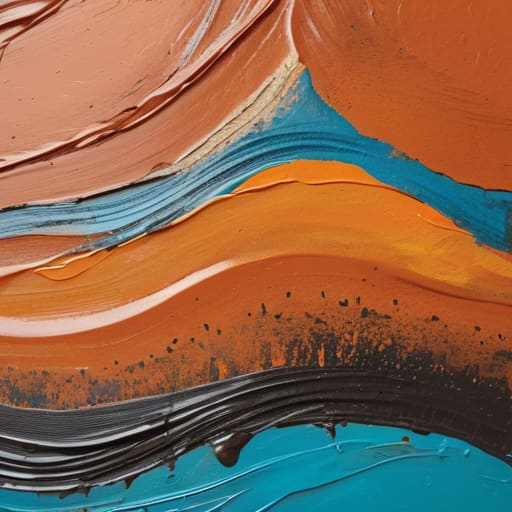
Look, some days you have the energy to meticulously map out a design, and other days you just want to throw some color at a canvas and call it a day. If you’re feeling overwhelmed, lean into abstract canvas painting methods that don’t require a steady hand or a perfectly clean workspace. One of my favorite low-effort tricks is the “swipe and scrape” technique. Instead of trying to paint fine lines, just glob some acrylic paint onto the canvas and use an old credit card or a piece of stiff cardboard to drag it across the surface. It creates these incredible, organic layers that look intentional rather than accidental.
If you want to add a bit more dimension without buying expensive professional tools, try playing with texture. You don’t need a fancy palette knife; a kitchen spatula or even a sponge can turn a flat, boring canvas into something that looks high-end. These kinds of budget friendly home decor projects are perfect because they thrive on imperfection. Even if you mess up a color blend, you can just layer more texture on top. The goal here isn’t to create a masterpiece for a gallery; it’s about creating something that makes your space feel like yours, even when your schedule is a total disaster.
5 Ways to Keep Your Art Projects from Becoming Another Messy Chore
- Stop waiting for the “perfect” moment or a pristine workspace. If you have ten minutes and a scrap of paper, start something. The goal is a finished piece, not a masterpiece that requires a studio setup.
- Stick to a limited color palette. I used to buy every tube of paint in the store, only to realize most of them didn’t work together. Pick three or four colors that actually vibe, and you’ll avoid that “muddy” look that makes you want to hide the art in a closet.
- Use what you already have. Before you hit “add to cart” on those expensive specialty inks, check your junk drawer. Old magazines for collage, leftover coffee for staining paper, or even some textured fabric from an old shirt can create something way more interesting than a store-bought kit.
- Embrace the “ugly stage.” Every piece of art goes through a phase where it looks like a total disaster. Instead of scrapping it and feeling like a failure, just step away, grab a coffee, and come back to it later. Most of the time, the “mess” is just part of the process.
- Think about the scale of your space, not just the art. Don’t make a tiny little doodle if you’re trying to fill a massive wall above a sofa. It’s much easier to group smaller, simpler pieces together in a grid than it is to try and force one giant, complicated project to work.
The Bottom Line: Keep it Simple
Forget the “perfect” masterpiece; focus on creating something that feels good to look at without turning your living room into a permanent construction zone.
Prioritize versatile, low-cost supplies that don’t require a massive upfront investment or a dedicated studio space to use.
Build a system that works for your actual life, choosing methods that you can pick up and put down whenever you have a spare twenty minutes.
Forget the "Pinterest Perfect" Trap
Stop waiting for a massive budget or a perfectly organized studio to start creating; a piece of art doesn’t need to be a masterpiece to be meaningful, it just needs to be a system you can actually stick to when your life feels a little chaotic.
Nadia Halloway
Final Thoughts on Your New Space
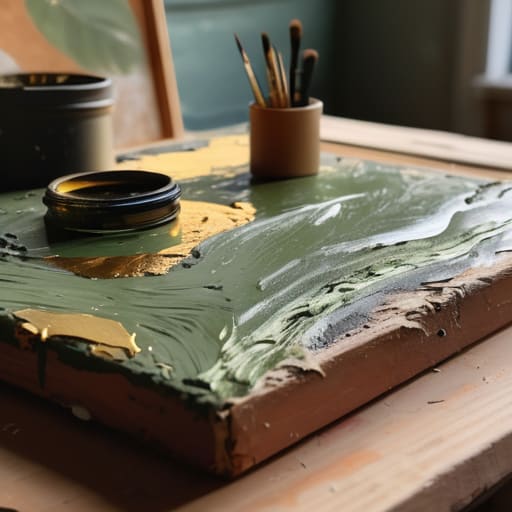
At the end of the day, making wall art isn’t about mastering a complex technique or spending a fortune on high-end pigments. It’s about using those low-stress mixed media supplies and simple abstract methods we talked about to create something that feels like you. Whether you went with a textured canvas or a quick stencil project, the goal was to bypass the “perfection paralysis” that keeps most of us from actually starting. You don’t need a pristine studio or a Pinterest-perfect life to pull this off; you just need a few basic tools and the willingness to embrace the mess.
Please don’t feel like you have to hang everything perfectly straight or wait until you’ve created a masterpiece to enjoy your space. The beauty of these small, repeatable DIY systems is that they allow your home to grow and change alongside you. If a piece doesn’t work out, toss it, paint over it, or move it to a different room. Your home should be a living, breathing reflection of your journey, not a static museum of things you thought you “should” have. Just keep creating, keep iterating, and remember that progress beats perfection every single time.
Frequently Asked Questions
I'm worried about making a huge mess—is there a way to do this without ruining my dining room table?
Look, I get it. I grew up in a space where one spilled drop of paint meant a week of scrubbing, so I’m a bit neurotic about surfaces too. Don’t risk your dining table. Grab a cheap plastic tablecloth from the dollar store or even some old newspapers. If you want to be extra safe, lay down a heavy canvas drop cloth. It’s not “aesthetic,” but it means you can actually enjoy the process without the cleanup anxiety.
What do I do if I start a piece and it just looks… bad? How do I pivot without starting over?
First off, take a breath. We’ve all been there—staring at a canvas that looks more like a toddler’s accident than “art.” Don’t scrap it. Instead, pivot. If the colors are clashing, grab a large brush and layer some neutral gesso or a solid matte paint over the mess to create a new base. Or, lean into the chaos: add some texture with heavy modeling paste or even scraps of fabric. Turn the mistake into a layer.
Do I actually need expensive frames, or can I hang these things using more budget-friendly methods?
Look, if you’re waiting until you have a massive budget for high-end frames, you’re never going to actually get your art on the walls. Save your money for better paint or a decent coffee. I’ve used Washi tape to create “faux frames” directly on the wall—it looks intentional and minimalist, plus it won’t ruin your paint. Command strips or even simple wooden clips work wonders. Just get it up there.
How do I figure out which colors or styles will actually look good in my space instead of just looking like a random craft project?
The “craft project” look usually happens when you’re picking colors based on a fleeting mood rather than the room itself. Before you touch a brush, grab some scrap paper or even old magazines. Pull out three colors that already exist in your space—maybe it’s the sage in your rug or the wood tone of your thrifted coffee table. Stick to that palette. It creates a visual thread that makes your art look intentional, not accidental.
