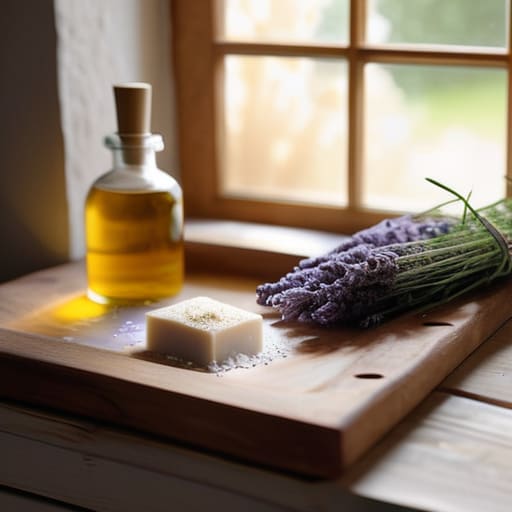
Handmade Soap 101: Everything You Need to Start Making It at Home
I used to think that learning how to make soap required a dedicated laboratory, a massive budget for organic essential oils, and enough counter space to host a small science convention. I spent weeks scrolling through “aesthetic” DIY videos where everything looked pristine and effortless, only to realize they were skipping the messy, slightly terrifying parts that actually matter. The truth is, you don’t need a Pinterest-perfect studio to get started; you just need a few basic tools and a system that doesn’t fall apart the second you get busy.
In this guide, I’m stripping away the fluff and the expensive gadget worship to show you the real way to get results. I’m going to walk you through a straightforward method for how to make soap that actually works when your life feels a little chaotic. We aren’t chasing perfection or trying to create a luxury brand overnight; we are focusing on small, repeatable steps that result in a decent, usable bar of soap every single time. Let’s get into the grit of it.
Guide Overview
Tools & Supplies
- Digital scale for precise measurements
- Stick blender for emulsifying oils and lye
- Heat-resistant glass beaker or stainless steel pot
- Silicone soap molds for easy removal
- Coconut oil (approx. 16 oz)
- Olive oil (approx. 16 oz)
- Sodium hydroxide/Lye (approx. 5 oz)
- Distilled water (approx. 10 oz)
- Essential oils (1 oz for fragrance)
Step-by-Step Instructions
- 1. First things first, grab your safety gear. I’m not kidding—lye is no joke and it can be intimidating, so put on your safety goggles and gloves before you even touch a single ingredient. Clear off a workspace that isn’t near anything you care about (looking at you, expensive rugs) and make sure you have a dedicated scale, because measuring by volume is a recipe for disaster when it comes to soap.
- 2. Weigh out your oils and lye separately using your digital scale. You’ll want to melt your solid fats (like coconut oil or shea butter) in a heat-safe container first, then add your liquid oils to the mix. Once that’s ready, slowly pour your lye into your distilled water—never pour water into lye, or you’ll end up with a literal chemical volcano in your kitchen. Stir it until it’s clear and set it aside to cool down to a manageable temperature.
- 3. Once your lye-water and your oils are both sitting around the 100°F mark, it’s time to marry them. Pour the lye solution into your oil container and start mixing. If you’re doing this the “low-stress” way, use a stick blender (immersion blender) rather than trying to stir it by hand for forty minutes. You’re looking for “trace,” which is just a fancy way of saying the mixture has thickened enough that when you lift the blender, the droplets leave a visible trail on the surface.
- 4. Now, if you want to add scents or colors, this is your moment. I usually skip the expensive, complicated essential oil blends and just stick to one simple scent that actually works, like lavender or lemongrass. Stir your scent in by hand with a spatula to ensure it’s evenly distributed before you move to the next step.
- 5. Pour your liquid gold into your mold. I personally love using old silicone muffin tins or even cleaned-out yogurt containers because they are ridiculously easy to pop out once they’ve set. If you’re using a wooden mold, make sure you’ve lined it with parchment paper so you don’t have a sticky, permanent mess on your hands.
- 6. Let the soap sit undisturbed for about 24 to 48 hours. This is the hardest part for me because I want to see the results immediately, but the soap needs this time to undergo its chemical transformation. Once it feels firm to the touch, pop it out of the mold and cut it into bars using a sharp knife or a bench scraper.
- 7. Finally, the “patience test”: you have to let these bars cure in a cool, dry place for about 4 to 6 weeks. I know, I know, it feels like an eternity, but this step is non-negotiable if you want a hard, long-lasting bar that won’t turn into mush the second it touches water. Just tuck them away in a drawer and forget about them until they’re ready.
Mastering Cold Process Soap Making Methods for Busy Lives
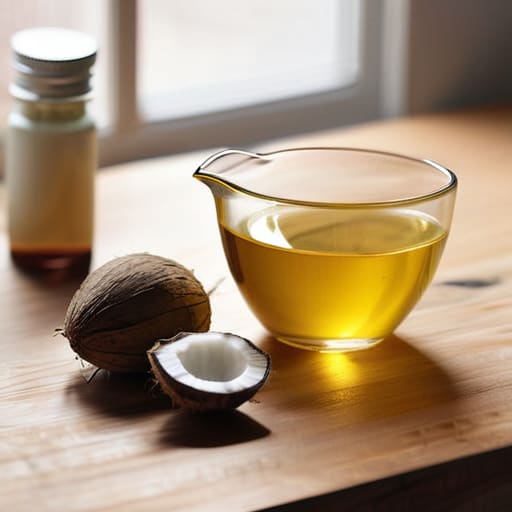
Look, I get it. Between client calls and trying to keep my own apartment from descending into chaos, nobody has time to spend four hours hovering over a steaming pot of oils. If you’re feeling overwhelmed by the technical side of cold process soap making methods, my best advice is to stop trying to be a chemist on day one. You don’t need a laboratory; you just need a predictable system. I always tell my clients that consistency beats complexity every single time. Instead of experimenting with twenty different additives, pick three reliable natural soap ingredients for skin—like shea butter, coconut oil, and olive oil—and master that combo before you even think about adding fancy botanicals.
The biggest hurdle for most people isn’t the actual mixing; it’s the mental load of the math. To keep your sanity (and your skin) intact, please, for the love of all things efficient, use a reliable lye and oils ratio calculator rather than trying to eyeball it. It’s not about being a perfectionist; it’s about not ruining a batch of expensive ingredients because of a math error. Once you have your ratios locked in, the process becomes a repeatable rhythm rather than a stressful chore. Stick to the basics, keep your workspace organized, and remember that a “good enough” batch that actually gets used is better than a “perfect” one that sits on your shelf gathering dust.
Essential Soap Making Safety Equipment You Actually Need
Look, I’m all for the DIY spirit, but we need to have a real talk about the chemistry side of things. When you’re working with lye, this isn’t just a fun weekend craft; it’s a chemical reaction. You don’t need a lab-grade setup, but you absolutely cannot skimp on your soap making safety equipment. I’m talking about heavy-duty nitrile gloves, wrap-around eye protection, and long sleeves. I learned the hard way that a single splash of lye solution is a quick way to ruin a good afternoon (and your skin). If you’re just starting out, skip the fancy glass beakers and stick to high-quality, heat-resistant plastic or stainless steel.
One thing I always tell my clients when I’m helping them streamline their workflows: don’t guess when accuracy is non-negotiable. When you’re balancing your lye and oils ratio calculator, precision is your best friend. Even a small error can result in a bar that’s too harsh for your skin or, worse, unsafe to use. You also want a dedicated space—ideally something with good ventilation—so you aren’t breathing in those initial fumes. It’s not about being paranoid; it’s about building a sustainable system that keeps you safe so you can actually enjoy the process without the stress.
Five Real-World Tips for When Your Kitchen Becomes a Lab
- Don’t get distracted by the “aesthetic” soap makers on social media. You don’t need a perfectly curated set of marble bowls to make a great bar; just use stainless steel or heat-resistant plastic that you don’t mind losing to a few stains.
- Trust your thermometer, not your gut. I know it’s tempting to just start pouring when things “look” right, but temperature is the one thing you can’t eyeball. If your oils and lye water aren’t in the right window, you’re just asking for a messy disaster.
- Scale everything by weight, not volume. Using measuring cups is a one-way ticket to a failed batch. If you aren’t using a digital scale to weigh your ingredients in grams, you’re basically playing soap-making roulette.
- Embrace the “ugly” phase. Your soap is going to look like a weird, lumpy science experiment for the first few hours. Don’t panic and try to fix it; just let it sit, let it cure, and trust the chemistry to do its thing.
- Keep a “fail log” in a simple notebook. Every time a batch comes out too soft or smells a bit funky, write down exactly what you did differently. It’s much better to have a messy notebook than to keep repeating the same expensive mistakes.
The Bottom Line: Keeping It Simple
Don’t get paralyzed by the gear; as long as you have your safety basics and a decent scale, you’re ready to start.
Forget about creating a “perfect” masterpiece on your first try—focus on building a repeatable process that doesn’t leave your kitchen in a state of total chaos.
Start small with simple recipes so you can actually master the chemistry before you start spending a fortune on fancy essential oils and custom molds.
## Systems Over Perfection
“Stop worrying about whether your soap looks like a Pinterest board; if the chemistry is right and the system is repeatable, you’ve already won. Real productivity isn’t about the perfect aesthetic, it’s about making something useful that actually works when your life gets messy.”
Nadia Halloway
The Reality of Your First Batch
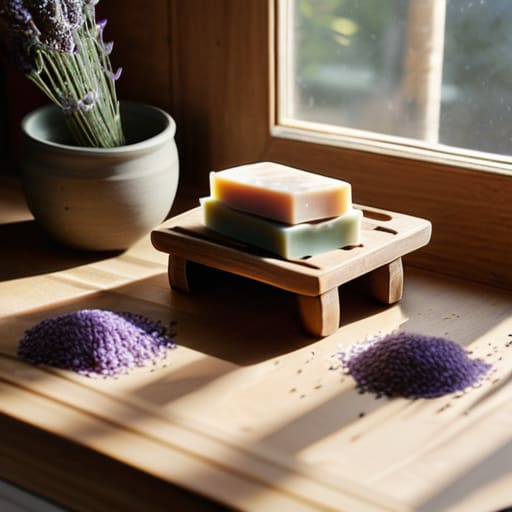
Look, at the end of the day, soap making isn’t about achieving some Pinterest-perfect, marble-swirled masterpiece on your first try. It’s about having the right basic gear, staying safe with your lye, and choosing a method—like cold process—that actually fits into your chaotic weekly schedule. You don’t need a dedicated laboratory or a hundred different essential oils to get started; you just need a repeatable system and a bit of patience while those bars cure. If your first batch looks a little wonky or the colors aren’t exactly what you envisioned, don’t sweat it. The goal is to move away from store-bought junk and toward something functional and handmade that you actually know the ingredients of.
Once you get past the initial learning curve, you’ll realize that the real magic isn’t in the soap itself, but in the small win of creating something useful from scratch. There is something incredibly grounding about stepping away from the screens and working with your hands, even if it’s just for an hour on a Sunday afternoon. Don’t let the fear of making a mistake stop you from trying. Perfection is a trap that kills creativity, so just embrace the mess and start making. You’ve got this.
Frequently Asked Questions
Can I use leftover kitchen oils, or will that ruin the whole batch?
Look, I get the temptation to be resourceful—I’m the same way with my thrifted furniture finds—but when it comes to soap, let’s be careful. You can use leftover oils, but they have to be clean and filtered. If they’re rancid or smell like yesterday’s fried chicken, they’ll ruin the batch and make your soap smell funky. Stick to fresh oils unless you’ve properly strained and tested them first. Keep it simple.
How long do I actually have to wait before I can use the soap without it being too harsh?
The short answer? You’re going to need some serious patience. Even if the soap feels hard to the touch after a couple of days, it isn’t ready. You really need to let those bars cure for at least four to six weeks. I know, it feels like forever when you’re excited, but skipping this step makes the soap harsh and watery. Let it sit, let it dry, and trust the process.
What do I do if the mixture looks weird or separates halfway through?
Deep breaths. First off, don’t panic—I’ve definitely been there, staring at a bowl of curdled-looking goo wondering if I just wasted twenty bucks on oils. If it looks like cottage cheese or the oil and lye have split, grab your stick blender. Give it some aggressive, short bursts of blending. Usually, it just needs more emulsification to bring everything back together. If it stays separated after a few minutes of blending, it might be a lost cause, but most of the time, it just needs a little more elbow grease.
Is there a way to make this work without buying a bunch of specialized scents and dyes?
Honestly, please don’t feel like you need a massive kit of synthetic fragrances and neon dyes to get started. That’s just more clutter for your cabinets. If you want color, try adding some kitchen staples like turmeric for yellow or cocoa powder for brown. For scent, stick to pure essential oils—they’re more versatile and less headache-inducing. Keep it simple; a plain, well-made bar is way better than a colorful one that smells like a chemical factory.
