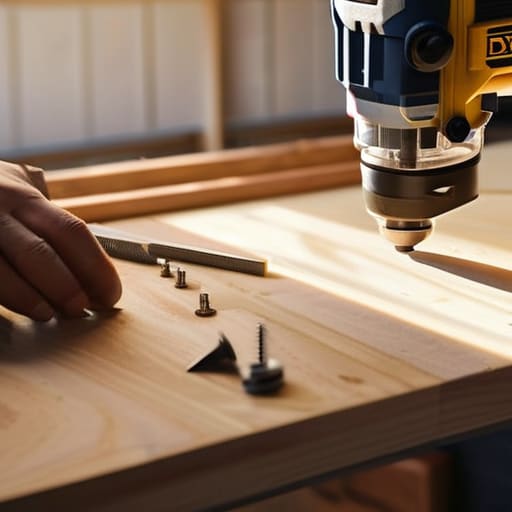
A Step-by-step Guide to Building a Basic Bookshelf
I was staring at a stack of heavy hardcovers leaning precariously against my radiator when it finally hit me: I didn’t need a $400 designer piece to fix this mess. Most DIY guides make you think that learning how to build a bookshelf requires a professional-grade workshop and a mountain of expensive, specialized tools that you’ll probably only use once. But honestly? That’s just more clutter for your brain and your bank account. Growing up in a tiny apartment taught me that you don’t need a masterclass in carpentry to create something functional; you just need a solid plan and the courage to work with what you’ve got.
In this guide, I’m stripping away the intimidating jargon and the “aesthetic” fluff to show you a way to build something sturdy that actually holds your weight. We aren’t aiming for a museum exhibit here; we’re focusing on a repeatable, low-stress system using basic materials you can find at any local hardware store. I’ll walk you through the exact steps to get your books off the floor and into a custom unit that fits your space perfectly, without breaking your budget or your spirit.
Guide Overview
Tools & Supplies
- Circular saw or hand saw for cutting wood to size
- Power drill for driving screws and pre-drilling holes
- Measuring tape for accurate layout
- Sandpaper for smoothing rough edges
- 1×4 or 1×6 lumber (approx. 4-5 boards)
- Wood screws (1.5 inch, 1 box)
- Wood glue (1 bottle)
- Sandpaper (various grits)
Step-by-Step Instructions
- 1. First things first: get your materials. Don’t go overboard with expensive hardwoods unless you’re trying to impress a museum; honestly, a few sheets of decently thick plywood or even high-quality MDF will do the job just fine. You’ll need a circular saw (or a trip to the hardware store to have them cut it for you), wood glue, some basic screws, and a drill. I always tell people to measure twice and cut once, because nothing kills my momentum like realizing I’ve wasted twenty bucks on a piece of wood because I was rushing.
- 2. Once you have your wood, it’s time to map out your frame. You’re essentially building a big rectangle with some horizontal slats. Lay your side pieces down on a flat surface—ideally your floor if you have some old blankets to protect it—and mark where you want your shelves to sit. I’m a huge fan of not overcomplicating the spacing; just make sure the bottom shelf is high enough that you aren’t tripping over it, and leave enough room at the top for those oversized art books that always seem to clutter up my life.
- 3. Now, let’s get to the assembly. Apply a thin, even line of wood glue along the edges where the shelves meet the sides. Glue is the unsung hero of DIY because it creates a bond much stronger than the screws alone. While the glue is still tacky, align your first shelf and drive your screws through the side panel into the shelf. Pro tip: drill pilot holes first so you don’t accidentally split the wood and turn your project into a very expensive pile of kindling.
- 4. After you’ve got the main structure standing, you need to add a back panel. I know, I know, it feels like an extra step, but a flimsy bookshelf is a dangerous bookshelf. Grab a thin sheet of plywood or even some hardboard and nail it into the back of the frame. This is what prevents the whole thing from leaning to one side like a house of cards the moment you add your heavy cookbooks. It’s the difference between a piece of furniture that lasts and one that ends up in a landfill in six months.
- 5. If you want it to actually look like it belongs in a home and not a construction site, it’s time for a little bit of sanding. Use a medium-grit sandpaper to smooth out the rough edges and any bumps where the screws might be peeking through. You don’t need to spend hours on this, but a quick, thorough sanding makes the whole process of painting or staining so much less frustrating.
- 6. Finally, give it a finish. If you’re like me and don’t have a dedicated workshop, a simple matte paint or a quick wipe-on stain is your best friend. It covers up the imperfections and makes the whole thing feel intentional rather than accidental. Once it’s dry, move it into place, stack your books, and enjoy the fact that you didn’t have to spend a month’s rent at a boutique furniture store to get your space organized.
Ditch the Fancy Kits for Essential Woodworking Tools for Beginners
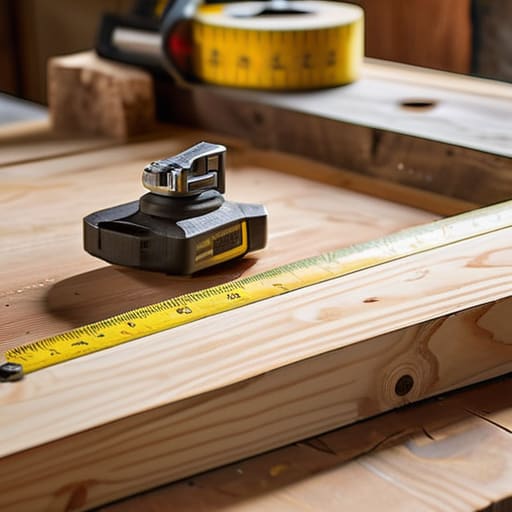
Look, I get it. You walk into a big-box hardware store and suddenly feel like you need a $500 power saw and a professional-grade workshop just to make a place for your paperbacks. Please, don’t do that to your bank account. You don’t need a garage full of specialized gear to get this done. When I’m hunting for woodworking tools for beginners, I always tell people to focus on the essentials: a reliable tape measure, a speed square, and a decent cordless drill. That’s it. If you can master measuring and cutting wood accurately with just a basic circular saw and a steady hand, you’re already ahead of most people trying to follow those overly complicated custom shelving unit plans online.
The goal here isn’t to become a master carpenter overnight; it’s about building something that doesn’t wobble every time you walk past it. Instead of spending your budget on fancy gadgets, invest a little more in some decent wood screws and maybe a simple sander. A little extra time spent finishing wood surfaces with a bit of sandpaper will do more for the final look of your project than any expensive brand-name tool ever could. Keep it simple, keep it functional, and let’s just get this thing built.
Choosing Between Wall Mounted vs Freestanding Shelves for Real Life
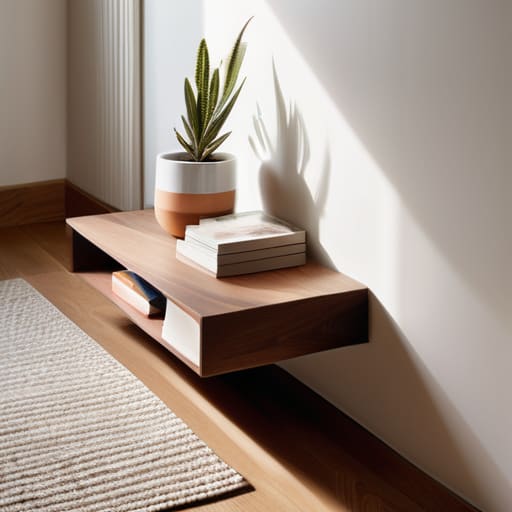
Before you start measuring and cutting wood, you need to have a serious talk with your floor plan. I’ve spent way too many weekends moving heavy furniture around my apartment only to realize I picked the wrong setup. If you’re working with a tiny corner or a studio where every square inch feels like a battleground, wall mounted vs freestanding shelves is the big question. Floating shelves are absolute lifesavers for keeping the floor clear, which makes a room feel way less cluttered, but they do require you to be confident in your wall anchors. If you aren’t ready to drill into studs, don’t force it; a shaky shelf is just a recipe for a broken lamp and a headache.
On the flip side, a freestanding unit is much more forgiving. If you move apartments—which, let’s be real, most of us do more than we’d like—you can just pack it up and go. The trade-off is that they take up physical footprint, so you have to be intentional about the scale. If you go this route, pay extra attention to shelf stability and support. I always recommend adding a bit of a back panel or a sturdy cross-brace to prevent that annoying wobbling that makes your expensive hardcovers feel unsafe.
Five ways to keep your DIY bookshelf from becoming a weekend disaster
- Don’t eyeball your cuts. I know it feels faster to just “wing it” with a pencil mark, but even a tiny error at the start makes the whole thing wobble by the time you hit the final shelf. Measure twice, cut once, and maybe grab a cheap square to keep things straight.
- Stop obsessing over the “perfect” wood. You don’t need expensive oak to make this work. If you’re on a budget, a decent plywood or even some reclaimed pine works just fine—just spend your saved money on a good sandpaper so the finish doesn’t feel like a splinter waiting to happen.
- Plan for the weight of your actual life. We all dream of those minimalist shelves with one single vase, but real life involves heavy hardcovers and stacks of magazines. Add a back panel or some solid bracing so your shelves don’t bow into a sad U-shape after a month.
- Embrace the “good enough” finish. You don’t need a professional spray booth. A simple wipe-down and a couple of coats of a matte sealant will protect the wood and look great without turning your living room into a hazardous chemical zone.
- Leave yourself a margin for error. If you’re building this in a tight corner or a small apartment, don’t aim for a millimetre-perfect fit against the wall. Leave a tiny bit of breathing room so you aren’t fighting the piece just to get it into its final spot.
The bottom line on your DIY bookshelf
Stop overcomplicating the gear; you don’t need a workshop full of expensive power tools to build something sturdy, just the basics that actually get the job done.
Choose the shelf type based on your actual floor space and how much stuff you’re really going to put on it, not just what looks good in a staged photo.
Focus on a solid, repeatable build process rather than chasing a “perfect” finish—a functional shelf that holds your books is a massive win over a project you never actually finish.
## Real-world wisdom for your first build
“Don’t get paralyzed trying to build a museum piece; your goal isn’t a flawless showroom display, it’s just a sturdy, reliable place to put your things so they aren’t cluttering up your floor.”
Nadia Halloway
The Real Goal Isn't Perfection
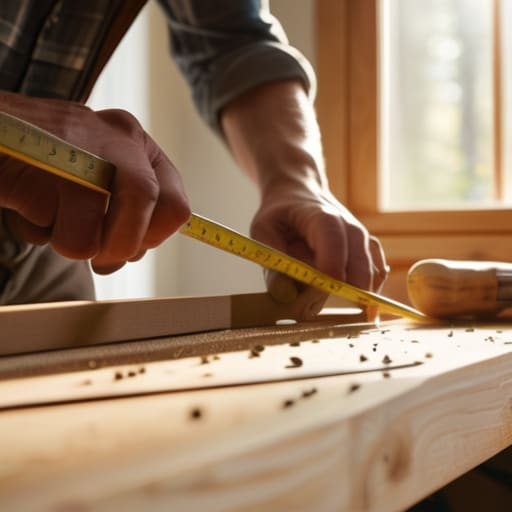
At the end of the day, building this bookshelf isn’t about achieving some architectural masterpiece that belongs in a magazine. It’s about the fact that you stopped scrolling through Pinterest and actually picked up a screwdriver. We covered how to skip the overpriced designer kits, how to choose a style that actually fits your floor plan, and how to keep your tool list lean and mean. Whether you went with a sturdy freestanding unit or a space-saving wall mount, the win here is that you’ve created a functional system for your belongings instead of letting them pile up in corners.
Don’t sweat the small stuff, like a slightly uneven shelf or a screw that isn’t perfectly flush. Those little imperfections are just proof that a real person made this, not a factory machine. Life is messy, and our homes are going to be messy too, so let’s stop chasing that sterile, untouchable aesthetic. The goal is to build things that actually work for you and survive the chaos of daily life. Now, go grab a coffee, load up those shelves, and enjoy the satisfaction of a job well done.
Frequently Asked Questions
How do I stop my DIY shelves from wobbling or leaning to one side?
Look, nothing kills my momentum like a shelf that leans like the Tower of Pisa. If yours is wobbling, you probably skipped the most important part: bracing. You don’t need a degree in carpentry, but you do need to add a back panel or some diagonal cross-bracing. Even a thin piece of plywood tacked to the back makes a massive difference. Also, double-check that your floor isn’t uneven—sometimes a little shim is all it takes.
What’s the cheapest way to get a professional finish without buying a spray booth?
Look, I get it. You want that smooth, high-end look, but a spray booth is a massive, expensive headache you don’t need. Honestly? Just grab a high-quality foam roller or a decent synthetic brush and do several thin coats instead of one thick, gloopy one. If you’re feeling slightly more ambitious, a cheap HVLP handheld sprayer works wonders, but honestly, a little patience with a roller and some fine-grit sanding between coats is my go-to for a professional finish on a budget.
How do I figure out if my walls can actually handle the weight of a full bookshelf?
Before you start loading up those heavy hardcovers, we need to talk about the most important part: your wall. If you’re mounting anything, skip the drywall anchors and hunt for a stud. Use a stud finder to locate the wooden framing behind the plaster—that’s where the real strength is. If you’re stuck without a stud, invest in heavy-duty toggle bolts. Don’t just guess; a collapsed shelf is a much bigger mess to clean up than a few books.
Is it worth it to sand everything by hand, or is there a shortcut that won't look terrible?
Look, I get it. My shoulders ache just thinking about hand-sanding a whole bookshelf. If you’re working with decent wood, don’t kill yourself doing it all by hand. Grab a random orbital sander—it’s a game changer. The shortcut? Focus your manual effort on the edges and corners where the machine can’t reach. Sand the flat surfaces with the power tool, hit the details by hand, and you’ll get a professional finish without the burnout.
