Mastering Caulking: Get Professional Results Without the Mess
I was standing in my tiny bathroom last Tuesday, staring at a jagged, peeling strip of silicone around the tub, feeling that familiar wave of “why did I think I could DIY this?” sink in. Most online tutorials make it look like a meditative art form, but let’s be real: learning how to caulk usually involves a lot of sticky fingers, a messy sink, and the sudden urge to throw your caulk gun out the window. I used to think I needed a professional-grade setup and a steady hand like a surgeon to get it right, but I’ve learned that perfection is actually the enemy of a functional home.
Forget the polished, Pinterest-perfect tutorials that require expensive specialty tools you’ll never use again. I’m going to show you a realistic, repeatable system for getting a solid, water-tight seal without the unnecessary stress. We’re going to skip the fluff and focus on the actual mechanics—how to prep the surface, how to control the bead, and how to clean up the mess so it actually lasts. This isn’t about making your bathroom look like a showroom; it’s about making sure the water stays in the tub and out of your walls.
Guide Overview
Tools & Supplies
- Caulking gun to apply the sealant
- Caulk removal tool or utility knife to scrape old material
- Putty knife or smoothing tool to shape the bead
- Caulk tube (silicone or acrylic depending on surface)
- Cleaning solution or rubbing alcohol to prep the area
- Painter's tape to ensure straight lines
Step-by-Step Instructions
- 1. First things first, you have to clear out the old junk. If you’re trying to layer new caulk over old, peeling stuff, it’s going to fail, and you’ll be back here doing this again in two months. Grab a putty knife or even a flat-head screwdriver and scrape away every bit of the old sealant. If it’s really stubborn, a little bit of rubbing alcohol on a rag will help dissolve the residue so you’re starting with a truly clean slate.
- 2. Once the old stuff is gone, you need to make sure the area is bone dry. I know it’s tempting to just dive in, but moisture is the enemy of a good seal. Take a vacuum to the crack to suck out any dust, then wipe it down with a clean cloth. If you’re working in a bathroom, maybe wait an hour after your last shower so the surface isn’t clogged with humidity when you start.
- 3. Now, let’s talk about the tube. Before you even touch the surface, cut the tip of the caulk nozzle at a 45-degree angle. Don’t go overboard with the cut; start small. You can always make the hole bigger later, but if you slice off half the tip right away, you’ll end up with a giant, uncontrollable blob that’s impossible to manage.
- 4. When you’re ready to apply, don’t try to do the whole length in one go. Hold the gun at that same 45-degree angle and move at a steady, slow pace. The goal isn’t to pile it on thick; you just want a consistent bead that fills the gap. If you feel yourself rushing, stop, take a breath, and reset. It’s better to have three small, perfect lines than one long, messy disaster.
- 5. This is the part where most people panic, but it’s actually the most important. Take a damp (not soaking!) rag or a finger dipped in a little soapy water and lightly run it along the bead you just laid down. This smooths out the edges and pushes the caulk into the crack. You aren’t trying to polish it to a mirror shine; you’re just leveling it out so it looks intentional rather than accidental.
- 6. Finally, the hardest part: leave it alone. I know you’ll want to poke it or check if it’s dry every ten minutes, but resist the urge. Most silicone caulks need at least 24 hours to fully cure before they can handle water or heavy use. If you mess with it too early, you’ll ruin the seal you just worked so hard to create. Just walk away, grab a coffee, and let the chemistry do its thing.
Choosing Your Weapon Silicone vs Acrylic Caulk
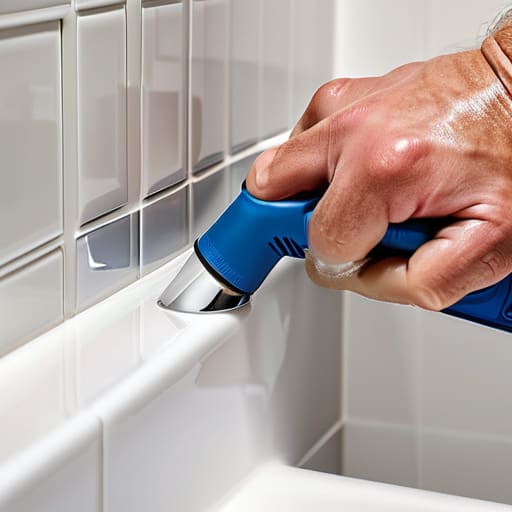
Before you even touch a tube, you need to decide which material you’re actually dealing with, because picking the wrong one is a recipe for a messy, expensive redo. When it comes to silicone vs acrylic caulk, the choice usually boils down to where the moisture is hiding. If you’re caulking bathtub seams or anything near a shower, silicone is your best friend. It’s waterproof, flexible, and handles the constant expansion and contraction of a hot tub or shower without cracking. The downside? It’s a bit more finicky to work with and can be a nightmare if you ever need to try removing old caulk later.
Acrylic, on the other hand, is much more forgiving for beginners. It’s water-based, which means it’s easier to clean up with just a damp rag, and it’s great for caulking window frames or baseboards where you don’t have constant splashing. It’s also paintable, which is a huge plus if you want that seamless, integrated look. Just keep in mind that it isn’t as heavy-duty as silicone. My rule of thumb: if it’s going to get soaked, go silicone; if it’s just sealing a gap in a dry room, stick with acrylic to save yourself the headache.
The Grit Required for Removing Old Caulk
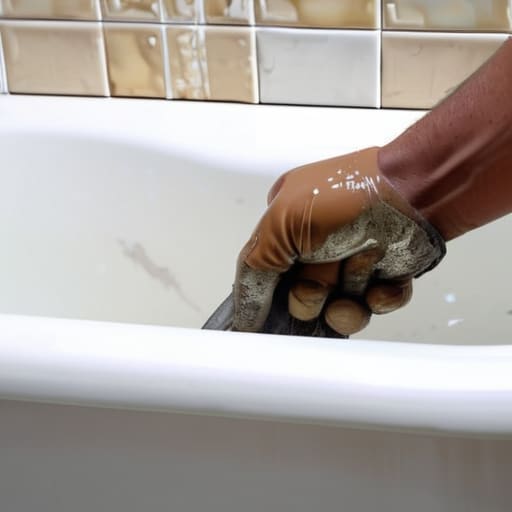
Look, I’m going to be real with you: the part no one tells you in the glossy DIY videos is that the prep work is actually the hardest part. If you try to layer new sealant over the old stuff, you’re just setting yourself up for a messy, expensive failure. Removing old caulk is tedious, slightly gross, and honestly, a bit of a test of patience. You’ll likely spend more time scraping than actually applying anything new, but skipping this step is where most people lose the battle.
Grab a utility knife or a specialized caulk removal tool—whatever you have on hand—and start peeling. If you’re caulking bathtub seams, you’ll probably deal with some stubborn, mildewed residue that feels like it’s bonded to the tub forever. Don’t get discouraged if it takes a few tries. My best advice? Work in small sections and keep a shop vac nearby to suck up the debris immediately. You want that surface to be completely bare and bone-dry before you even think about touching your caulk gun. It’s not glamorous, but a clean slate is the only way to ensure your new bead actually sticks and stays put when life gets messy.
Five ways to keep your sanity (and the seal) intact
- Stop trying to do the whole bathroom in one go. If you’re feeling overwhelmed, just do one single corner or one small gap. It’s way better to have one perfect bead than to rush through the whole room and end up with a messy, jagged line that you’ll hate looking at every single morning.
- Keep a damp rag in your non-dominant hand at all times. You’re going to make a mess—it’s part of the process. Having a wet cloth ready to wipe away the excess immediately means you spend less time scrubbing dried gunk later and more time actually enjoying your coffee.
- Don’t skip the painter’s tape if you’re nervous. If your hands aren’t exactly steady, run two strips of tape along the edges of the gap, leaving just enough space for the caulk. It creates a built-in boundary so you don’t end up with a giant smear on your tiles.
- Use a little bit of soapy water on your finger to smooth things out. Instead of fighting the caulk, dip your finger in some diluted dish soap and lightly glide it over the bead. It helps the material slide into the gap and gives you a much cleaner finish without the friction.
- Give it actual time to dry. I know, we live in a world of instant gratification, but resist the urge to test the seal with your finger two hours later. If you mess with it while it’s still curing, you’ll ruin the bond and have to start the whole annoying process over again.
The "No-Stress" Summary
Don’t obsess over a perfect line; focus on a solid seal. If it looks a little wonky but keeps the water out, you’ve actually won.
Pick the right tool for the job the first time. Use silicone for anything that gets wet and acrylic for things that need a bit of paint later.
The prep work is the hardest part, but it’s non-negotiable. If you don’t get that old, crusty caulk out completely, the new stuff won’t stick and you’ll be doing this all over again in six months.
## The reality of the finish
“Look, if you’re waiting for that perfectly smooth, Pinterest-worthy bead of caulk, you’re going to be standing in your bathroom for three hours feeling like a failure. Forget the showroom finish; just focus on making a solid, water-tight seal. If it’s functional and it stays where it belongs, you’ve already won.”
Nadia Halloway
The Finish Line
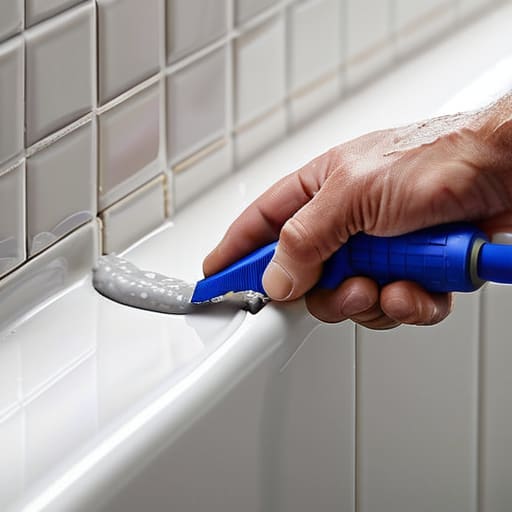
Look, I know it’s not the most glamorous weekend project, but you’ve done the hard part. You’ve scraped away the old, crusty residue, you’ve picked the right material for the job, and you’ve survived the messy part of applying the bead. Just remember: it doesn’t need to look like a high-end showroom to be a success. As long as you’ve chosen the right caulk for the environment and ensured the surface was actually clean before you started, you’ve built a barrier that will protect your home from water damage for years. It’s about the functional seal, not the perfect line.
At the end of the day, DIY is rarely about achieving instant perfection; it’s about the small, repeatable wins that keep your space running smoothly. You didn’t need a professional contractor or a massive budget to fix this—you just needed a little patience and the right system. Once this dries, take a second to appreciate that you just saved yourself a massive headache (and a lot of money) down the road. Now, go grab a coffee, step away from the bathroom, and enjoy the fact that your home is a little bit more solid because of your own two hands.
Frequently Asked Questions
How do I know if I've actually cleaned the surface well enough for the new caulk to stick?
Here’s the real test: if you run a clean, dry cloth over the area and it comes away with even a hint of gray residue or white dust, you aren’t done. I also swear by the isopropyl alcohol trick. Wipe the surface down with some rubbing alcohol; if the cloth stays clean, you’re good to go. If it picks up anything, keep scrubbing. If the surface isn’t pristine, that new caulk is just going to peel off in a month.
Is it okay if I mess up the first bead, or am I going to have to scrape the whole thing off and start over?
Look, take a breath. You aren’t going to ruin your life if the first bead looks a little wonky. If it’s just a bit uneven, you can usually smooth it out with a damp finger or a caulk tool before it sets. But if it’s a total disaster—like you’ve accidentally glopped it onto the floor or the wall—just wait for it to dry, scrape it off, and try again. Perfection is overrated; just get a solid seal.
How long do I really have to wait before I can actually use the shower or sink without ruining my work?
Here’s the honest truth: if you can wait, wait. Most tubes say 24 hours, and honestly, I’d stick to that. I know it’s tempting to jump in the shower the second it looks dry, but moisture is the enemy of a fresh seal. If you’re using silicone, give it the full day to cure properly. If you rush it, you’re just setting yourself up for a messy, peeling headache next month.
Can I use a finger to smooth it out, or am I going to end up with a huge, messy blob?
Look, I get it—the finger method feels the most natural, but honestly? It’s a recipe for a sticky, uneven mess. If you go that route, you’ll end up with caulk under your nails and a bead that looks more like a blob than a seal. Grab a cheap smoothing tool or even a damp rag instead. It gives you way more control, and you won’t spend twenty minutes scrubbing your skin afterward.
