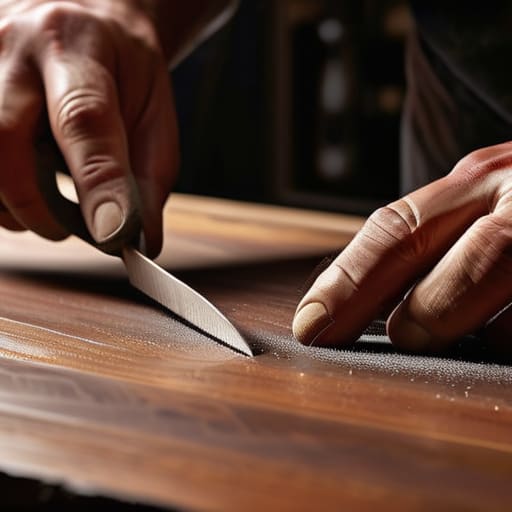
Ways to Repair Scratches in Wood Furniture
I was halfway through my second cup of coffee, staring at that gorgeous mid-century sideboard I’d rescued from a thrift store last weekend, when I saw it: a deep, jagged gouge right across the grain. My first instinct was to panic and think I’d need to sand the whole thing down to the bare wood and start from scratch, but that’s just not how I roll. Most people will tell you that fixing furniture requires a massive workshop or a specialized degree, but I’ve learned that knowing how to fix scratched wood doesn’t have to be a weekend-ruining catastrophe.
Forget the expensive, professional-grade kits that promise perfection but usually just leave a sticky mess. I’m going to show you how to handle those annoying surface marks using simple, repeatable systems that actually work when your life is too busy for a full-blown renovation. We’re going to focus on the practical stuff—the methods that mend the damage without stripping away the character of your piece. Whether it’s a shallow scuff or a deeper scratch, we’ll get it sorted so you can get back to actually enjoying your space instead of obsessing over its imperfections.
Guide Overview
Tools & Supplies
- Sandpaper (various grits for smoothing)
- Microfiber cloth (for cleaning dust)
- Small brush (for applying stain or wax)
- Wood filler or wax stick (depending on scratch depth)
- Wood stain or touch-up marker (color matched to wood)
- Furniture polish or wax (for final finish)
Step-by-Step Instructions
- 1. First things first, we need to clean the area. Grab a soft cloth and some mild soap to wipe away any dust, oils, or old furniture polish sitting in the scratch. If you try to work over a layer of grime, you’re just going to smear the mess around instead of actually fixing it.
- 2. Take a look at the depth of the scratch. If it’s just a light surface scuff, you can usually get away with a little bit of elbow grease and a walnut. Seriously—take a raw walnut (no shell, please) and rub the meat of the nut directly into the scratch. The natural oils will soak in and help mask the mark almost instantly.
- 3. If the scratch is a bit deeper and the walnut trick isn’t cutting it, it’s time to reach for some fine-grit sandpaper. I’m talking around 220 or even 320 grit. Sand very lightly in the direction of the wood grain. You aren’t trying to strip the whole piece down to the raw wood here; we’re just trying to smooth out the edges of the scratch so it doesn’t catch the light.
- 4. Once you’ve sanded it, wipe the dust away again. Now, you’ll need a wood filler or a furniture repair marker that matches your piece. If you’re using a filler, don’t try to overfill it in one go. Apply a tiny amount, let it dry, and then sand it flush with the rest of the surface. It’s much easier to add a little more later than to try and sand down a huge mountain of dried goop.
- 5. If you’ve used a filler or sanded the area, you’ve likely disturbed the original finish. This is where most people panic, but don’t. Grab a small amount of matching wood stain or even a bit of furniture wax to blend the texture back in. Work in small, circular motions to make sure the repair doesn’t look like a random patch on your beautiful mid-century piece.
- 6. Finally, once everything is dry and looks seamless, give the whole spot a quick buff with a bit of furniture wax or a specialized polish. This seals the repair and helps it integrate with the surrounding wood. It’s not about making it look brand new—it’s about making it look like the scratch was never there to begin with.
Mastering Sandpaper Grit for Wood Repair Without the Stress
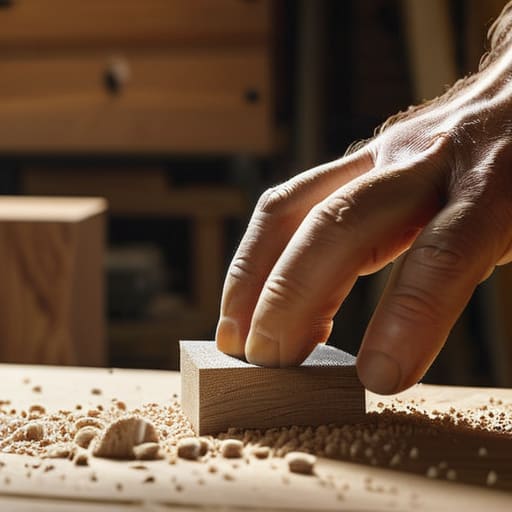
I know the numbers on those little sheets of sandpaper can feel like a secret code designed to make you fail, but let’s strip away the intimidation. When you’re removing surface scratches from timber, the goal isn’t to sand everything into oblivion; it’s about a gradual transition. Start with a lower grit (like 120 or 150) to actually level out the damage, but don’t get stuck there. If you skip straight to the fine stuff, you’ll just polish the scratch instead of actually fixing it. Think of it like a gradual descent—you move from coarse to fine to ensure you aren’t leaving deep gouges behind.
The biggest mistake I see people make—and I’ve definitely done this in my own workshop—is rushing the process. If you jump from a rough grit directly to a high-shine finish, you’ll end up with a texture that feels like sandpaper under your fingertips. The secret to buffing out wood imperfections is patience. I always recommend a “middle man” grit, like 220, to bridge the gap. It’s much better to spend an extra ten minutes sanding properly than to spend three hours trying to hide a messy finish with more product. Keep it steady, keep it light, and don’t overthink it.
Smart Wood Filler Application Techniques for Real Life
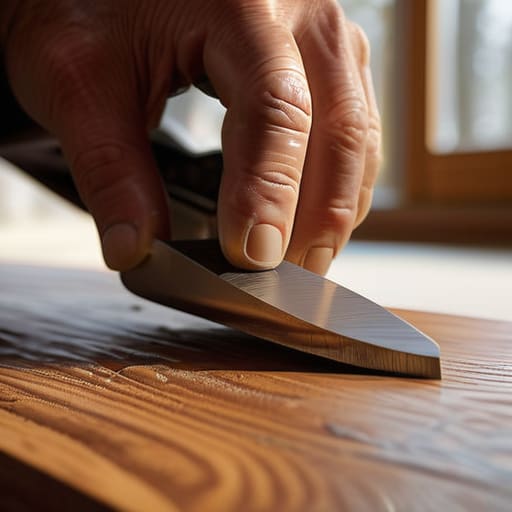
Look, I’ve spent way too many Saturday mornings staring at a tub of wood filler, wondering why my repair looks like a giant, beige scab on my thrifted coffee table. The mistake most people make is trying to overstuff the scratch. You don’t need a mountain of goop; you just need enough to fill the void. When you’re practicing these wood filler application techniques, aim to leave it slightly proud of the surface—meaning a tiny bit higher than the surrounding wood. As it dries, it’s going to shrink, and if you start flush, you’ll end up with a divot that’s even more annoying than the original scratch.
Once that filler is dry and you’ve leveled it out, the real magic happens in the blending. This is where people usually panic because the patch looks like a different color, but don’t sweat it. Use a little bit of your existing stain or a dedicated tint to bridge the gap. My favorite wood stain matching tips involve testing your color on a hidden spot first—like the underside of a chair leg—rather than diving straight into the middle of the table. It’s all about those small, repeatable steps that make the repair look intentional rather than accidental.
Five ways to keep your repairs from looking like a DIY disaster
- Don’t go overboard with the filler; a little goes a long way, and it’s much easier to add more later than it is to sand down a massive, uneven glob.
- Test your stain or marker on a scrap piece or a hidden spot first—colors always look different once they actually soak into the grain.
- Use a soft, lint-free cloth for wiping away excess dust; if you leave grit behind, you’ll just end up scratching the surface all over again.
- Match the sheen, not just the color. If your table has a matte finish and you use a high-gloss touch-up, that scratch will actually stand out more.
- Work in small, manageable sections. Trying to tackle a whole dining table in one sitting is a recipe for burnout and a messy finish.
The bottom line on fixing your wood
Don’t aim for perfection on the first pass; focus on a steady, repeatable process of sanding and filling that actually stays level.
Match your sandpaper grit to the damage so you aren’t spending hours fighting the wood or making the scratches deeper.
Use wood filler as a functional tool to bridge the gaps, not as a magic wand to hide bad craftsmanship.
## The mindset shift
“Stop treating every scratch like a permanent scar on your home; most of the time, it’s just a tiny detour in a piece’s history that a little patience and the right system can easily smooth over.”
Nadia Halloway
Done and Dusted
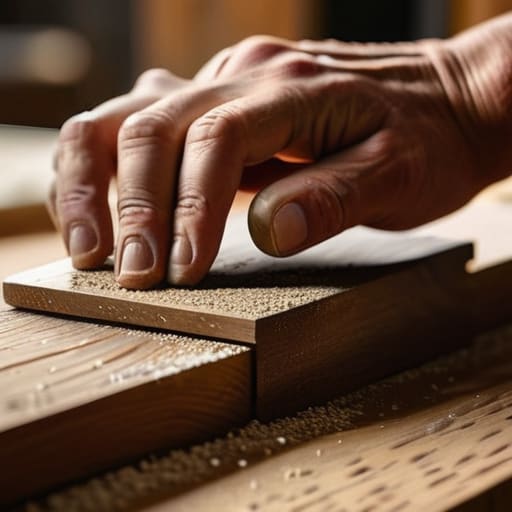
At the end of the day, fixing those scratches isn’t about achieving some museum-quality finish that looks like it just rolled off a factory line. It’s about understanding that a little bit of strategic sanding, a careful hand with the wood filler, and a bit of patience are all you really need to get the job done. We’ve covered how to pick the right grit so you don’t ruin the surface and how to apply filler without making a massive mess. Remember, the goal is to create a repeatable system that works for your specific piece of furniture, rather than stressing over every tiny imperfection that might not even be visible once the light hits it just right.
I know it can feel overwhelming when you’re staring at a scuff on a piece of furniture you actually love, but please don’t let the fear of “doing it wrong” stop you from trying. Your home doesn’t need to be a sterile showroom; it needs to be a place where things are lived in and actually cared for. These little DIY wins are exactly how we break the cycle of constant consumption and start appreciating what we already own. So, grab your sandpaper, take a sip of coffee, and just start. You’ve got this.
Frequently Asked Questions
What if the scratch is so deep that the wood filler looks totally different from the rest of the piece?
Ugh, the dreaded “patchwork” look. I’ve been there, staring at a filler spot that looks like a bright white scar on a beautiful walnut table. If it’s looking too obvious, stop trying to sand it away. Instead, grab some wood stain or even a high-quality furniture marker to blend it. The goal isn’t to hide the repair entirely, but to trick the eye so the patch melts into the grain.
Can I use these same methods on my thrifted mid-century pieces, or is the wood too delicate?
Honestly, I’m so glad you asked. Since I spend half my weekends hunting for MCM gems, I know that anxiety well. The short answer is: yes, but with caution. Most mid-century pieces use veneers, which are much thinner than solid wood. If you sand too aggressively, you’ll hit the substrate and ruin the piece. Stick to the finest grit possible and test your filler on a hidden spot first. Slow and steady wins here.
How do I know when I’ve sanded enough without accidentally thinning out the actual wood?
This is where the panic sets in—that moment you realize you’ve been sanding for twenty minutes and suddenly fear you’ve sanded through the veneer entirely. Stop, take a breath, and use your hands. Run your fingers over the area; if the scratch feels level with the surrounding wood but the surface still feels slightly “fuzzy,” you’re getting close. If you start seeing a change in wood color or a sudden dip, back off immediately.
I'm on a tight budget—is there a way to fix minor scuffs using stuff I probably already have in my kitchen or junk drawer?
Honestly, I love this question. When I was first starting out restoring thrifted finds, I couldn’t afford the fancy kits either. For minor scuffs, grab a walnut from your kitchen. Rub the nut meat directly over the scratch; the natural oils work like magic to mask the mark. If it’s a tiny white scratch, a bit of non-gel toothpaste can sometimes buff it out. It’s not perfect, but it’s effective and costs zero dollars.
