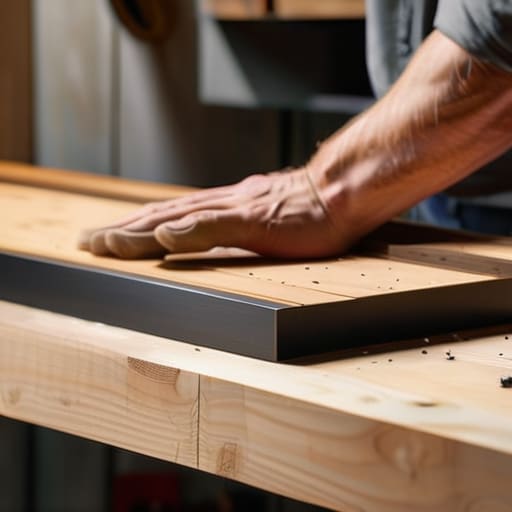
The Secret to Building Heavy-duty Floating Shelves
I was staring at a pile of mismatched coffee mugs and a stack of half-read books on my floor, wondering how a “minimalist” apartment could feel so cluttered, when I realized the problem wasn’t the stuff—it was the lack of a system. I spent way too much time scrolling through Pinterest, feeling intimidated by those perfectly curated, expensive-looking setups that seemed to require a degree in architecture to pull off. But here’s the truth about floating shelves diy: you don’t need a master carpenter’s toolkit or a massive budget to reclaim your vertical space. You just need a plan that actually holds weight without making you want to pull your hair out.
In this guide, I’m stripping away the fluff and the “aesthetic” nonsense to show you how to tackle your own floating shelves diy project with zero ego. We’re going to focus on the practical stuff—the kind of sturdy, repeatable steps that ensure your shelves don’t end up sagging under a single plant. I’ll walk you through choosing the right hardware, avoiding the dreaded “crooked shelf” syndrome, and making sure your setup is actually functional for your real, messy life.
Guide Overview
Tools & Supplies
- Drill/Driver for mounting brackets
- Level to ensure evenness
- Stud finder to locate wall supports
- Saw for cutting wood to length
- Measuring tape for precision
- Wood boards (2-3 pieces depending on size)
- Floating shelf brackets/hardware kit (1 set)
- Wood screws (1 pack)
- Wall anchors (if no studs are available)
- Sandpaper (medium and fine grit)
Step-by-Step Instructions
- 1. First, you need to decide if you’re going the “real deal” route or the “budget hack” route. If you want the heavy-duty kind that can actually hold books, you’ll need to build a wooden cleat system. If you just want to display some lightweight plants or decor, you can get away with those hollow, pre-made boxes from a big-box store. Either way, grab a stud finder—this is non-negotiable. If you don’t hit a stud, those shelves are going to end up on your floor within a week.
- 2. Once you’ve picked your style, grab your materials. If you’re building from scratch, you’ll need some decent quality lumber (I personally love a nice oak or walnut if the budget allows), some wood glue, and a drill. Don’t forget the screws and wall anchors. I always keep a small stash of heavy-duty anchors in my junk drawer because, let’s be real, we all mess up the first hole sometimes.
- 3. Now, let’s talk measurements. This is where most people get impatient and rush, but take a breath. Use a level to mark exactly where you want the top of the shelf to sit. I like to use a pencil to draw a light line on the wall. If your line is crooked, everything else will look wonky, and it’ll drive you crazy every time you walk past it.
- 4. Time to drill. If you’re using a cleat system, you’ll be screwing that support piece directly into the studs you located earlier. If you’re using anchors, drill your pilot holes carefully. I find that if I go too fast with the drill, I end up stripping the hole, so just take it slow and steady.
- 5. If you’re building the actual shelf box, this is the part where you glue and screw your boards together. Don’t worry about making every single seam look like a piece of fine art; a little bit of wood filler can hide the gaps later. The goal is a sturdy structure that won’t wobble when you set your coffee mug down.
- 6. Sanding is the part everyone hates, but it’s the secret to making a DIY project look like something you actually bought. Start with a coarser sandpaper and work your way up to a fine grit. You want the wood to feel smooth to the touch, not like you’re about to get a splinter every time you reach for a book.
- 7. Finally, give them some color or a finish. If you’re like me and love that mid-century look, a simple clear matte sealant is perfect—it lets the natural grain do the work without looking fake. Once the finish is dry, slide them onto your mounts, double-check that they’re level, and finally, put your stuff on them. You did it.
Finding Your Studs Using a Stud Finder for Wall Shelves
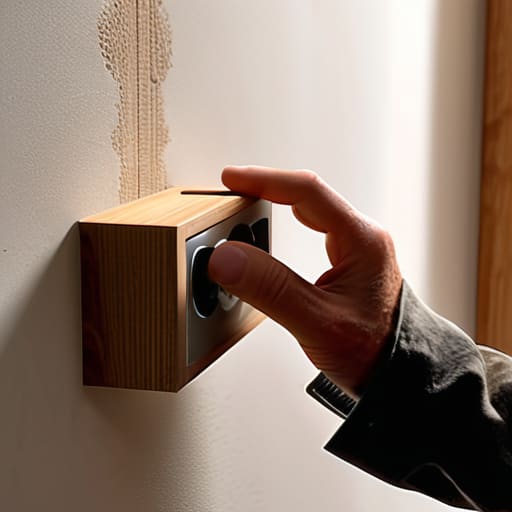
Look, I’ve been there—you spend three hours perfectly leveling your new shelves, only to have them sag two days later because you relied on drywall anchors instead of actual structure. If you want to maximize your floating shelf weight capacity, you cannot skip the stud search. I know, it feels like an extra, tedious step, but it’s the difference between a shelf that holds your favorite ceramic mugs and one that ends up in a pile on the floor. When you’re using a stud finder for wall shelves, don’t just trust the first beep you hear. Move the device slowly and verify the location by checking a few inches to either side. Drywall is fickle, and you want to be absolutely certain you’re hitting solid wood.
Once you’ve located those studs, take a second to mark them clearly with a pencil. If your layout doesn’t line up perfectly with where the studs live, don’t panic and don’t try to force a “floating” look that isn’t structurally sound. This is where you decide if you need to pivot to a different mounting strategy or if you can get away with heavy-duty anchors. My rule of thumb? If you’re planning on stacking heavy books or decor, aim for the studs every single time. It’s better to adjust your design now than to deal with a hole in your wall later.
Mastering Hidden Bracket Installation for a Clutter Free Look
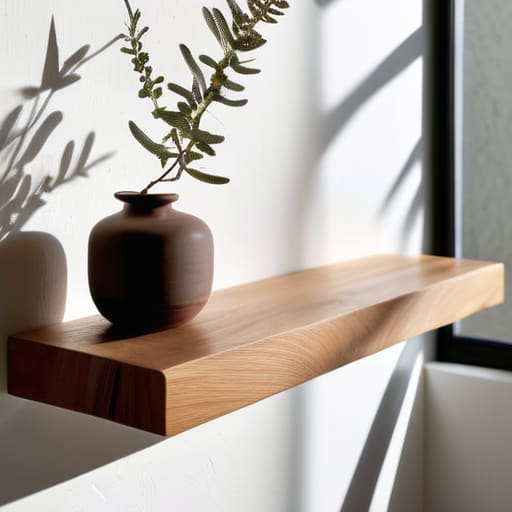
If you’re going for that clean, uninterrupted line on your wall, you’re likely looking at hidden bracket installation. I love this look because it removes all that visual noise that usually makes a small room feel cramped. However, here’s the reality check: hidden brackets are a bit more unforgiving than the old-school L-brackets you see at the hardware store. Since you can’t see the support, you have to be incredibly precise with your drilling. If your holes are even a fraction of an inch off, the shelf won’t sit flush, and you’ll end up with a gap that drives you crazy every time you walk past it.
One thing I’ve learned from my own DIY fails is that you cannot ignore the floating shelf weight capacity. Because the support is tucked inside the wood, you aren’t just fighting gravity; you’re fighting leverage. If you plan on displaying a heavy collection of ceramic mugs or thick art books, don’t just rely on drywall anchors. I always recommend driving your long screws directly into the studs whenever possible. It might limit where you can place the shelf, but it’s much better to have a slightly misplaced shelf that stays up than a beautiful one that ends up in a pile on your floor.
Five Ways to Keep Your Shelves from Becoming a Total Disaster
- Don’t overstuff them. I know, it’s tempting to use every inch of space, but if you cram too much on there, the shelves will start to sag and look cluttered instead of intentional. Leave some breathing room.
- Check your weight limits twice. If you’re planning on displaying heavy ceramic mugs or thick art books, make sure those brackets are actually rated for the load. There is nothing more demoralizing than a DIY project crashing onto your floor at 2 AM.
- Match the wood to your actual life. You don’t need expensive reclaimed oak to make this work. If you’re on a budget, a simple pine board from the hardware store works just fine—just give it a good sand and a decent stain so it doesn’t look cheap.
- Keep the decor functional. I’ve seen so many people build beautiful shelves just to fill them with “dust collectors.” If you aren’t going to use it, or at least look at it every day, don’t put it on the shelf.
- Level it like your life depends on it. I know, it sounds dramatic, but a shelf that’s even slightly tilted is going to drive you crazy every single time you walk past it. Take the extra five minutes to get the level right the first time.
The Bottom Line: Keep It Functional
Don’t get hung up on perfection; if the shelf is sturdy and holds your coffee mugs without wobbling, you’ve won.
Prioritize the studs—skimping on the mounting process is the fastest way to turn a DIY project into a pile of broken ceramic.
Focus on systems, not just aesthetics; use your new shelf to actually organize your mess rather than just creating a new surface to collect it.
## Real Talk on Home Organization
“Look, I don’t care if your floating shelves look like they belong in a high-end architectural digest. If they’re sturdy enough to hold your actual life without wobbling every time you grab a coffee mug, you’ve already won.”
Nadia Halloway
The Real Result
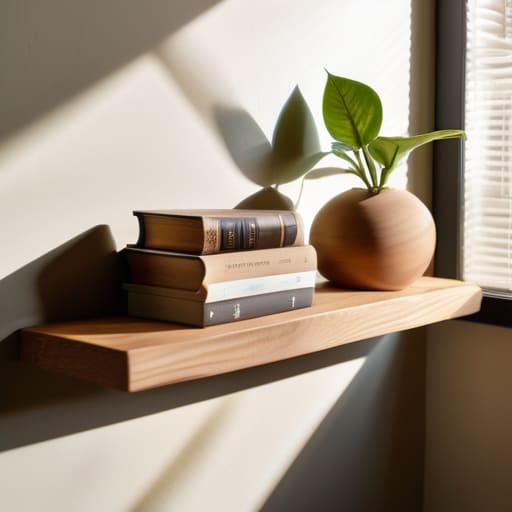
At the end of the day, building these shelves isn’t about achieving some Pinterest-perfect masterpiece; it’s about creating a functional system that works for your specific space. We covered the heavy lifting—from hunting down those elusive studs to the slightly nerve-wracking process of installing hidden brackets—but the goal was always the same: getting your stuff off the floor and into a place where it actually makes sense. You don’t need a professional carpenter or a warehouse full of expensive tools to make this happen. As long as you’ve got your measurements dialed in and your brackets secure, you’ve already done the hard part of turning chaos into order.
I know that sometimes a DIY project can feel like just one more thing on an already overflowing to-do list, especially when you’re juggling work and a messy house. But there is something incredibly grounding about using your own hands to fix a problem in your environment. Don’t let the fear of a crooked shelf or a stray screw stop you from starting. Even if it isn’t flawless, it’s your system, and it’s a step toward a life that feels a little more intentional and a lot less cluttered. Now, grab a coffee, take a look at your new setup, and actually enjoy the space you just created.
Frequently Asked Questions
What kind of weight can these shelves actually hold before they start bowing or pulling out of the wall?
Look, I’m not going to give you a theoretical physics lecture, but here’s the reality: if you hit the studs, you’re golden. A well-installed shelf into studs can easily handle a stack of heavy cookbooks or a few ceramic planters. But if you’re relying on drywall anchors alone? Keep it light—think small succulents or a single photo frame. Don’t push it, or you’ll be cleaning up broken glass and drywall dust.
Can I use these on drywall alone, or am I absolutely required to hit a stud every single time?
Look, I get the temptation to just drill into the drywall and call it a day—especially when the studs aren’t where you want them to be. But honestly? Don’t do it. Drywall alone is basically just glorified chalk; it’ll crumble under the weight of even a few books. If you can’t hit a stud, use heavy-duty drywall anchors. They aren’t as permanent as a stud, but they’ll keep your stuff from crashing down.
How do I stop the shelf from looking crooked if my walls aren't perfectly level?
Here’s the truth: almost no wall is actually level. If you try to follow the floor or the ceiling, you’re going to end up with a shelf that looks like it’s sliding off. Ignore the house; trust your spirit level. Lay the shelf on a flat surface, use your level to find true horizontal, and mark your holes based on that. It’s much easier to fix a crooked shelf than a crooked house.
Is it better to buy pre-made floating shelves or is it actually worth the effort to build the wooden boxes myself?
Honestly? It depends on your patience level and your budget. If you’re looking for that perfect, high-end finish and don’t want to spend a Saturday covered in sawdust, buy them. But if you’re working with a tight budget or have weirdly shaped spaces, building them is worth the effort. You get better wood for less money, and you know exactly what’s inside those boxes. Just don’t aim for perfection; aim for sturdy.
