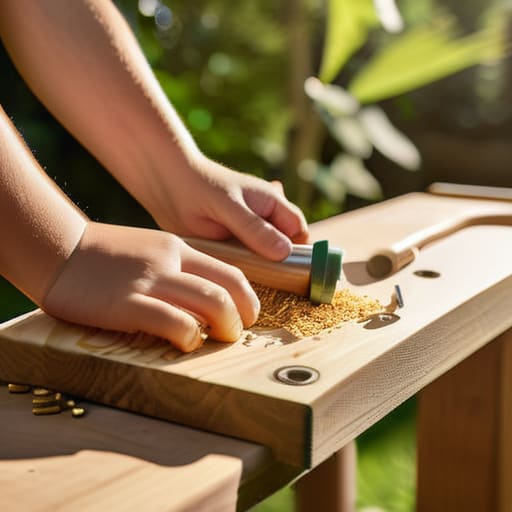
A Fun Backyard Project: Building a Birdhouse With the Kids
You don’t need a workshop full of expensive power tools or a stack of premium cedar to teach your backyard visitors a place to stay. Honestly, I used to think that learning how to build a birdhouse required some intense woodworking degree and a massive budget, but that’s just more of that “aesthetic DIY” nonsense that looks great on Pinterest and falls apart in the first rainstorm. Last weekend, I found myself staring at some scrap plywood and a handful of rusty nails in my garage, realizing that a functional shelter is way more important than a perfectly sanded masterpiece.
In this guide, I’m stripping away the fluff and showing you a system that actually works when you’re short on time and tools. We aren’t going for perfection; we’re going for repeatable results. I’ll walk you through a straightforward method using basic materials you probably already have lying around, focusing on the structural basics that keep birds safe and happy. Let’s skip the fancy gadgets and just build something that actually stays standing through the seasons.
Guide Overview
Tools & Supplies
- Handsaw or Miter saw for cutting wood
- Hammer for assembling pieces
- Drill with spade bit for the entrance hole
- Measuring tape for accuracy
- Untreated cedar or pine board (1" x 6" x 4')
- Galvanized nails (1.5 inch)
- Wood glue (waterproof)
- Sandpaper (medium grit)
Step-by-Step Instructions
- 1. First, don’t go out and buy a massive, expensive power saw if you don’t have one. Just grab some basic untreated cedar or pine from a local hardware store—it’s cheap, weather-resistant, and won’t poison the birds. You’ll need a handful of 1×6 boards, a hammer, some galvanized nails, and a drill. If you’re working in a small space (like my tiny apartment used to be), just make sure you have a clear patch of floor and a way to keep the sawdust contained.
- 2. Next, let’s talk measurements. You aren’t building a palace; you’re building a functional shelter. Measure and mark your pieces for the floor, the four walls, and the roof. A good rule of thumb is to keep the floor around 5×5 inches so it’s sturdy. Use a pencil to mark your lines clearly, and remember: measure twice, cut once. It’s a cliché for a reason, and it saves you from a massive headache later.
- 3. Now, grab your drill and create the entrance hole. This is the most important part because the size of the hole determines who moves in. For common backyard birds like wrens or bluebirds, a 1.25 to 1.5-inch hole is usually the sweet spot. Don’t go too big, or you’ll end up hosting neighborhood bullies like starlings who will just take over the space.
- 4. Time to start assembling. Nail your walls to the floor piece first, but here’s my little “operations” hack: don’t nail everything shut. Leave one side or a portion of the roof attached with just a couple of screws or a hinge so you can actually open it. You’ll need to clean out the old nesting material once a year, and a permanent box is just more work for you in the long run.
- 5. Once the structure is standing, it’s time for the “finishing touches,” but keep it minimal. I highly recommend skipping the paint or toxic stains; birds are sensitive to smells, and honestly, a raw wood look fits the vibe much better. If you absolutely must decorate, stick to the exterior only and use something water-based and non-toxic.
- 6. Finally, find a spot to hang your creation. You want somewhere that’s roughly five to ten feet off the ground, tucked away from obvious predator paths but still somewhat accessible. Mount it to a post or a tree using some sturdy wire or screws. Once it’s up, step back and let it be. You’ve built a system that works; now you just have to wait for the residents to move in.
Choosing the Best Wood for Birdhouses Without Overthinking It
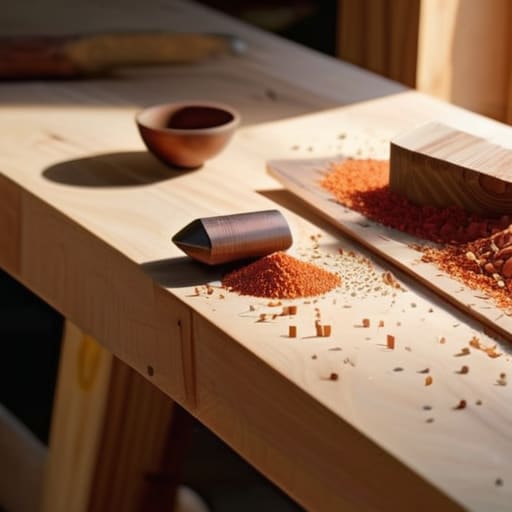
Look, I know the hardware store aisle can feel overwhelming with a million different planks staring you down, but please, stop overanalyzing it. You don’t need some exotic, expensive timber to make a happy bird. In fact, most of the fancy stuff is a waste of money. When it comes to finding the best wood for birdhouses, you really just want something naturally rot-resistant that won’t fall apart after one heavy rainstorm. Cedar and redwood are my go-tos because they handle moisture like pros, but if you’re working on a tight budget, even a decent piece of pine will do the trick as long as you aren’t treating it with nasty chemicals.
One thing I really want to stress: skip the pressure-treated lumber. I know it’s tempting because it’s durable, but the chemicals used to preserve it aren’t exactly great for the little guys moving in. Also, don’t go overboard with the fancy finishes. If you’re worried about protecting birdhouses from weather, a simple, non-toxic exterior stain on the outside only is plenty. Keep the inside raw and natural. We’re aiming for a sturdy little home, not a high-end showroom piece, so let’s just keep it simple and functional.
The Essential Woodworking Tools for Birdhouses That Actually Work
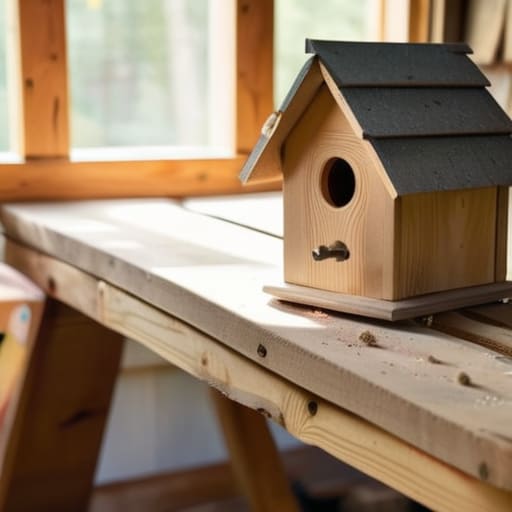
Look, you don’t need a high-end workshop or a professional-grade table saw to get this done. I’ve spent enough time restoring old furniture to know that fancy gear often just adds clutter to a workspace. For this project, you really only need the basics: a handsaw (or a miter saw if you’re feeling fancy), a hammer, a drill, and some galvanized nails. If you’re working with slightly thicker boards, a few clamps will save you a massive headache by holding things steady while you’re attaching the birdhouse roof. It’s much easier to build a stable home for your feathered neighbors when you aren’t fighting the wood every five seconds.
One thing I’ve learned from trial and error is that precision matters most where it counts. While the exterior doesn’t have to be Pinterest-perfect, you need to be deliberate about the entrance. If you’re aiming for specific species, knowing the safe birdhouse entrance hole size is the difference between a successful nesting site and a birdhouse that attracts the wrong crowd. Don’t worry about getting every angle perfectly square; just focus on making sure the pieces fit tight enough to keep the wind out. Keeping it simple is the best way to ensure you actually finish the project instead of abandoning it halfway through.
5 Ways to Keep Your Birdhouse Project from Becoming a Total Mess
- Don’t obsess over the “perfect” design. Birds aren’t looking for a designer villa; they just need a dry, safe spot to raise their young. If it’s sturdy and has a hole, they’ll usually take it.
- Skip the toxic finishes. I know, a fresh coat of bright paint looks great on Instagram, but those fumes can actually harm the birds. Stick to natural wood or, if you must paint, only do the outside and use something non-toxic.
- Make sure you include drainage and ventilation. It sounds technical, but it’s just common sense—drill a few small holes in the bottom so water doesn’t pool, and leave a tiny gap near the roof so they don’t bake inside during the summer.
- Forget the perches. Most people think a little peg outside the hole is a nice touch, but it actually just gives predators a place to hang onto while they raid the nest. Keep it simple: just the hole.
- Plan for easy cleaning. You don’t want to have to smash the whole thing to get it ready for next season. Build in a way that lets you unscrew a side or a bottom panel so you can clear out the old nest once the birds have moved on.
The "Keep It Simple" Summary
Don’t get paralyzed by the perfect design; as long as it’s weather-resistant and has a clean entry hole, the birds won’t care if your cuts aren’t surgical.
Focus on function over aesthetics—use basic, untreated wood and skip the toxic paints so you aren’t accidentally making a hazardous home for your new neighbors.
Aim for a “good enough” build that you can actually finish in a weekend, because a simple birdhouse in the yard is better than a masterpiece sitting half-finished in your garage.
Forget the Pinterest Perfection
“Building a birdhouse isn’t about creating a museum piece for your backyard; it’s about building a functional, sturdy little shelter that survives the rain. If it’s slightly crooked but the birds actually use it, you’ve won.”
Nadia Halloway
The Finish Line (and What Comes Next)
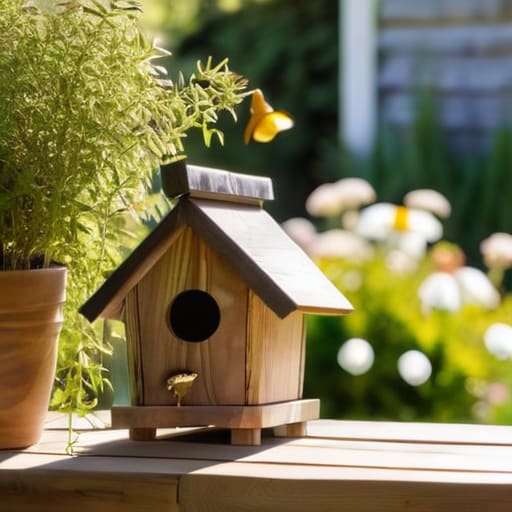
Look, if your birdhouse isn’t a museum-quality masterpiece, it’s still a win. We covered the essentials: picking a decent piece of scrap wood that won’t rot in a month, grabbing the basic tools you actually need, and following a simple assembly process that doesn’t require a degree in engineering. You don’t need a workshop full of expensive power tools or a perfectly sanded finish to make this work. As long as you’ve got a solid structure and a safe entrance hole, you’ve done the heavy lifting. The goal here wasn’t to become a master carpenter overnight; it was to build something functional that serves a purpose in your space.
At the end of the day, the most important part of this whole project isn’t the wood or the nails—it’s the fact that you actually started. We spend so much time researching the “perfect” way to do things that we often end up doing nothing at all. This birdhouse is proof that you can move from planning to doing with just a little bit of grit and some basic materials. So, hang it up, grab a coffee, and wait for the birds to show up. You’ve built a system that works, and honestly, that’s the real victory here.
Frequently Asked Questions
Do I really need to paint the birdhouse, or will that mess with the birds?
Honestly? Skip the paint. I know it’s tempting to make it look “Pinterest-perfect,” but most paints and stains release fumes that are pretty nasty for growing birds. Plus, natural wood holds up fine on its own. If you absolutely can’t resist adding some color, stick to a water-based, non-toxic finish on the outside only. Keep the interior raw. Let’s prioritize the birds’ safety over a cute aesthetic every single time.
How do I stop the birds from actually getting into the birdhouse and making a mess?
Look, I get it. You want the birds to visit, but you don’t want a literal disaster zone in your backyard. The trick isn’t a high-tech security system; it’s just about the entrance hole. Don’t go making it huge just to be “welcoming.” Measure the specific species you want and keep that hole size tight. It keeps the bigger, messier bullies out and ensures the mess stays contained where it belongs.
What's the deal with the hole size—does it actually matter which one I pick?
It matters a lot, actually. If the hole is too big, predators like squirrels or larger birds will move in and kick your tenants out. If it’s too small, the birds can’t get in. Don’t get bogged down in a spreadsheet of every species, though. Just pick a standard size—usually around 1.5 inches—and stick to it. It’s one of those small, repeatable details that makes the whole system actually work.
Where am I supposed to hang this thing so it doesn't just fall down in the first storm?
Look, I’ve seen too many “aesthetic” DIY projects end up face-down in the mud after one heavy rain. Don’t just slap some nails into a tree trunk and hope for the best. If you’re mounting it to a post, use galvanized screws—they won’t rust out on you. If you’re hanging it from a branch, go with a heavy-duty wire rather than flimsy twine. Aim for a spot that’s stable, out of the direct wind, and, most importantly, easy for you to reach when it’s time to clean it out.