
How to Make Better Homemade Pizza Than Your Local Pizzeria
Stop scrolling through those Pinterest videos of people hand-stretching dough in sun-drenched, pristine kitchens with $500 marble countertops. Honestly, if you think you need a specialized pizza stone and a degree in fermentation to figure out how to make homemade pizza, you’ve been lied to. I spent way too many Friday nights feeling defeated by “authentic” recipes that required three days of prep and a complete kitchen overhaul, only to end up with a soggy, sad mess. The truth is, you don’t need a lifestyle overhaul to get a decent crust; you just need a system that actually works when you’re tired and hungry.
I’m not going to walk you through a complicated culinary ritual that leaves your sink full of dishes and your spirit broken. Instead, I’m sharing my realistic, low-stress method for getting a crispy, delicious result using whatever you’ve already got in your pantry. We’re going to focus on the small, repeatable steps that guarantee success without the pretension. No fancy gadgets, no expensive organic flour—just a straightforward way to make something great when life is actually happening.
Recipe Details
Ingredients
- 250g Type 00 flour
- 150ml Warm water
- 7g Dried yeast
- 5g Sea salt
- 100ml San Marzano tomato sauce
- 150g Fresh mozzarella cheese
- 4-5 Fresh basil leaves
- 1 tbsp Extra virgin olive oil
Recipe Instructions
Step 1
First, let’s handle the dough. Don’t go out and buy a fancy stand mixer if you don’t have one; your hands are actually better tools for feeling when the texture is right. Mix your flour, yeast, water, and a pinch of salt in a big bowl until it stops being a sticky mess, then knead it on your counter for about ten minutes. It’s a bit of a workout, but it’s the best way to ensure your crust isn’t a total brick.
Step 2
Once the dough is smooth, shove it into a lightly oiled bowl, cover it with a damp kitchen towel, and let it sit in a warm spot. You’re looking for it to roughly double in size, which usually takes an hour or two depending on how chilly your kitchen is. If you’re in a rush, don’t stress—even a slightly smaller rise will still result in a decent pizza, so don’t let perfectionism stall your dinner.
Step 3
While the dough is doing its thing, prep your toppings. This is where people usually overcomplicate things, but my rule is simple: less is more. If you pile on twenty different ingredients, you’ll end up with a soggy, lukewarm disaster. Grab whatever cheese you have, some basic sauce, and maybe some pepperoni or leftover veggies from the fridge.
Step 4
Crank your oven up as high as it will go. Most home ovens max out around 500°F (260°C), and you want that heat to be intense and consistent. If you happen to have a baking stone, toss it in there while the oven preheats, but if you’re working with a standard sheet pan, just make sure it’s clean and dry.
Step 5
Finally, shape your dough and assemble. Avoid using a rolling pin if you can—it squashes all those lovely air bubbles you worked so hard for—so just use your fingers to stretch it out onto a piece of parchment paper. Spread your sauce, sprinkle your cheese, and slide it into the oven. Keep a close eye on it for the last few minutes; you’re looking for charred edges and bubbly cheese, not a burnt charcoal disc.
Mastering the Yeast Dough Fermentation Process Without the Stress
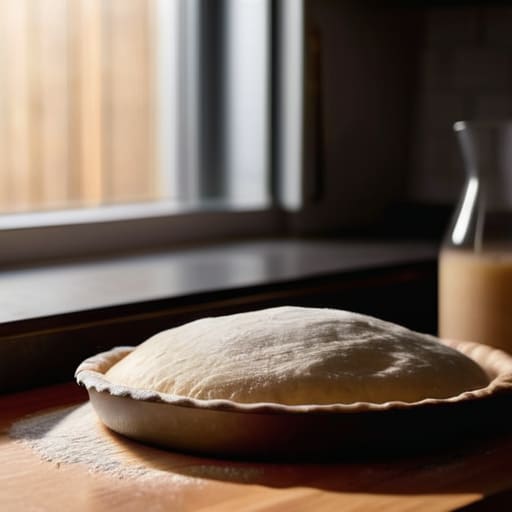
Look, I know the whole idea of “fermentation” sounds like something you’d need a lab coat and a PhD to manage, but let’s strip away the intimidation. At its core, the yeast dough fermentation process is just biology doing its thing while you go about your day. If you’re in a rush, you can let the dough rise on the counter for an hour, but if you want that deep, complex flavor without much effort, stick it in the fridge overnight. A cold ferment is my absolute favorite “lazy” hack; it develops those tiny air bubbles that lead to the best crispy pizza crust tips I know, and it actually makes the dough way easier to handle because it’s less sticky.
Don’t get caught up in the “perfect” timing, either. If your kitchen is freezing, it’ll take longer; if it’s a humid summer afternoon, it’ll move fast. I’ve learned the hard way that trying to force it usually just results in a sour-smelling mess. Instead, just watch the dough, not the clock. Once it has roughly doubled in size and looks a bit pillowy, you’re good to go. It’s all about working with the environment you have, not fighting against it.
Simple Stretching Pizza Dough Techniques for Real Kitchens
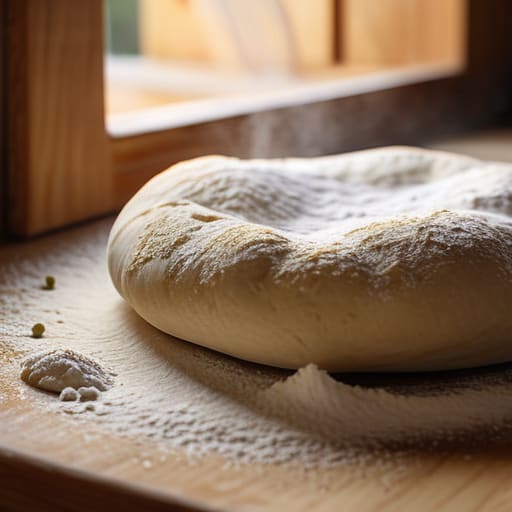
Look, I know the internet makes this look like a high-stakes art form where you have to toss dough toward the ceiling like a pro. In reality? Most of us are just trying to get dinner on the table without making a massive mess on the floor. If you’re struggling with the dough snapping back, stop fighting it. The secret is to let the gluten relax. After you’ve done your initial shaping, give it ten minutes to chill before you try to spread it out. If you try to force it too fast, you’re just going to end up with a rubbery mess instead of those airy bubbles we’re actually after.
If you don’t have a marble countertop or a specialized rolling pin, don’t sweat it. I usually just use my hands to gently press the dough from the center outward, leaving the edges a bit thicker to create a crust that actually holds up. If you’re a fan of crispy pizza crust tips, try using a bit of cornmeal or even just a dusting of flour on your work surface to prevent sticking. It’s not about being a Michelin-star chef; it’s about finding stretching pizza dough techniques that work in your actual, cramped kitchen. Just keep it simple, keep it moving, and don’t overthink it.
Five ways to stop overcomplicating your pizza night
- Stop obsessing over the “perfect” flour. If you can’t find high-end 00 flour at your local shop, just use whatever all-purpose stuff you have in the pantry. It’ll still taste great if you don’t overthink it.
- Don’t drown your toppings. I know it’s tempting to pile on the cheese and pepperoni, but too much moisture is the fastest way to end up with a soggy, sad middle. Less is actually more here.
- Use a preheated surface, even if it’s not a stone. If you don’t own a pizza stone, just flip a heavy baking sheet upside down and let it get screaming hot in the oven before you slide the dough on. It makes a massive difference.
- Embrace the imperfection of hand-stretched dough. If your crust isn’t a perfect circle and looks more like a map of Italy, who cares? It’s going to taste exactly the same once it’s bubbly and charred.
- Prep your ingredients while the dough rests. Don’t wait until the dough is ready to start chopping. Get your sauce, cheese, and veggies ready beforehand so you aren’t scrambling and making a mess while your crust is losing its air.
The "Don't Overthink It" Cheat Sheet
Stop hunting for a professional pizza stone; a plain, heavy baking sheet works perfectly fine if you just let it get hot in the oven first.
Your toppings don’t need to be gourmet—use whatever is in your fridge, just try not to overload the dough or you’ll end up with a soggy mess.
Forget the “perfect” shape; if your crust looks a little wonky or uneven, just call it rustic and eat it. It’s still going to taste great.
The reality of the perfect crust
Look, if your crust isn’t perfectly symmetrical or your kitchen looks like a flour bomb went off, you’re doing it right. The goal isn’t a Pinterest-perfect masterpiece; it’s a solid, reliable system that gets a hot, delicious meal on the table without making you want to quit cooking forever.
Nadia Halloway
The Messy Reality of the Perfect Slice
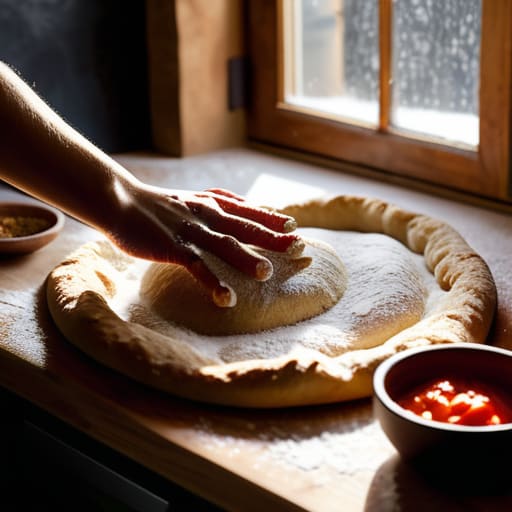
At the end of the day, making pizza isn’t about nailing a professional-grade crust on your first try or owning a thousand-dollar stone. It’s about understanding that a little patience with your yeast and a relaxed approach to stretching that dough is what actually makes the difference. We’ve covered the fermentation, the stretching, and the heat, but the real takeaway is that you don’t need a pristine kitchen to get a great result. Whether your dough is slightly uneven or your toppings are a bit chaotic, you’ve built a repeatable system that works even when you’re tired and the flour is everywhere.
I know how easy it is to get caught up in the “aesthetic” version of cooking you see online, but let’s be real: life is usually much more cluttered than a curated Instagram feed. Don’t let the fear of a messy countertop stop you from trying this. If you end up with a slightly charred crust or a lopsided slice, just throw some extra parmesan on it and call it a win. The goal isn’t perfection; it’s the satisfaction of making something from scratch that actually tastes good. Now, go grab a slice, turn off your notifications, and just enjoy the food.
Frequently Asked Questions
My dough isn't rising at all—did I kill the yeast or is my kitchen just too cold?
Honestly, it’s probably a bit of both. If you used water straight from the tap that felt hot, you might have nuked the yeast. But more likely? Your kitchen is just acting like a fridge. Yeast is finicky and loves a cozy spot. Don’t toss the dough yet. Try moving it to the oven with just the light turned on—it creates a tiny, warm microclimate that usually does the trick.
Can I actually make this work with a regular baking sheet instead of a fancy pizza stone?
Yes, you absolutely can. Please, don’t let the lack of a pizza stone stop you. I’ve spent way too much time staring at expensive kitchen gear I didn’t need when a standard baking sheet works just fine. Just preheat the sheet in your oven so it’s hot when the dough hits it—that helps mimic the crust snap. It’s not “professional grade,” but it’s a solid, repeatable system that actually works.
How do I stop the crust from turning into a literal brick once it cools down?
The “brick” effect usually happens because the crust dries out too fast or you’re over-baking it. If you’re chasing that perfect crunch, don’t let it sit out on a cold wire rack in a drafty kitchen. Once it comes out, pop it on a cutting board and cover it loosely with a clean kitchen towel. It lets the steam settle back into the crust so it stays chewy instead of turning into a weapon.
Is there a way to prep the dough a few days in advance so I'm not scrambling on a Friday night?
Absolutely. Honestly, trying to start dough from scratch on a Friday night is a recipe for a meltdown. You can totally prep ahead. Make your dough, let it rise, then portion it into individual balls and pop them in the fridge. They’ll be fine for up to three days. Just remember to pull them out about an hour before you want to eat so they can take the chill off. It’s a total game-changer.